
4 Carving Errors That Make Good Meat Look Bad
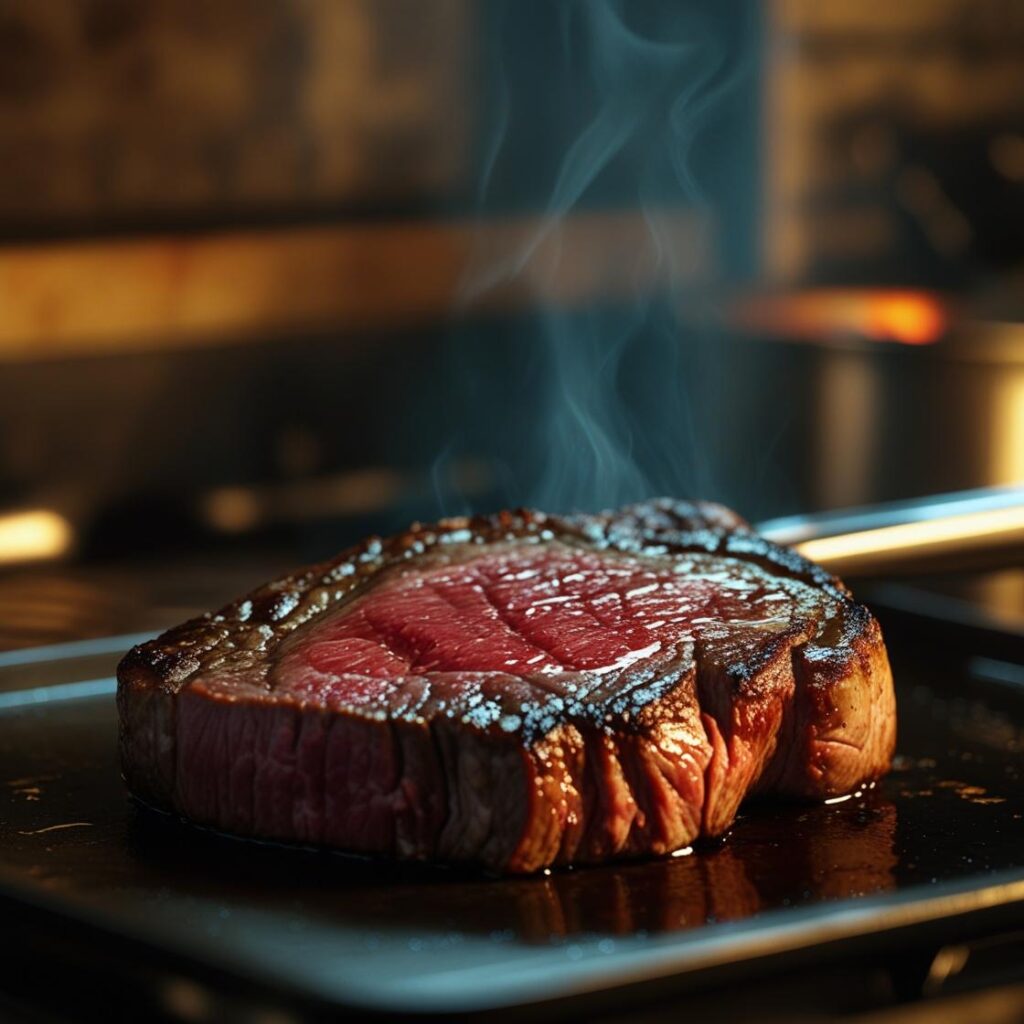
You’ve spent hours perfecting your roast, a beautiful piece of meat that’s been seasoned and cooked to perfection. It has a beautiful crust, a deep pink center, and it smells absolutely incredible. But then, you grab your knife, and in a matter of seconds, you’ve ruined it. The slices are uneven, the meat is shredded, and all the precious juices have run out. This disappointing finale is the result of one or more common carving errors.
Carving is the final, crucial step in the cooking process. It’s an art form that can elevate a meal and ensure every bite is tender and delicious. This guide will walk you through the 4 carving errors that can make a great piece of meat look bad and show you how to fix them. By mastering these carving tips, you will get perfect slices every time.
The Core Principle: Slicing for Tenderness and Presentation
Carving is more than just cutting; it’s about a two-part mission:
- Tenderness: The way you slice the meat directly impacts its tenderness. Slicing in a specific way can shorten the muscle fibers, making the meat incredibly tender and easy to chew.
- Presentation: Beautifully and evenly sliced meat is a sign of a professional cook. It looks impressive on the plate and makes serving easy.
The following carving mistakes get in the way of achieving both of these goals.
4 Carving Errors That Make Good Meat Look Bad (and How to Fix Them)
1. Not Using a Sharp Knife
This is the most fundamental and destructive of all the carving errors.
- Why it happens: A dull knife doesn’t slice through the meat’s muscle fibers; it tears and shreds them. This action mangles the meat, leaving you with ragged, uneven slices. The tearing also pushes out the juices, leaving the meat dry and unattractive.
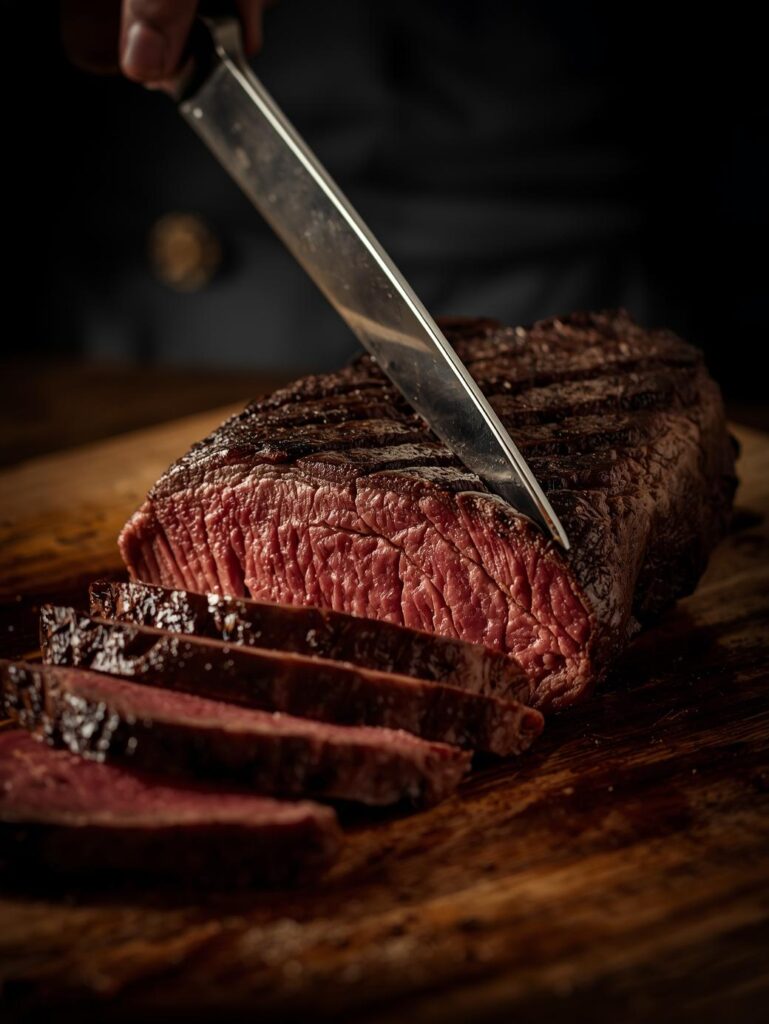
- Professional Fix: Use a knife that is sharp enough to slice through a tomato with no resistance. Before you start carving, take a moment to sharpen your carving knife or honing steel. This ensures a clean, smooth cut that preserves the meat’s texture and integrity.
2. Slicing With the Grain
This is a classic rookie carving mistake that can make even the most tender cut of meat seem tough and chewy.
- Why it happens: All cuts of meat have muscle fibers that run in a specific direction, known as the “grain.” Slicing parallel to this grain leaves you with long, chewy muscle fibers in each piece. While a well-cooked steak might still be edible, for tougher cuts like flank steak or brisket, this mistake is a disaster.
- Professional Fix: Always slice “against the grain.” To do this, look at the surface of the meat and identify the direction of the muscle fibers. Then, slice perpendicular to them. This shortens the fibers, making the meat much more tender and easy to chew. It is the number one rule of how to carve meat correctly.
3. Slicing at the Wrong Angle
The thickness and angle of your slices matter greatly for both tenderness and presentation.
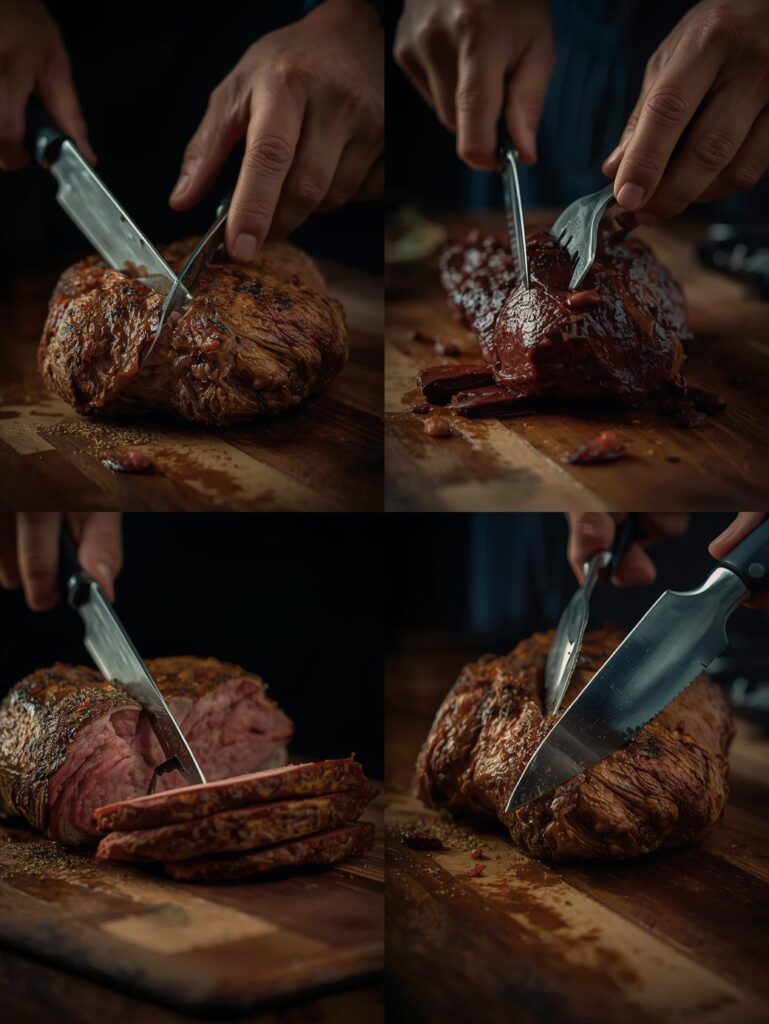
- Why it happens: Slicing meat too thickly makes it difficult to chew, and the meat will seem tougher than it is. Slicing too thinly can cause the slices to fall apart. Slicing at a downward angle, rather than a level one, can also create an uneven presentation.
- Professional Fix: Aim for uniform slices about 1/4 to 1/2 inch thick, depending on the cut. Use a long, smooth motion with your knife, letting the blade do the work rather than sawing back and forth. For large cuts, holding the knife at a slight angle can also help create beautiful, wider slices.
4. Not Resting the Meat First
This is a mistake that happens before you even pick up your knife, but it is one of the most devastating of all carving errors.
- Why it happens: As we explained in our guide on 6 resting mistakes that drain flavor from your meat, cooking causes the meat’s muscle fibers to contract, pushing the juices toward the center. If you cut into the meat immediately after removing it from the heat, those juices will run out onto your cutting board, leaving the meat dry and flavorless.
- Professional Fix: Always rest your meat for 5-60 minutes, depending on the size of the cut. This is a non-negotiable step that allows the juices to redistribute throughout the meat, resulting in a much more juicy and flavorful final product. You will also notice far fewer juices on your cutting board after a proper rest.
| Carving Error | Why It Happens | Professional Fix |
| 1. Dull Knife | Tears and shreds meat fibers. | Use a sharp knife for clean, smooth cuts. |
| 2. Slicing With the Grain | Leaves long, chewy muscle fibers. | Always slice perpendicular to the muscle fibers. |
| 3. Wrong Angle | Uneven slices and poor texture. | Aim for uniform 1/4- to 1/2-inch slices. |
| 4. Not Resting | All the juices run out. | Rest the meat for 5-60 minutes before carving. |
Conclusion
Carving is the final opportunity to show off your cooking skills. By understanding and avoiding these 4 carving errors, you can ensure that your meal is not only delicious but also beautifully presented. A sharp knife, slicing against the grain, a proper angle, and a good rest are all it takes to transform a good piece of meat into a masterpiece.
FAQ: 4 Carving Errors That Make Good Meat Look Bad
1. What is the best knife for carving meat?
A long, thin carving knife or a slicing knife with a Granton edge (the indentations on the side of the blade) is ideal. The long blade allows you to make a single, smooth cut, and the Granton edge helps prevent meat from sticking to the knife.
2. How do I find the grain of the meat?
Look closely at the surface of the meat. You’ll see fine, parallel lines running in one direction. That’s the grain. You want to slice perpendicular to those lines.
3. Should I use a carving fork?
A carving fork can be a very useful tool to stabilize a large roast or turkey. It allows you to hold the meat in place with one hand while you slice with the other.
4. Is there a difference between carving a steak and carving a roast?
Yes. Steaks are often carved into individual servings, while a roast is typically carved into a series of uniform slices for serving family-style. The principle of slicing against the grain and using a sharp knife remains the same.
5. How do I keep the meat warm while carving?
A good rest will keep the meat warm. If you are carving a very large roast for a crowd, you can place the slices on a warm serving platter to help them retain heat.
6. Can I use a regular chef’s knife for carving?
Yes, you can, but a chef’s knife is shorter and wider than a carving knife. This means you may have to saw back and forth, which can be less efficient and potentially damage the meat.
7. What’s the biggest takeaway from this guide?
The single biggest takeaway is that carving is just as important as the cooking itself. A perfect carve starts with a proper rest, which is the most critical step to ensuring juiciness and flavor.