
Table of Contents Hide ContentsThe Beginners Guide to Smoking Meat Like a Pitmaster
For many, the world of barbecue smoking seems like an intimidating, secretive art form, reserved only for seasoned pitmasters. Images of towering offset smokers and all-night cook sessions can make the process feel out of reach for the average home cook. But the truth is, the fundamental principles of smoking are simple and easy to master with the right guidance.
With just a few key pieces of equipment and a little patience, you can transform tough, inexpensive cuts of meat into tender, juicy, and deeply flavorful masterpieces. This is your definitive resource: The Beginner’s Guide to Smoking Meat. We will demystify the process, from selecting the right cut to achieving that perfect smoke ring, and give you the confidence to fire up your smoker and get cooking.
The Beginner’s Guide to Smoking Meat Like a Pitmaster
The Beginner’s Guide to Smoking Meat Like a Pitmaster
The Fundamentals: What is Smoking Meat?
At its core, smoking is a cooking technique that uses low, indirect heat and wood smoke to cook and flavor meat over an extended period. It is a slow, gentle process that is fundamentally different from grilling.
- Low and Slow: Smoking typically occurs in a temperature range of 225°F to 275°F (107°C to 135°C). This low temperature is crucial for the process. Unlike high-heat grilling, which is meant to cook quickly, smoking takes a long time, often many hours, to break down the tough connective tissue in a piece of meat.
- The Power of Smoke: The magic of smoking comes from the thin, aromatic smoke produced by burning wood. As the smoke circulates around the meat, it infuses it with a deep, complex flavor that cannot be replicated with a gas grill or oven.
- Purpose: The primary purpose of smoking is to make tough cuts of meat, like pork shoulder or beef brisket, incredibly tender. The low and slow heat allows the collagen in these cuts to slowly melt into gelatin, resulting in a rich, unctuous texture.
Understanding these fundamentals is the first step in mastering The Beginner’s Guide to Smoking Meat.
Essential Equipment for The Beginner’s Guide to Smoking Meat
You don’t need a professional-grade smoker to start. Many affordable and user-friendly options are available that will produce excellent results.
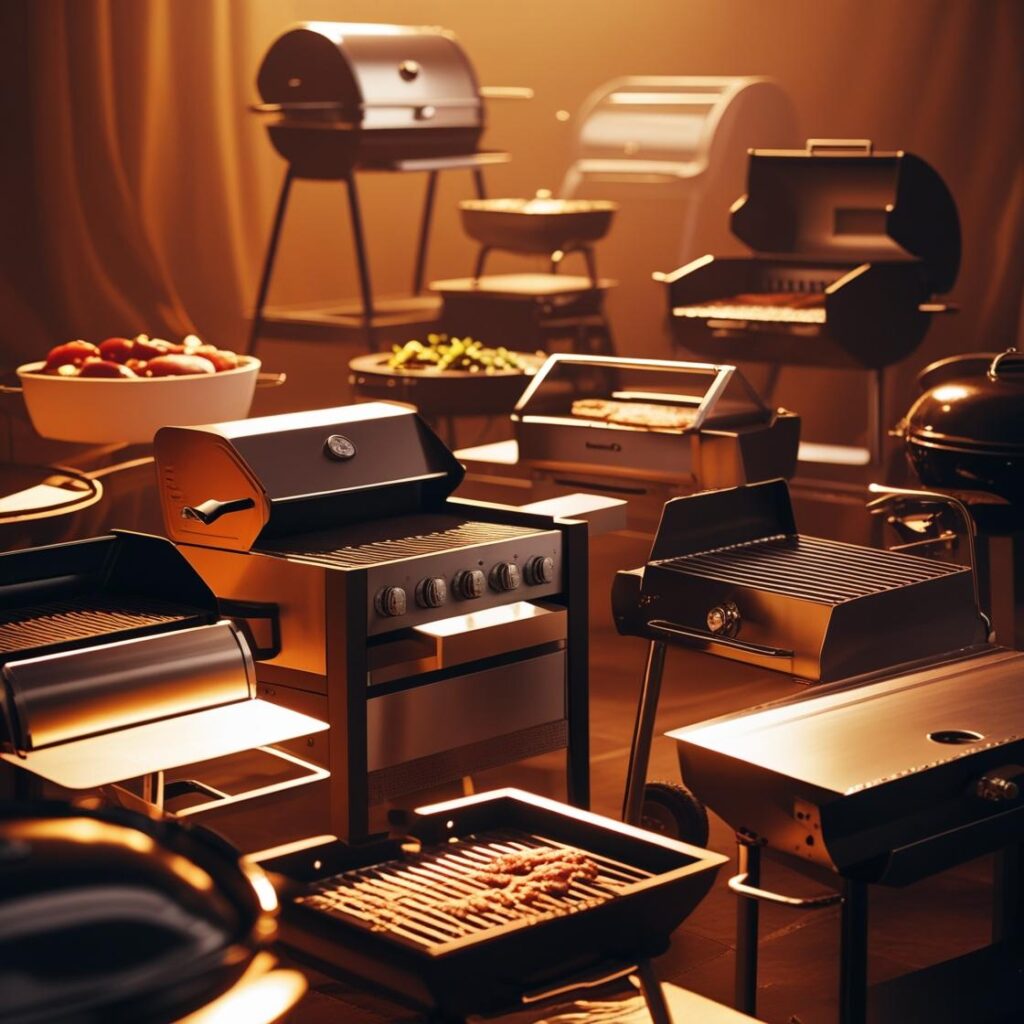
The Smoker
For a beginner, a simple bullet smoker (like a Weber Smokey Mountain) or a pellet smoker is an excellent choice.
- Bullet Smoker: These are classic, vertical smokers that are easy to use and maintain. They use charcoal and wood chunks to create the heat and smoke.
- Pellet Smoker: These are powered by electricity and use an auger to feed compressed wood pellets into a fire pot. They are the ultimate in “set it and forget it” smoking, as a digital controller maintains a precise temperature.
- Offset Smoker: These are the large, horizontal smokers you often see in competitions. They are more challenging for beginners as they require constant management of a fire in a separate firebox.
The Fuel
Your fuel source determines both the heat and the flavor of your smoked meat.
- Charcoal: Charcoal is the primary heat source for most traditional smokers. Lump charcoal burns hotter and cleaner, while briquettes provide a more consistent burn.
- Wood Chunks/Chips: These are what provide the smoke flavor. Wood chips burn quickly and are great for short cooks, while wood chunks burn slower and are ideal for longer sessions.
- Wood Pellets: These are used exclusively in pellet smokers. They are made from compressed sawdust and come in a variety of wood types.
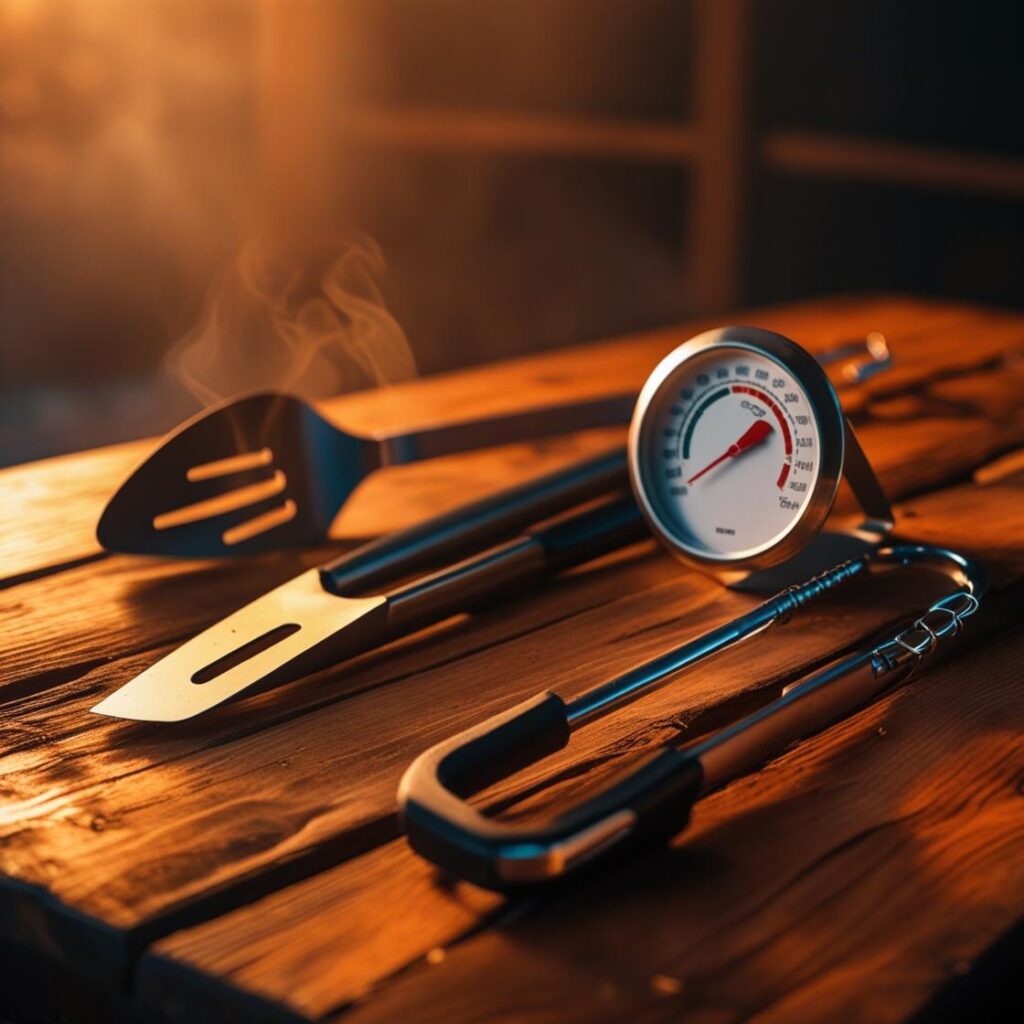
The Thermometers
This is arguably the most important piece of equipment you will buy. You need two types of thermometers:
- An Ambient Thermometer: This measures the temperature inside your smoker. Do not trust the one built into the lid, as they are often inaccurate.
- A Meat Thermometer: This measures the internal temperature of your meat. A dual-probe thermometer is ideal, as it allows you to monitor both the ambient temperature and the meat’s internal temperature without opening the lid.
For a more comprehensive look at the tools you’ll need, check out our guide on the essential BBQ tools you need.
Preparation: From Meat to Masterpiece
The success of your smoked meat begins long before you even fire up the smoker. Proper preparation is key.
Choosing the Right Meat
For a beginner, it’s best to start with forgiving cuts that are rich in fat and connective tissue.
- Pork Shoulder (Pork Butt): This is the king of beginner-friendly cuts. It’s inexpensive, fatty, and nearly impossible to mess up. It’s the go-to for pulled pork.
- Pork Ribs (St. Louis or Baby Back): Ribs cook in a relatively short amount of time and are a great way to practice temperature control.
- Chicken: A whole chicken or chicken thighs smoke beautifully and are a great way to get a feel for the process before tackling larger cuts.
The Importance of a Rub or Brine
Seasoning is what gives your meat its flavor. For smoking, the two most common methods are a dry rub or a brine.
- Dry Rub: This is a mixture of spices, salt, and sugar that is applied to the outside of the meat. It forms a delicious crust (called “bark”) during the long cook.
- Brine: A brine is a salt-and-water solution used to hydrate the meat and keep it juicy. It’s perfect for lean cuts like chicken or turkey.
For more information on the benefits and techniques of each, see our guide on how to season meat.
Trimming and Prepping the Meat
For a pork shoulder, a little trimming can help. Remove any hard fat on the surface, but leave the thicker fat cap, as it will render and keep the meat moist. For ribs, be sure to remove the silver skin (a tough membrane on the bone side) for a more tender result.
Mastering Temperature Control: The Single Most Important Skill
In smoking, a consistent temperature is more important than anything else. This is where most beginners struggle, but it’s easier than it seems.
The Target Temperature
Your goal is to maintain a consistent temperature between 225°F and 250°F. This is the sweet spot where fat renders slowly, collagen breaks down, and the meat becomes incredibly tender without drying out.
How to Maintain Temperature
The primary way to control the temperature in a charcoal smoker is by adjusting the vents.
- Opening Vents: More oxygen flows in, and the fire burns hotter.
- Closing Vents: Less oxygen, and the fire burns cooler.
For a pellet smoker, the digital controller handles this for you, making it a very simple process.
The Importance of “The Stall”
During a long smoke, the temperature of the meat will hit a plateau, often around 150-160°F. This is “the stall.” It happens when the moisture evaporating from the meat cools the surface, much like sweat cools your body. The stall can last for several hours. This is where many beginners get frustrated. The best way to get through it is with patience or to wrap the meat in foil or butcher paper (a technique known as the “Texas Crutch”).
The Smoking Process: A Step-by-Step Walkthrough
Once you’ve prepped your meat and set up your smoker, the cook itself is a matter of time and patience.
Step 1: Fire Up Your Smoker
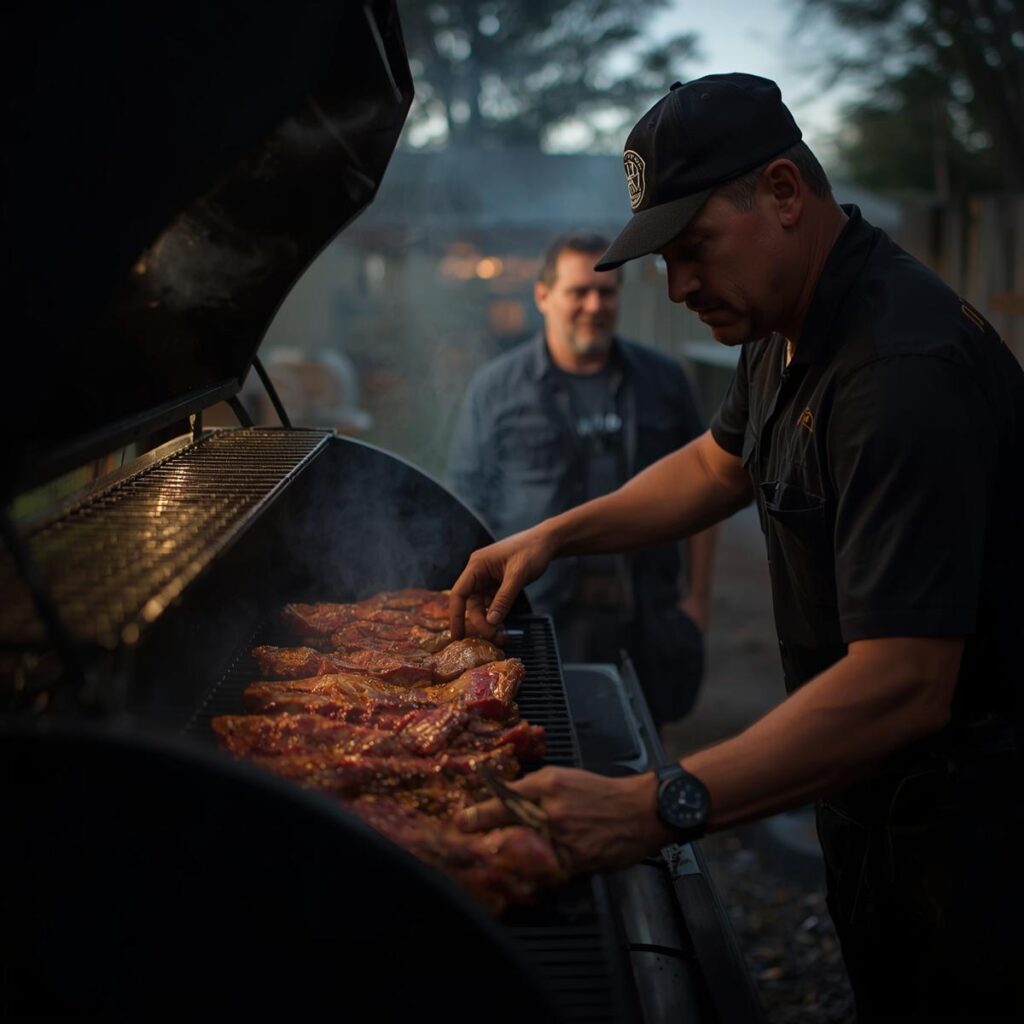
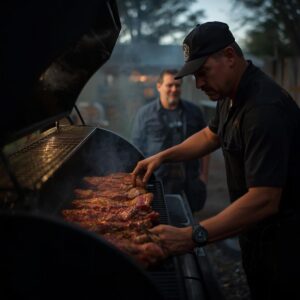
Start your fire and get the smoker to your target temperature of 225-250°F. Once it’s stable, add your wood chunks or chips and wait for the smoke to turn from thick and white to a thin, almost invisible “thin blue smoke.” This is the good stuff.
Step 2: The First Few Hours
Place your meat in the smoker and close the lid. Do not open it for at least the first two to three hours. This allows the smoke to penetrate the meat and helps create a beautiful bark. Every time you open the lid, you lose heat and smoke, which slows down the cooking process.
Step 3: The Wrap (The Texas Crutch)
Once your meat has a good bark and has hit the stall, you can wrap it in foil or butcher paper. This will help it power through the stall and lock in moisture. For a pork shoulder, this is an excellent step for an extra moist result.
Step 4: Finishing the Cook
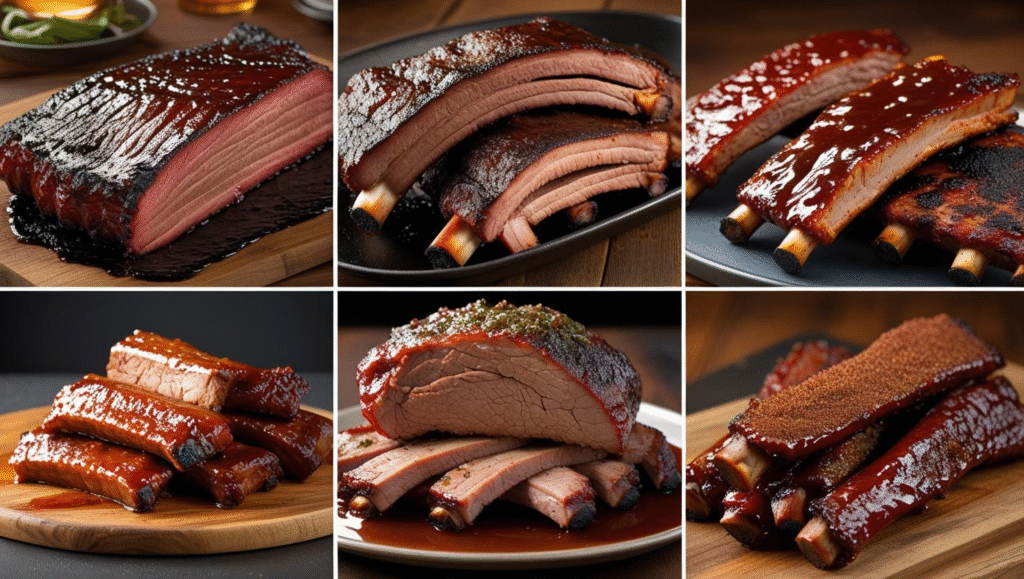
After the meat is wrapped, continue to cook it until it reaches your desired internal temperature. A pork shoulder is done when it hits 195-205°F (90-96°C) and is probe-tender. For a full breakdown of safe internal temperatures for various meats, see our meat temperature chart for safe internal temps.
Doneness and Resting: The Final Touch
The final two steps of the smoking process are crucial and often overlooked.
Checking for Doneness
The only reliable way to tell if your meat is done is with a thermometer. Don’t rely on cooking time alone, as every piece of meat is different. Insert the probe into the thickest part of the meat, avoiding any bone. The meat should feel incredibly tender, like pushing a probe into a stick of butter. For ribs, you can perform the bend test: lift the rack from the middle with tongs. If it bends and the bark cracks, it’s done.
The Importance of Resting
After the meat comes off the smoker, you must let it rest. This allows the juices, which have been pushed to the center of the meat, to redistribute throughout the cut. If you slice it too early, all those delicious juices will run out onto your cutting board, leaving you with dry meat. A general rule is to let it rest for at least 30 minutes, or an hour for a large pork shoulder.
Common Mistakes and Pitmaster Tips for Beginners
To wrap up your journey into The Beginner’s Guide to Smoking Meat, here are a few final tips to help you avoid common pitfalls.
- Using Too Much Smoke: More smoke does not equal better flavor. Thick, white smoke from smoldering wood can create a bitter, acrid taste. Aim for a “thin blue smoke.”
- Opening the Lid Too Often: As the old saying goes, “If you’re looking, you’re not cooking.” Every time you open the lid, you lose valuable heat and smoke, extending your cooking time.
- Cooking to Time, Not Temperature: Every piece of meat is different. Relying on cooking time alone is a recipe for a tough or dry result. Always use a thermometer. You can reference the official USDA food safety chart for safe temperatures.
- Going Too Fast: This is a marathon, not a sprint. The goal of smoking is to cook low and slow. The more you rush the process, the tougher and drier your meat will be. You can find more helpful guides for beginners from a trusted source like AmazingRibs.com.
Conclusion
The journey into the world of smoking meat is a rewarding one. While it may seem complicated at first, it’s all about understanding a few key principles: low temperature, consistent heat, and plenty of patience. By following The Beginner’s Guide to Smoking Meat, you can confidently choose the right equipment, prepare your meat correctly, and master the cooking process. The result will be a tender, flavorful, and deeply satisfying meal that will make you feel like a true pitmaster.
Now that you have all the knowledge, it’s time to put it to the test. Your smoking journey is just beginning!
Ready to try your hand at smoking? Get started today and taste the difference!
FAQs:
- What is the best temperature for smoking meat? The ideal temperature for smoking meat is between 225°F and 250°F, which is a low and slow temperature that breaks down connective tissue without drying out the meat.
- What is the “Texas Crutch”? The “Texas Crutch” is a smoking technique where you wrap the meat in foil or butcher paper to push through “the stall,” a period when the meat’s internal temperature plateaus during a long cook.
- How do I know when my smoked meat is done? The only reliable way to know when smoked meat is done is by using a meat thermometer. Cook to a target internal temperature, not to time.
- What is the best wood for smoking meat? The best wood depends on your preference. For beginners, mild, fruity woods like apple, cherry, and pecan are great choices as they provide a subtle smoke flavor that won’t overpower the meat.
Further Reading
- Learn when to grill vs. smoke in BBQ Grilling vs. Smoking
- Compare grill types in Charcoal vs Gas vs Pellet Grills
- Check out our detailed guide on smoking and grilling techniques
You Might Also Like
- Discover more in our ultimate temperature guide
- This article complements our Science of Meat post
- Explore essential BBQ equipment in our detailed guide
- Read more about steak cuts in our Ultimate Guide to Steak Cuts

Pingback: Whole-Hog BBQ Techniques (Carolina) - The Meat Master USA
Pingback: How to Smoke a Brisket (Texas) - The Meat Master USA
Pingback: BBQ Grilling vs Smoking: Key Differences and When to Use Each Method [2025] an excellent ultimate guide.
Pingback: The Juiciest Pork Cuts for Smoking and Grilling - The Meat Master USA
Pingback: Brazilian Steakhouse Secrets at Home: Churrasco Techniques for 2026 - The Meat Master USA
Pingback: Specialty Cuts & BBQ Favorites - The Meat Master USA
Pingback: How to Make Carolina-Style Pulled Pork with Vinegar Sauce 2025 - The Meat Master USA
Pingback: Dry Rub or Wet Rub: Which Brings Out More Flavor?
Pingback: Best BBQ Grills for Beginners: A Guide to Choosing Your First Grill
Pingback: Backyard BBQ Ideas for Beginners: The Ultimate Guide