
Meta Description: Tired of unevenly cooked, dry roast chicken? Learn how to spatchcock (butterfly) a chicken in 5 minutes flat. This simple technique guarantees crispy skin, juicy meat, and cuts cooking time in half.
How to Spatchcock a Chicken: The Secret to Faster, Juicier Roast Bird
We’ve all been there: you pull a whole roast chicken out of the oven, and the breast is bone-dry by the time the thighs are finally cooked. It takes forever, and the skin, so promising at first, is crispy on top but soggy underneath. The solution to all these frustrations lies in one simple technique: spatchcocking.
So, what is it? Spatchcocking simply means removing the backbone to flatten the bird. It’s also known as “butterflying.” This easy, 5-minute technique is the single best way to achieve a perfectly cooked whole chicken with unbeatable crispy skin every single time. This step-by-step guide will show you how to do it safely and easily with just a pair of kitchen shears.
Why You Should Always Spatchcock Chicken
There are four key reasons why spatchcocking is a complete game-changer for your roasting and grilling game.
- Even Cooking: A flattened chicken cooks uniformly because all parts of the bird—the breast and the thighs—are on the same level, an equal distance from the heat source. This eliminates the problem of a raw thigh and an overcooked breast.
- Crispy Skin Everywhere: By opening up the chicken, you expose a maximum amount of surface area to the heat. This guarantees that every piece of skin, not just the top, gets perfectly golden and crispy.
- Up to 50% Faster Cooking Time: A flattened bird is a thinner bird. Increased surface area and reduced thickness mean your chicken will roast (or grill) much more quickly, saving you a lot of time and energy.
- Better Seasoning & Flavor: More surface area means more room for your favorite rubs, herbs, and spices to adhere. This creates a more flavorful crust on every inch of the chicken.
Tools You’ll Need
- Kitchen Shears (Poultry Shears): This is the only essential tool you need. A strong, sharp pair of shears makes the job effortless.
- Cutting Board: A sturdy, stable cutting board is a must.
- Paper Towels: For patting the chicken completely dry—this is the key to crispy skin!
- A Large Knife (Optional): You may use this for a final step if your shears aren’t heavy-duty enough.
Step-by-Step Guide: How to Spatchcock a Chicken
- Prep the Bird: Remove the chicken from its packaging. Pat the skin and the cavity extremely dry with paper towels. This is a crucial step for achieving that perfectly crispy skin.
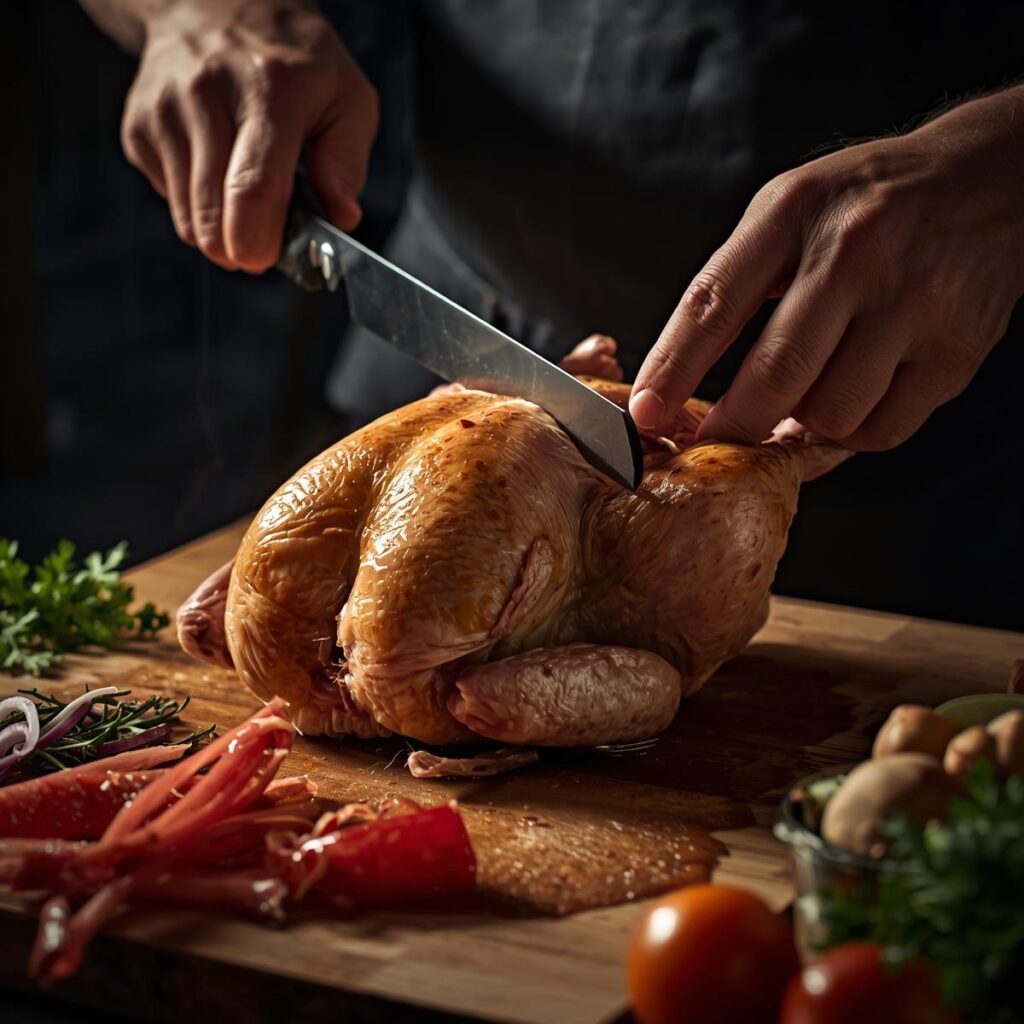
- Position the Chicken: Place the chicken on the cutting board with the breast-side down, so the backbone is facing you.
- Remove the Backbone: Using your strong kitchen shears, cut along one side of the backbone, starting from the tail end and cutting all the way up to the neck. Repeat this on the other side to remove the backbone entirely.
- Pro Tip: Save the backbone! It’s a goldmine of flavor. Freeze it along with other scraps to make an amazing chicken stock later.
- Flip and Flatten: Turn the chicken over so it’s now breast-side up. Place the heel of your hand on the breastbone (the prominent bone that runs down the middle) and press down firmly until you hear a slight crack and the bird lies completely flat.
- Tuck the Wings (Optional): Tuck the wingtips behind the shoulders. This prevents them from burning and keeps them out of the way.
How to Cook Your Spatchcocked Chicken
- Roasting: The classic and simplest method. Place your flattened chicken on a preheated sheet pan or in a cast-iron skillet. Roast it in a hot oven (425-450°F / 220-230°C). It will cook in about 35-45 minutes—nearly half the time of a traditional roast.
- Grilling/BBQ: This is where the spatchcocking technique truly shines for barbecue enthusiasts. A flattened chicken is stable and cooks evenly over a two-zone grill setup, allowing you to get a great sear before finishing it with indirect heat to add that delicious smoky flavor. To get started, check out our Best BBQ Grills for Beginners guide.
- How to Tell When It’s Done: The only foolproof method is a meat thermometer.
- The internal temperature should read 165°F (74°C) in the thickest part of the breast and at least 175°F (79°C) in the thighs.
- The juices should also run clear.
Recipe Idea: The Ultimate Spatchcocked Roast Chicken
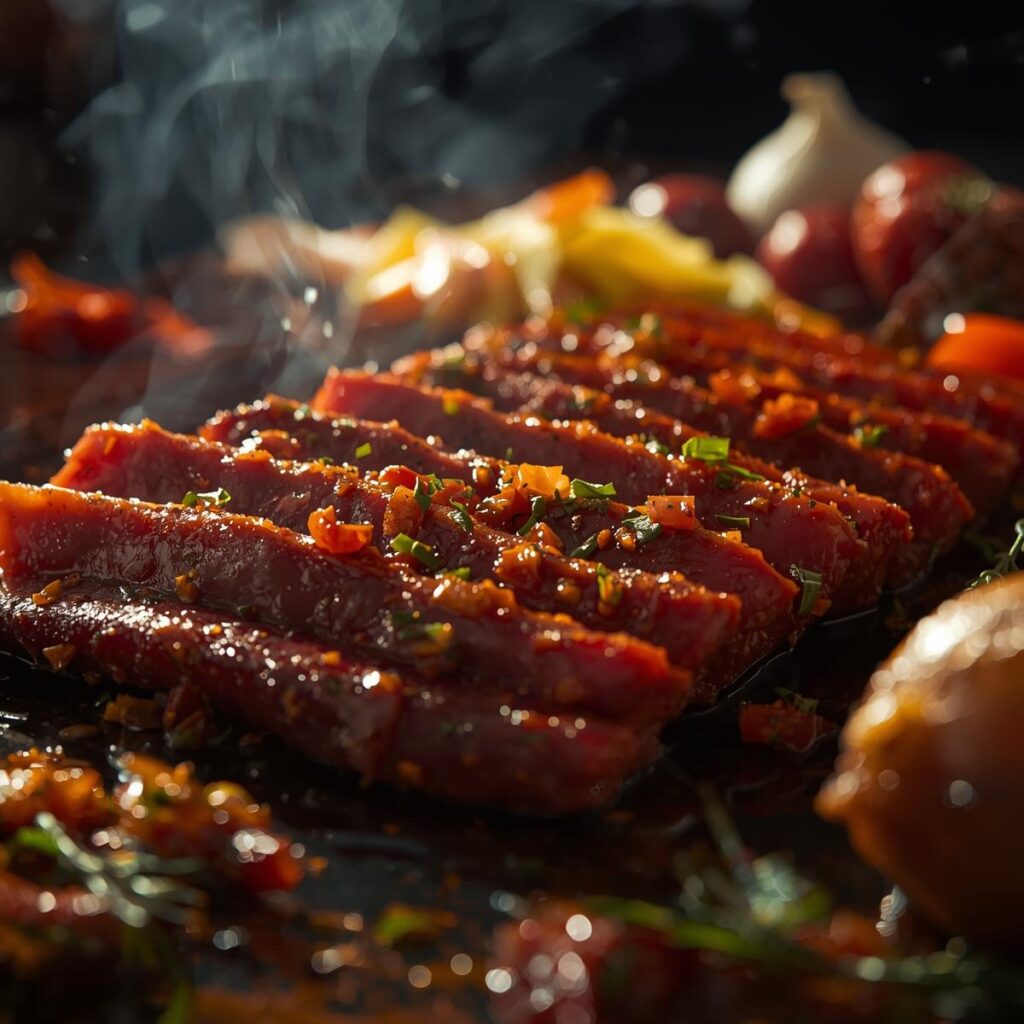
- Seasoning: A simple rub is all you need. Combine salt, pepper, garlic powder, paprika, and a touch of brown sugar for perfect caramelization. For more ideas, check out our Guide to BBQ Rubs and Sauces.
- Method: Pat the chicken completely dry after spatchcocking, season generously, and roast at 450°F (230°C) for 40-45 minutes.
- Resting: Let it rest for at least 10 minutes before carving. This is the most crucial step for juicy meat!
FAQ & Troubleshooting
- Is it safe? Yes, as long as you handle raw poultry properly and cook it to the correct internal temperature.
- Can I do this with a turkey? Absolutely! It’s a game-changer for Thanksgiving. The principle is identical, though it requires heavier-duty shears. For more on Thanksgiving turkey, see our Turkey Brine and Roast Guide.
- My shears can’t cut through. Invest in a good pair of poultry shears; it’s a worthwhile kitchen upgrade. You can also have your butcher do it for you.
- The skin isn’t crispy. You didn’t pat the chicken dry enough before cooking, or your oven temperature wasn’t high enough. Remember, a dry surface is key!
Conclusion
You now have the secret to banishing dry, unevenly cooked roast chicken from your kitchen forever. This simple technique will give you consistently juicy meat, perfectly crispy skin, and a shorter cooking time. Spatchcocking is a simple technique that will forever upgrade your home cooking.
Ready to try it? Grab a chicken and your shears! Tag us on Instagram with your beautiful birds using #MeatMasterSpatchcock!