
Conquering the “Mount Everest” of barbecue has never been easier. This comprehensive, step-by-step guide covers everything you need to know to smoke a perfect brisket, from choosing your meat to the final, crucial slice.
Introduction: The Ultimate Brisket Guide
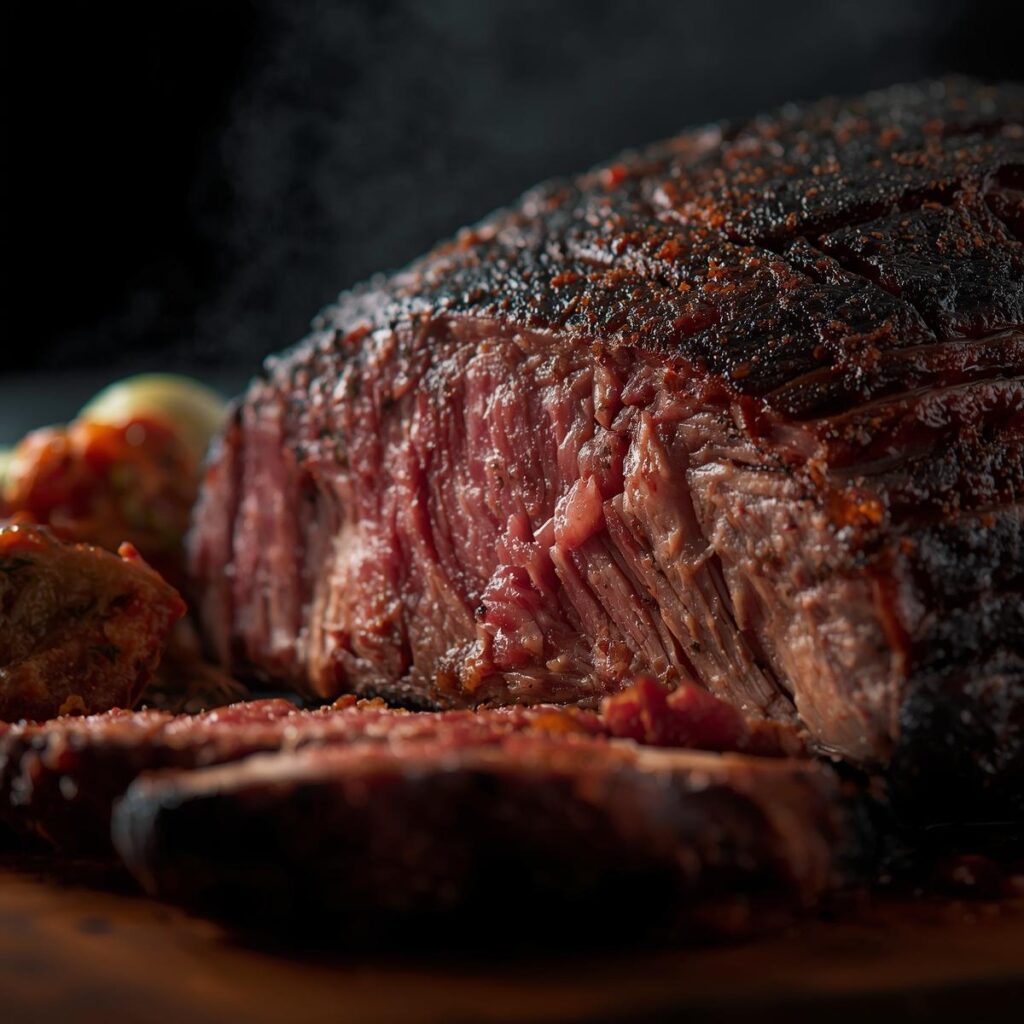
Smoking a brisket is often considered the “Mount Everest of barbecue.” Its large size, unique muscle structure, and long cooking time can be intimidating, and even seasoned pitmasters can find themselves with a tough, dry brisket. But with the right knowledge and a little bit of patience, you can conquer this challenge and smoke a brisket so tender and juicy it will earn you a place in barbecue heaven.
This is the ultimate, step-by-step guide to smoking brisket. We will walk you through every single stage of the process, providing expert advice on everything from selecting and trimming your meat to the final, crucial resting and slicing techniques.
Step 1: Choosing Your Brisket
Your brisket journey begins at the butcher counter. The quality of your meat will have a huge impact on your final result.
- The Cut: A brisket is made up of two muscles: the “flat” (the larger, leaner part) and the “point” (the smaller, thicker, fattier part). For the best results, you want to buy a “full packer” brisket, which contains both muscles.
- Quality Matters: Look for a full packer brisket that has a good amount of marbling—the white, spiderweb-like fat running through the meat. This internal fat is what keeps the brisket moist. The brisket should also be flexible; if it’s stiff, it will likely be tough.
Step 2: Trimming the Brisket
Proper trimming is non-negotiable. It helps with even cooking, bark formation, and prevents your brisket from drying out.
- The Fat Cap: The fat cap is the thick layer of fat on one side. Use a sharp knife to trim it down to a uniform 1/4 inch thickness. This will render down during the cook, basting the meat.
- The Hard Fat: There is a large seam of hard, waxy fat between the flat and the point. Trim away as much of this as you can. It will not render and only gets in the way.
- Shaping: Trim the edges and round the corners of the brisket. This prevents them from burning and drying out during the long cook.
Step 3: Seasoning the Brisket
The best brisket deserves the simplest seasoning.
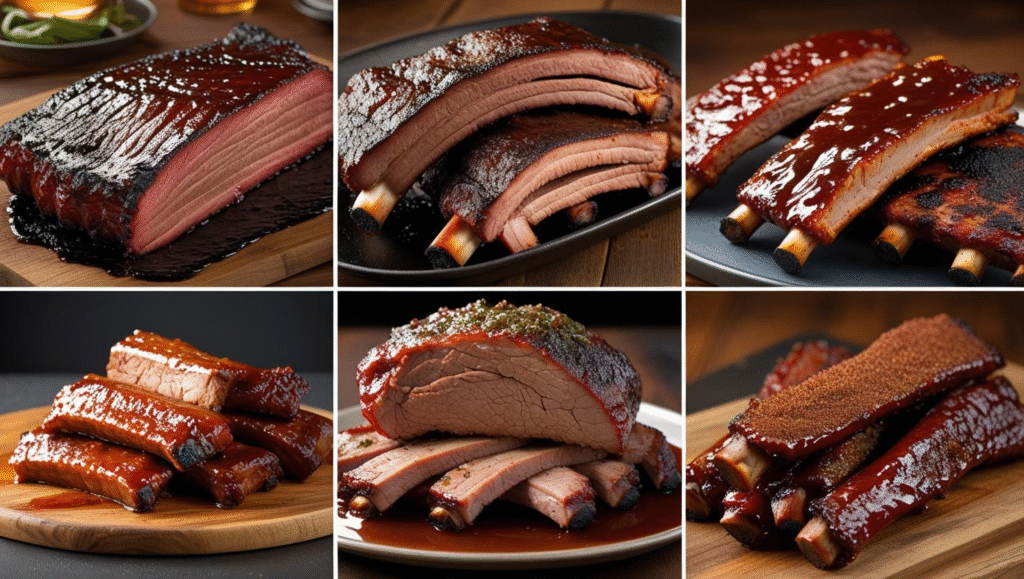
- The Classic Rub: The gold standard is a simple Texas-style rub of coarse kosher salt and coarse black pepper. This creates the best bark and allows the rich, beefy flavor of the brisket to shine through.
- How to Apply: Pat your brisket completely dry, then apply the rub generously on all sides, including the edges. Press the rub firmly into the meat to help it adhere.
Step 4: The Smoking Process
This is where the magic happens. A brisket cook is all about patience and managing the temperature.
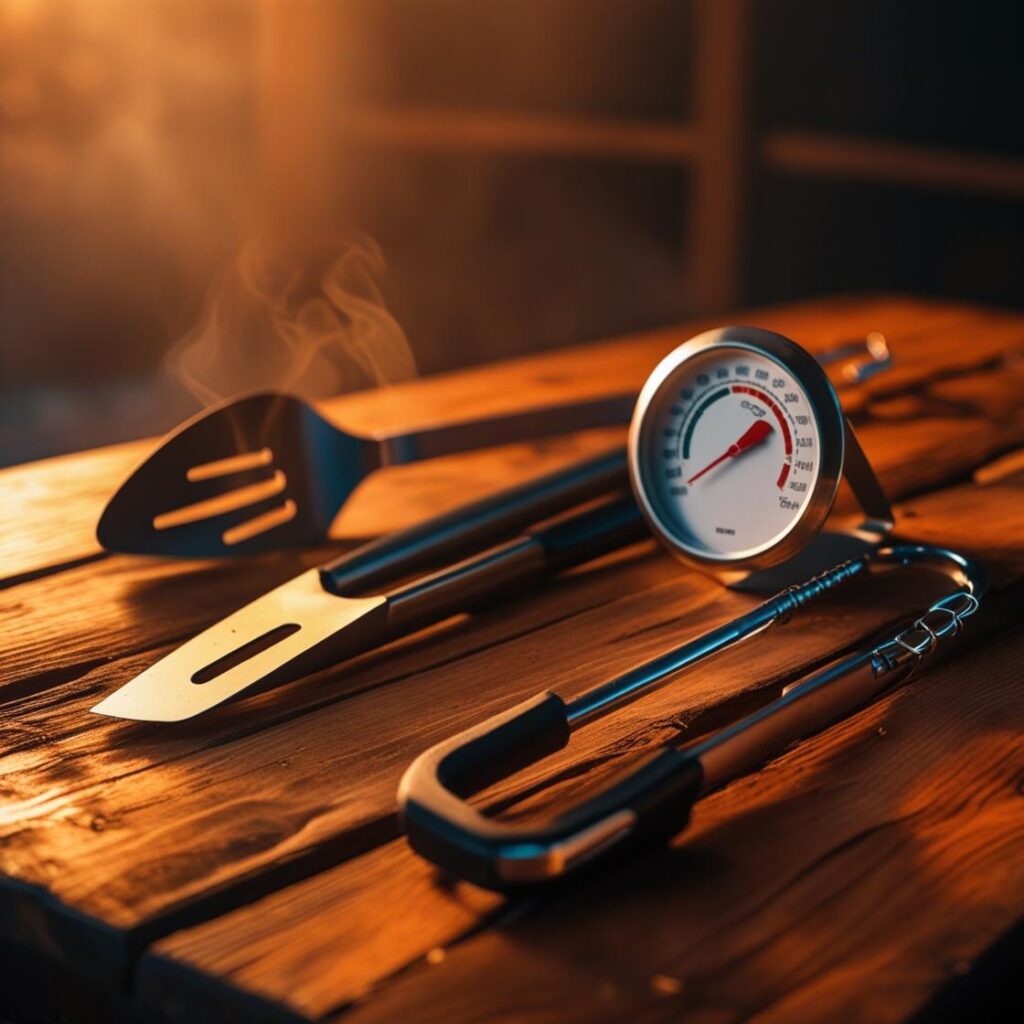
- Set Your Smoker: Pre-heat your smoker to a consistent 225-250°F (107-121°C). For a long cook like brisket, a pellet grill is ideal for its set-it-and-forget-it nature.
- The “Stall”: Expect the internal temperature of your brisket to plateau somewhere between 150-170°F. This is the dreaded stall, caused by evaporative cooling. You have two options: be patient and ride it out, or wrap the brisket in foil or butcher paper to push through it.
- The Wrap: For a backyard cook, wrapping the brisket (the “Texas Crutch”) is highly recommended. It helps the meat power through the stall and locks in moisture.
- Target Temperature: Cook the brisket until its internal temperature reaches between 200-205°F (93-96°C) or until a meat thermometer probe slides in with almost no resistance.
Step 5: The Crucial Rest
This is perhaps the most important step for a tender, juicy brisket. Do not skip it.
- Why It’s Critical: After the long cook, the juices inside the brisket are in a highly agitated state. Cutting into it immediately will cause all those juices to rush out, leaving you with dry meat. Resting allows the juices to redistribute and settle back into the meat. Learn more in our guide on Why Resting Your Steak Makes It Juicy.
- How to Rest: Once the brisket is done, wrap it tightly in butcher paper or a towel and place it in an empty cooler. Let it rest for at least 1-2 hours, and ideally 3-4 hours.
Step 6: Slicing the Brisket
You’ve done the hard work; don’t ruin it at the last minute.
- Against the Grain: Brisket has two muscle sections with grains that run in opposite directions. To ensure every slice is tender, you must slice against the grain. Separate the flat from the point. Slice the flat against the grain, and then slice the point against its grain.
Your Ultimate Brisket Checklist
- Choose: Start with a full packer brisket with good marbling.
- Trim: Remove hard fat and trim the fat cap to 1/4 inch.
- Season: Use a simple salt and pepper rub.
- Smoke: Cook low and slow at 225-250°F.
- Wrap: Push through the stall with foil or butcher paper.
- Rest: Rest in a cooler for at least 2 hours.
- Slice: Cut against the grain to ensure a tender bite.
Congratulations! You now have the tools and knowledge to conquer the brisket.

Pingback: The Art of Roasting: Techniques for Juicy Results