
The reverse sear method is the secret to a perfectly cooked steak. By slowly bringing the meat up to temperature and then finishing with a high-heat sear, you can achieve a flawless edge-to-edge doneness. This ultimate guide will walk you through the process, from preparation to searing, and explain why this technique is a game-changer for thick cuts of beef.
Master the reverse sear, the foolproof technique for cooking a perfect steak. This guide explains the simple science and provides a step-by-step process for a tender, juicy, and perfectly seared steak every time.
The Ultimate Reverse Sear Guide
Have you ever cut into a beautifully seared steak only to find a gray, overcooked “bullseye” in the center with a sad little pink ring in the middle? This is the classic result of searing a cold steak first. The high heat cooks the outer layers before the center has a chance to come up to temperature.
The solution to this problem is the reverse sear. This technique flips the traditional process on its head, guaranteeing a perfectly cooked steak from edge to edge with a beautiful, crunchy crust. It’s a foolproof method for anyone who wants to cook a restaurant-quality steak at home.
This guide will walk you through the reverse sear method from start to finish, explaining the simple science behind why it works and providing a step-by-step process for achieving a perfectly cooked, tender steak every time.
What is the Reverse Sear?
The reverse sear is a two-step cooking process. Instead of searing the steak first, you cook it gently at a low temperature until it’s close to your desired doneness. Then, you finish it with a quick, high-temperature sear to develop a flavorful crust.
The Science Behind Why it Works
- Even Cooking: By starting with a low temperature (225-275°F), the steak comes up to a uniform internal temperature slowly and evenly. This gentle heat prevents the outer muscle fibers from seizing up, ensuring a tender, juicy result with perfect edge-to-edge doneness.
- The Perfect Crust: The initial low-and-slow cook also has a key side benefit: it dries the surface of the steak. A dry surface is essential for a good sear. When the steak finally hits the high heat, that dry surface is ready to undergo the Maillard reaction, creating that deep brown, flavorful crust without overcooking the inside.
Step-by-Step Reverse Sear Guide
This method works best for thick cuts of steak (at least 1.5 inches thick).
Step 1: Prep the Steak
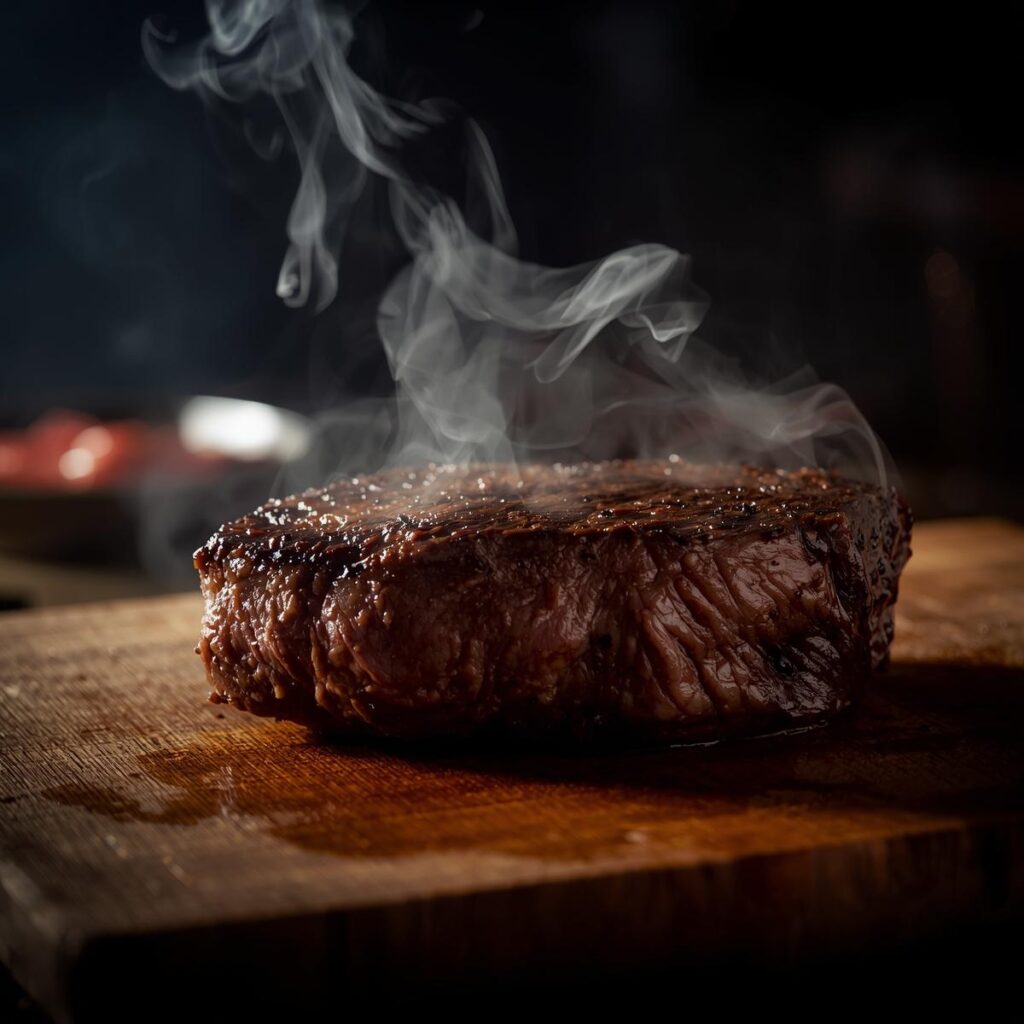
Take your steak out of the refrigerator and pat it completely dry with paper towels. A dry surface is a non-negotiable part of this process. Season it liberally with coarse salt and freshly cracked black pepper on all sides.
Step 2: The First Cook (Low & Slow)
Place your steak in a low-temperature environment.
- Oven Method: Place the steak on a wire rack inside a baking sheet and cook in a preheated oven at 250°F (121°C).
- Grill Method: Set up a two-zone grill with one side on high heat and the other with no heat. Place the steak on the indirect, cooler side.
Use a meat thermometer to monitor the internal temperature. Cook until the steak is about 10-15°F shy of your desired doneness. For medium-rare (130-135°F), this means pulling the steak at around 120°F (49°C).
Step 3: The Rest (Brief)
Remove the steak from the low heat and let it rest for a few minutes. This brief rest is not as critical as with traditional grilling, but it allows the steak to relax slightly before the final sear.
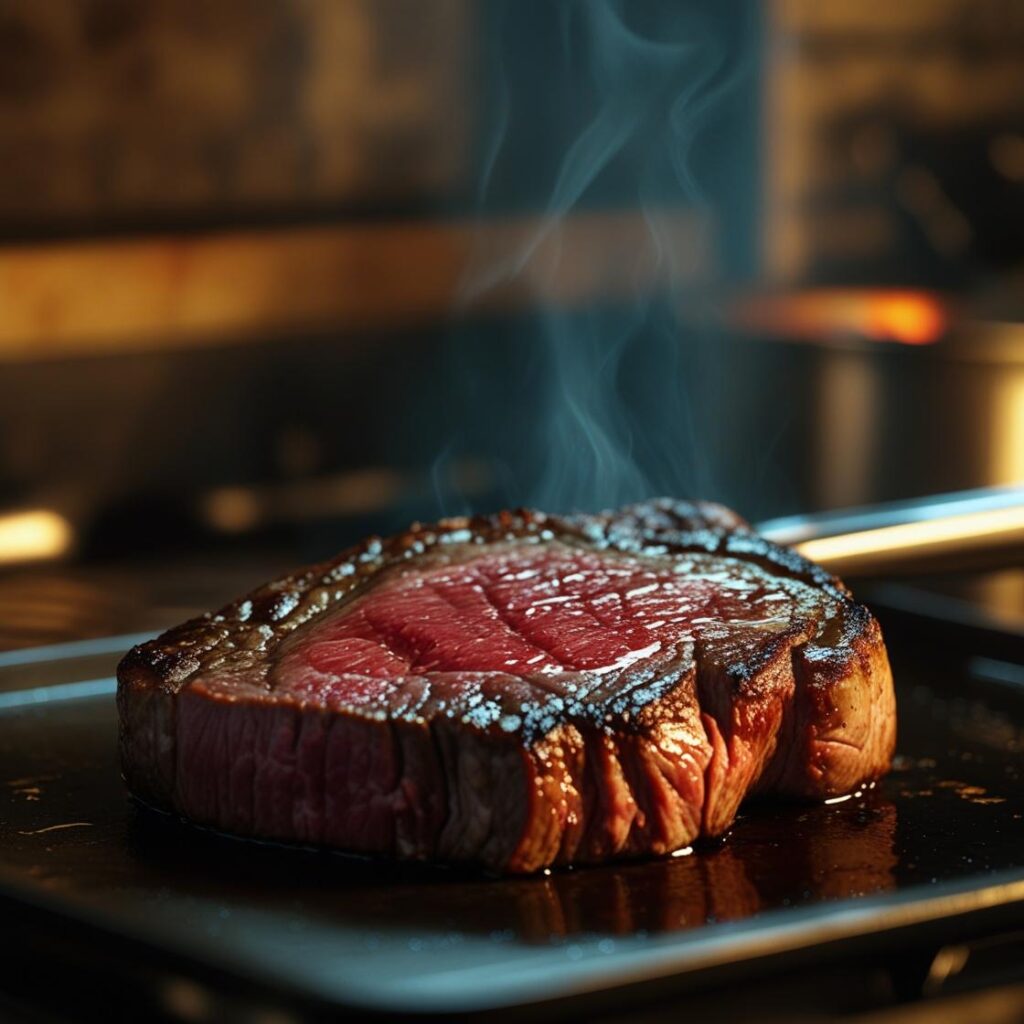
Step 4: The Final Sear (High Heat)
Now for the final, flavor-building step.
- Skillet Method: Get a cast-iron skillet screaming hot with a little high-smoke-point oil (like grapeseed or avocado oil). For extra flavor, add butter, garlic, and herbs (like rosemary or thyme) to the pan and baste the steak.
- Grill Method: Place the steak directly over the high-heat zone of your grill.
Sear for about 60-90 seconds on each side, until a deep, dark crust has formed. The surface will go from gray to brown very quickly.
Why You Should Try the Reverse Sear
- Perfect Doneness: You’ll get a perfectly even cook from edge to edge with no gray band.
- Amazing Crust: The dry surface from the initial cook guarantees an incredible sear.
- Foolproof: This method gives you total control over the internal temperature, taking the guesswork out of cooking a thick steak.
FAQ
Q: What cuts of steak are best for reverse searing? A: This method is ideal for thick cuts of steak (1.5 inches or more) like ribeye, New York strip, and filet mignon.
Q: Do I need to rest the steak after the final sear? A: A long rest is not as critical as with traditional grilling, since the juices have already had time to settle. However, a brief 5-minute rest after the final sear is always a good idea to ensure maximum juiciness.
Ready to put this foolproof method to the test? Check out our guide to The Ultimate Guide to Steak Cuts to choose the perfect steak for your reverse sear.
Internal Links:
- Tenderloin & Filet Mignon: The Ultimate Guide: A crucial link, as this method is perfect for thick tenderloin.
- Ribeye: The Ultimate Guide: The reverse sear is the recommended method for thick ribeyes.
- Tri-Tip: The Ultimate Guide: Perfect for this roast-like cut.
- Top-Rated Meat Thermometers: A thermometer is essential for this technique.
- The Ultimate Guide to Steak Cuts: A good general guide link.
The reverse sear is more than just a technique; it’s a guarantee for a perfect steak every time. By taking the guesswork out of the cooking process, you can achieve an incredible, edge-to-edge doneness that will impress even the most seasoned steak lovers.
Ready to put this foolproof method to the test? Make sure you have the right gear by checking out our guide to the Top-Rated Meat Thermometers, or apply your new skill to a juicy Ribeye Steak for a truly unforgettable meal.
Categories:
- Steak & BBQ
- Cooking & Recipes
- Cooking Techniques
- Grilling & Smoking
- Guides & Tutorials
- Tools & Reviews
- Tools & Gear


Pingback: Steak Doneness Made Simple: 2025 Cooking Tips - The Meat Master USA
Pingback: Prime Rib Recipe | The Meat Master USA – 2025
Pingback: Grilling Steak - The Meat Master USA - 2025
Pingback: Smoking Steak - The Meat Master USA - 2025