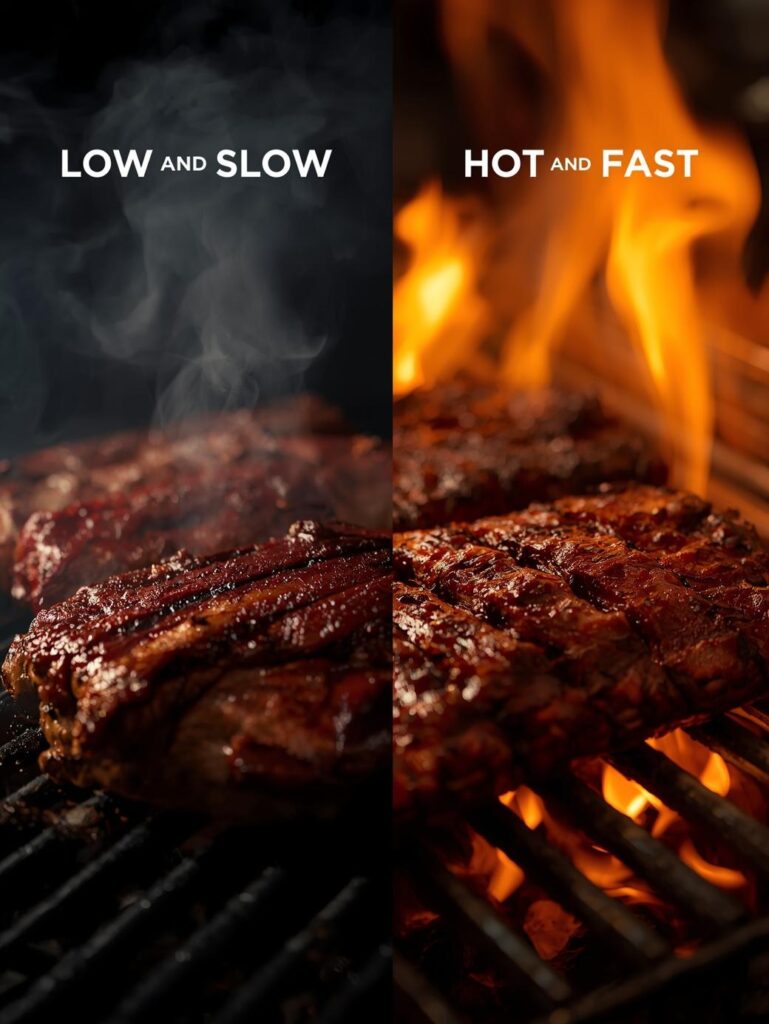

Grilling Ribs: Low and Slow vs Hot and Fast Techniques
Few foods embody the spirit of barbecue quite like ribs. A perfectly cooked rack is the ultimate reward, promising a tender, flavorful experience that’s both deeply satisfying and a labor of love. While many people associate ribs with smoking, a perfectly grilled rack can be just as delicious, with its own unique characteristics. The core challenge lies in taming the heat to achieve the perfect texture and flavor.
This guide will explore the two primary methods for Grilling Ribs: the classic low and slow approach and the modern hot and fast technique. We’ll break down the philosophy, process, and pros and cons of each, giving you the knowledge to choose the best way to master Grilling Ribs for your next cookout.
The Foundation: Prepping Your Ribs for the Grill
Before you decide on a technique, proper preparation is non-negotiable for a perfect result, regardless of the heat level.
Choosing the Right Ribs
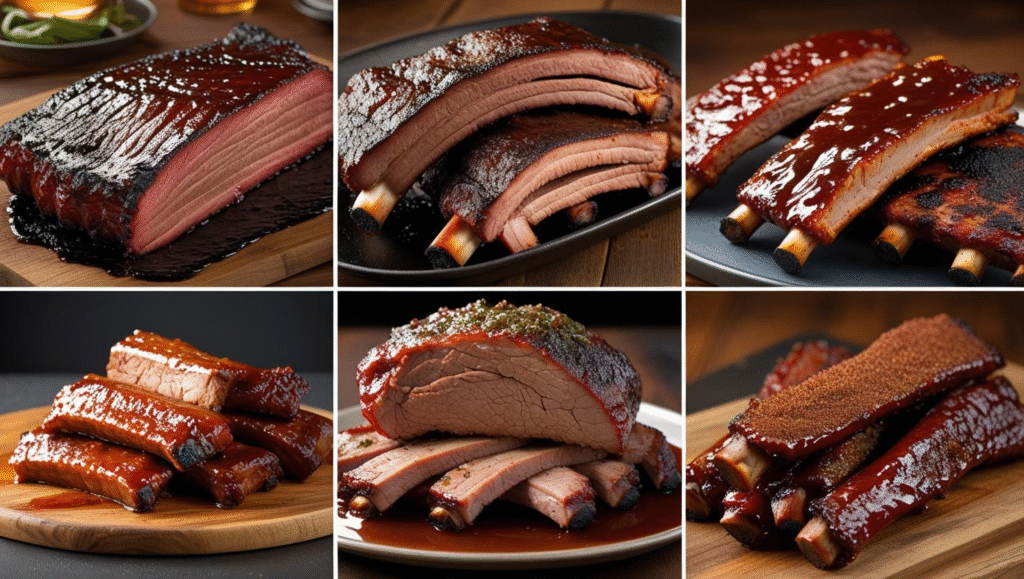
The most common ribs for grilling are pork ribs. You have a few choices:
- Baby Back Ribs: These come from the upper part of the rib cage. They are smaller, leaner, and cook faster. They are a great choice if you prefer leaner meat.
- St. Louis-Style Ribs: These are from the lower part of the rib cage. They are larger, meatier, and have a higher fat content, making them more forgiving to cook and ideal for long sessions on the grill.
- Spareribs: These are a full slab of ribs, often with a flap of meat attached. St. Louis-style ribs are simply trimmed spareribs.
For this guide on Grilling Ribs, we will focus primarily on St. Louis-style ribs, as their size and fat content make them versatile for both low-and-slow and hot-and-fast methods. For more on this, check out our guide on the best pork cuts for BBQ.
Removing the Membrane
This is the single most important preparatory step for tender ribs. On the bone-side of the rack, you will find a thin, silver-colored membrane. This membrane is tough and will not break down during cooking, resulting in a chewy texture.
- How to do it: Slide a butter knife under the membrane at one of the end bones to lift it. Grab it with a paper towel for a better grip and pull it off in one piece.
The Rub
A good dry rub is the foundation of flavor for Grilling Ribs. It will form a flavorful crust as the ribs cook. A simple rub includes salt, pepper, paprika, and garlic powder, but you can add brown sugar for sweetness and cayenne for a little heat. For more on rubs, see our guide on rubs vs marinades vs brines.
Method 1: The Low and Slow Approach to Grilling Ribs
This is the traditional, time-honored way of cooking ribs. It is a slow, methodical process that produces ribs with unparalleled tenderness and deep, smoky flavor.
The Philosophy
The goal of the low and slow method is to slowly break down the tough connective tissue (collagen) in the ribs into soft, luscious gelatin. This process requires a gentle, consistent heat over a long period.
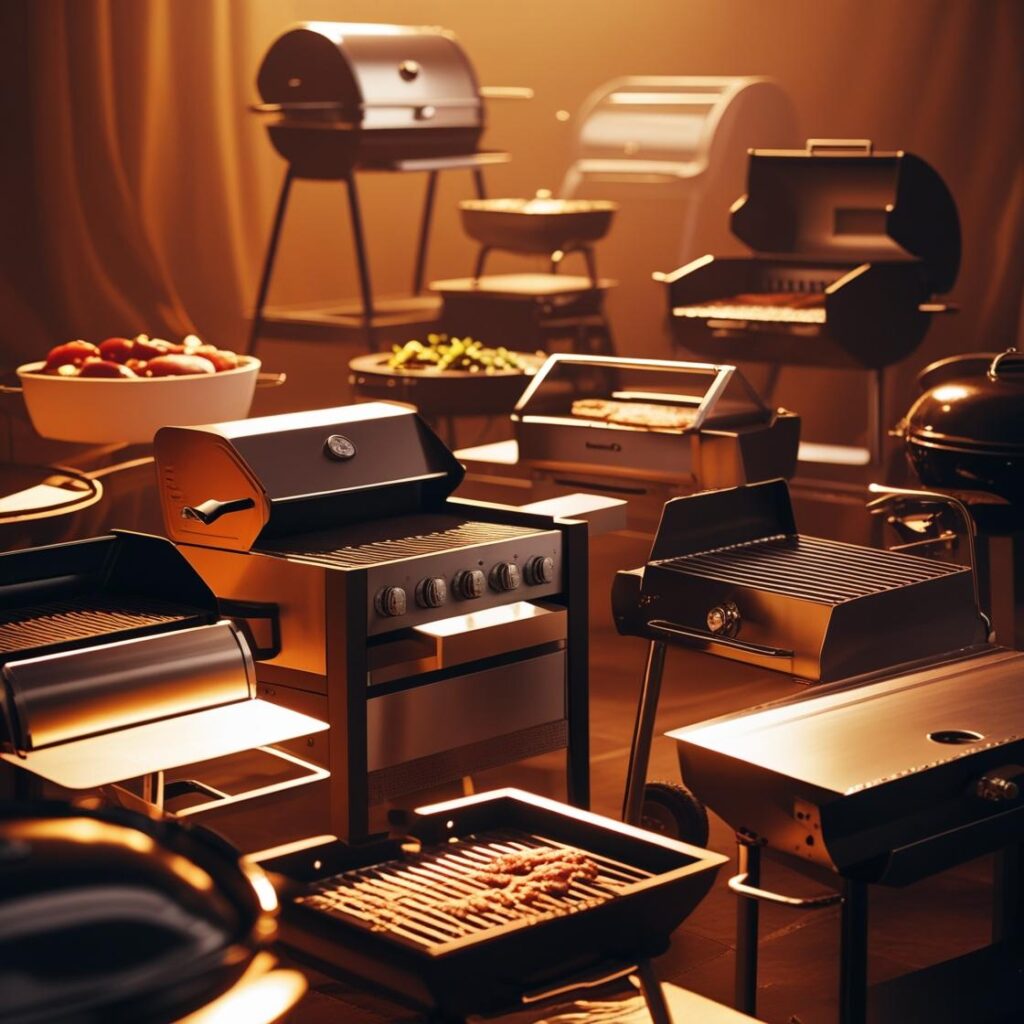
Setting Up Your Grill (Two-Zone Indirect Heat)
This method requires a two-zone fire.
- Charcoal Grill: Pile the charcoal on one side of the grill. You want to create a small, manageable fire that will maintain a consistent temperature between 225-250°F (107-121°C).
- Gas Grill: Light only one or two burners on one side of the grill and set them to low. The other, unlit side will be your cooking zone.
The Low and Slow Process
- Placement: Place the prepared ribs on the unlit, cool side of the grill. Do not place them directly over the fire.
- The Cook: Close the lid and let the ribs cook for 3-5 hours. This phase is all about the smoke and breaking down the collagen. You’ll want to add wood chips or chunks to the hot coals for a smoky flavor.
- The Wrap (Optional but Recommended): For “fall-off-the-bone” tenderness, consider wrapping the ribs in foil after about 2-3 hours. Place them on a large piece of foil with a splash of apple juice or broth, then seal the packet. This steams the ribs, making them incredibly tender.
- The Finish: After wrapping for an hour or two, unwrap the ribs, baste with BBQ sauce (if desired), and place them back on the grill for the final 30-60 minutes to set the sauce and firm up the bark.
Pros and Cons
- Pros: Unbelievably tender, rich smoky flavor, forgiving to cook (as long as the temperature is consistent).
- Cons: Very long cook time, requires constant temperature monitoring, can result in a softer crust. This is the opposite of a fast cook time like in our guide on grilling shrimp.
Method 2: The Hot and Fast Approach to Grilling Ribs
This method is for those who love the flavor of grilled food but don’t have all day to cook. It’s a high-heat, hands-on approach that produces ribs with a great crust and a satisfying bite.
The Philosophy
The goal is to cook the ribs quickly and efficiently, using high heat to create a fantastic char and caramelization on the outside while cooking the interior to a safe, juicy temperature.
Setting Up Your Grill (Direct High Heat)
- Charcoal Grill: Fill your charcoal chimney with a full load of charcoal. Once hot, dump them in the center of the grill for a large, hot cooking surface.
- Gas Grill: Preheat all burners to a high temperature, around 350-400°F (175-200°C).
The Hot and Fast Process
- Placement: Place the ribs directly over the high heat.
- The Sear: Cook for about 10-15 minutes on each side, until a deep, dark brown crust has formed. The ribs will cook quickly, so it’s important to monitor them closely.
- The Finish (Indirect Heat): Once a good sear has been achieved, move the ribs to a cooler part of the grill or reduce the heat to medium. Close the lid and let them finish cooking for another 20-30 minutes, or until the meat is tender.
- The Baste: You can baste with BBQ sauce during the final 10 minutes, but be careful, as the sugar in the sauce can burn quickly.
Pros and Cons
- Pros: Much faster cook time, great charred flavor, firmer texture.
- Cons: Higher risk of drying out, requires more hands-on attention, less smoky flavor.
Grilling Ribs: Doneness and Resting
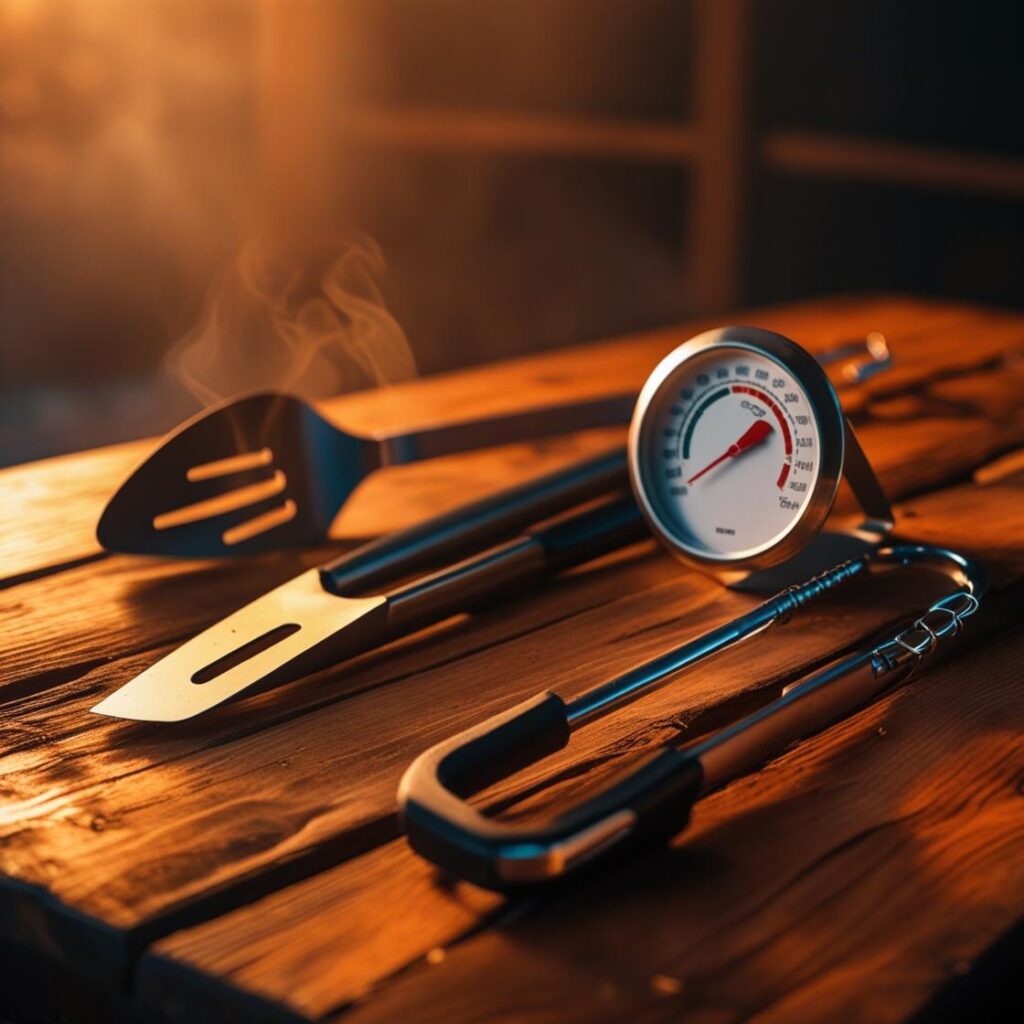
Regardless of which method you choose, knowing when the ribs are done is key. Unlike other meats, ribs are judged primarily on tenderness, not a specific temperature, but it’s still wise to monitor it. For a full breakdown of temperatures, see our meat temperature chart for safe internal temps.
- The Bend Test: This is the most reliable method. Pick up the rack of ribs with tongs in the center. If they are done, the rack will bend easily and the surface will crack. If it feels stiff, it needs more time.
- Internal Temperature: The ribs are typically done when they reach an internal temperature between 195-205°F (90-96°C). This is when the connective tissue has fully broken down. You can check the official USDA food safety chart for more information.
The Importance of Resting
After the ribs are cooked, it is crucial to let them rest for at least 10-15 minutes, tented loosely with foil. This allows the muscle fibers to relax and reabsorb all the juices, ensuring a moist and delicious result.
Common Mistakes and Pro Tips for Grilling Ribs
- Not Removing the Membrane: This will make your ribs tough and chewy. Always remove it.
- Rushing the Cook: If your ribs are tough, they are undercooked. They need more time for the collagen to break down.
- Using Too Much Sauce Too Early: The high sugar content in most sauces will burn. Apply it only in the last few minutes of the cook.
- Pro Tip: Use a Rib Rack: If you’re cooking multiple racks, a rib rack is a great tool to keep them upright and maximize your grill space. For a list of essential tools, check out our guide on the essential BBQ tools you need.
- Pro Tip: The Water Pan: For low and slow cooking, a water pan placed under the ribs will add moisture to the cooking environment and help maintain a stable temperature.
- Pro Tip: Compare with Smoking: If you love the low and slow method, you might also be interested in our guide on smoking ribs, which uses a dedicated smoker for a more intense smoky flavor. For more expert grilling tips, a guide from a trusted source like AmazingRibs.com provides excellent insights and technical details.
Conclusion
Mastering Grilling Ribs is a rewarding journey, and there is no single “right” way to do it. The best method depends on your personal preference and the time you have available. The low and slow approach will give you a classic, incredibly tender rib with deep smoky flavor. The hot and fast method will provide a quicker solution with a great char and a satisfying bite. By understanding the principles behind each technique, you can choose the one that’s right for you and consistently create a dish that will be a hit at any gathering.
Now that you have the knowledge and confidence to tackle this classic, it’s time to fire up your grill. The perfect ribs are within your reach!
Ready to try your hand at this amazing Grilling Ribs? Get started today and taste the difference!
Pingback: How to Season Meat: Rubs, Marinades, and Brines Explained
Pingback: How to Season Meat: Essential Guide to Rubs, Marinades, and Brines (2025)
Pingback: Grilling vs Smoking: Which Is Best for Flavor?