

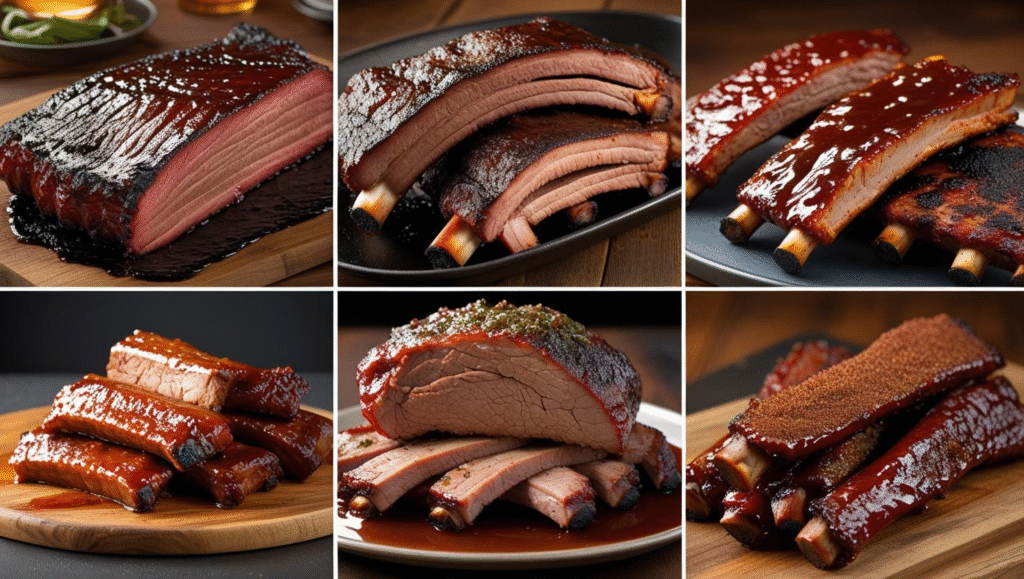
Smoking Ribs: Fall-Off-the-Bone Every Time
Few BBQ creations are as celebrated or as satisfying as a perfectly smoked rack of ribs. The promise of a tender, juicy bite that effortlessly slides off the bone, complemented by a smoky, flavorful bark, is a BBQ enthusiast’s ultimate goal. However, achieving this level of perfection can seem like a daunting challenge, often leading to ribs that are tough, dry, or overcooked. If you’re looking for a definitive guide that guarantees a flawless result, you’ve come to the right place. This comprehensive guide will walk you through a foolproof method designed for success. With this Smoking Ribs guide, you will learn the secrets to creating unbelievably tender, mouthwatering ribs that will make you a legend at your next cookout.
Understanding the Types of Ribs for Smoking Ribs
The first step to a successful smoke is choosing the right rack of ribs. While the method for Smoking Ribs is similar for most cuts, their size, shape, and fat content will affect your cooking time and final result. For more information on different pork cuts, see our guide on the best pork cuts for BBQ.
- Baby Back Ribs: These come from the upper rib cage, near the backbone. They are shorter, leaner, and more curved than other cuts. Because they are leaner, they cook faster but can also dry out more easily if you are not careful.
- St. Louis-Style Ribs: These are cut from the lower portion of the rib cage, where the spareribs are. They are flatter, more rectangular, and have a higher fat content and more meat between the bones. This makes them an excellent choice for smoking, as the fat keeps them moist and the uniform shape makes them easier to handle.
- Spareribs: Spareribs are the entire rack of ribs from the belly, often with a large flap of meat and cartilage. St. Louis-style ribs are simply spareribs that have been trimmed into a neater shape.
For this Smoking Ribs method, we will focus on St. Louis-style ribs, as their shape and fat content make them the most forgiving and consistent choice for this long cooking process.
The Prep: The Key to a Perfect Rack
Before the ribs ever see smoke, a few simple preparatory steps are crucial for ensuring a perfect result.
The Rub and the Membrane
This is where the flavor begins and the texture is perfected.
- Remove the Membrane: Flip the rack of ribs meat-side down. On the bone-side, you will find a thin, silvery membrane or skin. Using a butter knife, slide it under the membrane on one of the end bones to lift it. Grab the membrane with a paper towel (for a better grip) and pull it off in one piece. This step is non-negotiable, as the membrane does not break down and can result in a chewy, unpleasant texture.
- Apply the Dry Rub: A good dry rub is the foundation of flavor for Smoking Ribs. A simple but effective recipe includes:
- 1/2 cup brown sugar
- 1/4 cup paprika
- 2 tablespoons black pepper
- 2 tablespoons coarse salt
- 1 tablespoon garlic powder
- 1 tablespoon onion powder
- 1 teaspoon cayenne pepper (optional, for a kick) Mix the ingredients and apply the rub liberally to all sides of the ribs, gently pressing it into the meat.
- Use a Binder (Optional but Recommended): To help the rub adhere to the ribs, you can apply a thin layer of a “binder” before adding the rub. Yellow mustard, olive oil, or even a spritz of apple cider vinegar work well. The mustard flavor will not transfer to the ribs; its acidity and moisture simply create a sticky surface for the rub to cling to. For more on this, check out our guide on rubs vs marinades vs brines.
The Cook: The 3-2-1 Method for Smoking Ribs
The 3-2-1 method is a time-tested, three-stage process that guarantees “fall-off-the-bone” tenderness. It stands for 3 hours of smoke, 2 hours of wrapping, and 1 hour of saucing. This is the ultimate method for Smoking Ribs.
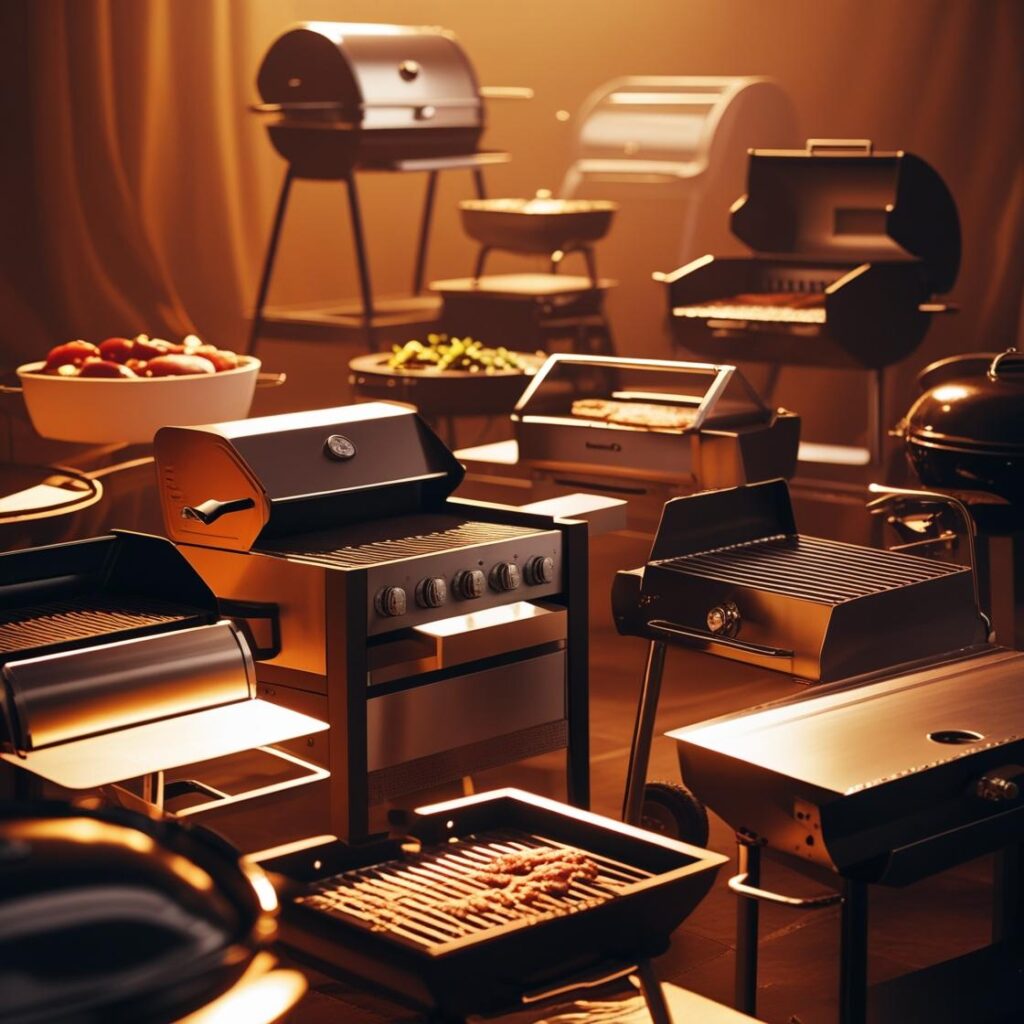
Setting Up Your Smoker
- Smoker Temperature: The ideal temperature for Smoking Ribs is a consistent 225°F (107°C).
- Wood Selection: Choose a mild to medium wood like apple, cherry, or oak. These woods impart a great flavor without overpowering the ribs. Avoid strong woods like mesquite, which can create a bitter taste over a long cook.
Step 1: The Smoke (3 hours)
This stage is all about building flavor and creating a flavorful crust, or “bark.”
- Place the Ribs: Place the seasoned ribs directly on the grill grates, bone-side down.
- The Smoke: Close the lid and let the ribs smoke for 3 hours at 225°F. Do not open the lid frequently. “If you’re looking, you’re not cooking.” You’ll know it’s working when a beautiful, deep mahogany color begins to develop.
Step 2: The Wrap (2 hours)
This is the tenderness stage.
- The Wrap: After 3 hours, the ribs are ready to be wrapped. Lay out a large piece of heavy-duty foil. Place a thin layer of butter, brown sugar, and a few tablespoons of apple juice or apple cider vinegar in the center. Place the ribs, meat-side down, on top of this mixture.
- Seal It: Wrap the ribs tightly in the foil to create a sealed packet. You can also use a reusable foil pan covered with foil.
- Return to Smoker: Place the wrapped ribs back on the smoker for 2 hours at 225°F. The liquid inside the foil will turn to steam, tenderizing the ribs and making them incredibly moist.
Step 3: The Finish (1 hour)
This stage is about finishing the ribs with sauce and setting the bark.
- Unwrap and Sauce: After 2 hours, carefully remove the wrapped ribs from the smoker. Unwrap the foil, being cautious of the hot steam, and discard the foil and liquid.
- Add Sauce: Place the ribs back on the smoker, meat-side up. Generously brush your favorite BBQ sauce onto the ribs.
- The Final Hour: Let the ribs cook for the final 1 hour. This allows the sauce to caramelize and set, while the ribs continue to tenderize slightly. The high sugar content in many sauces can burn quickly, so adding it only at this stage is a crucial step for perfect Smoking Ribs.
Smoking Ribs: Doneness and Resting
Knowing when your ribs are done is the most important part of any Smoking Ribs guide. Unlike a steak, temperature is not the final indicator. Tenderness is the key. For a more detailed look at doneness, you can see our meat temperature chart for safe internal temps.
The Bend Test
The most reliable test for doneness is the bend test.
- How to do it: Pick up the rack of ribs with tongs in the center. If the ribs are ready, the rack will bend easily and the surface will crack. If they are not ready, they will feel stiff. If they completely fall apart, they are overcooked (but still delicious!).
- Alternative: You can also insert a toothpick or a skewer between the bones. If it goes in with little to no resistance, they are done.
The Importance of Resting
- Why it matters: While not as critical as with steak, resting allows the juices to settle back into the meat, ensuring a moist result.
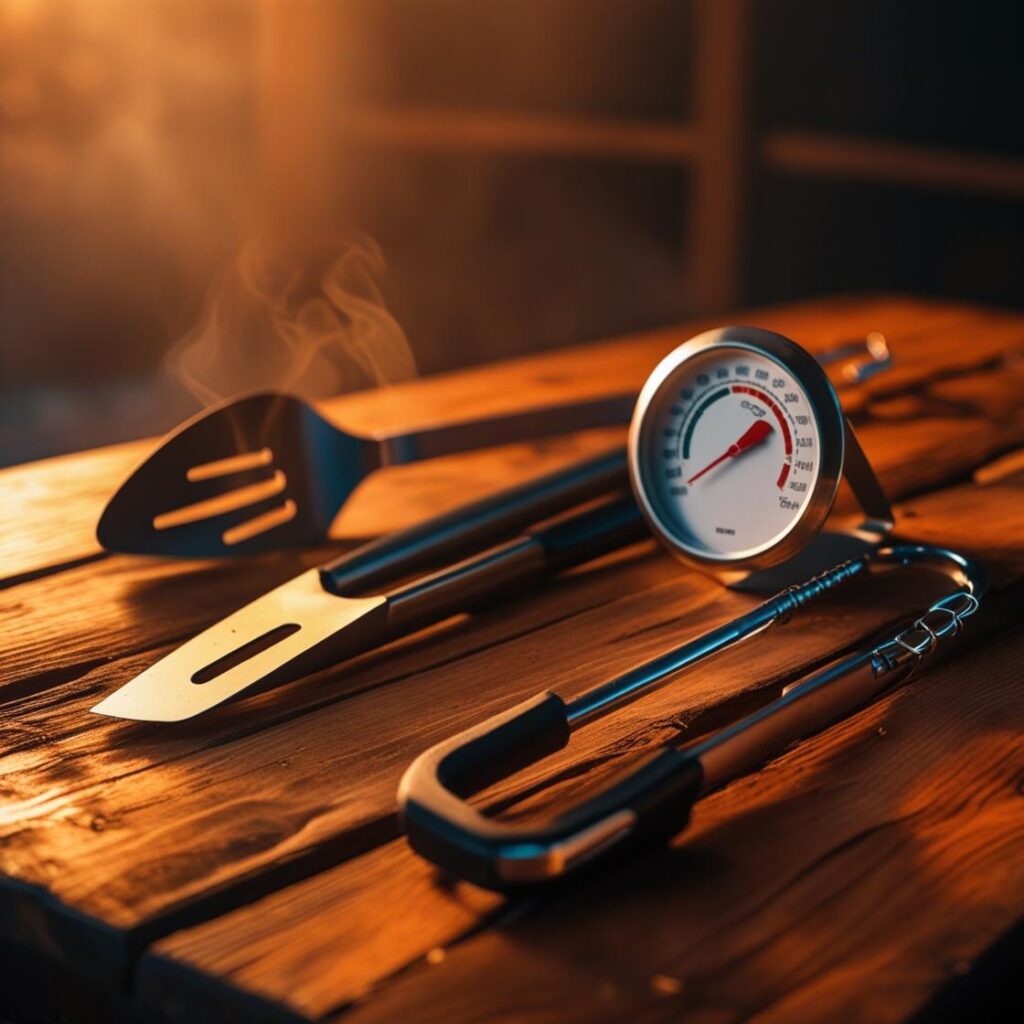
- How to Rest: After the final hour, take the ribs off the smoker and let them rest on a cutting board, tented loosely with foil, for 10-15 minutes before slicing. For more information on using the right tools, like a good meat thermometer, check out our guide on the top 5 meat thermometers.
Common Mistakes and Pro Tips for Smoking Ribs
Even with a foolproof method, minor mistakes can happen. Here’s how to avoid them and elevate your Smoking Ribs game.
- Not Maintaining Temperature: The most common cause of dry or tough ribs. A smoker needs to be tended to in order to maintain a consistent temperature. Use a reliable digital thermometer with a probe to monitor the grill’s temperature.
- Opening the Lid: Every time you open the smoker lid, you lose valuable heat and smoke. Only open the lid when you absolutely need to.
- Over-Saucing: Too much sauce too early will result in a burnt, sticky mess. Wait until the final stage to add your sauce.
- Pro Tip: Don’t Rush It: The beauty of Smoking Ribs is the low and slow process. If the ribs feel tough, they just need more time.
- Pro Tip: Rib Holders: For smoking multiple racks, a rib holder can be a great tool to keep them upright and save space. For a great external resource on the science of BBQ and ribs, a guide from AmazingRibs.com provides excellent insights and technical details.
- Pro Tip: Wrapping Alternatives: While foil is standard, you can also use butcher paper to wrap your ribs. Butcher paper allows for some moisture to escape, which can help create a better bark.
Conclusion
Mastering Smoking Ribs is a rewarding culinary journey that proves patience and precision are the key ingredients. By following the time-tested 3-2-1 method, you can consistently produce a rack of ribs that is tender, juicy, and infused with an unforgettable smoky flavor. This technique is a game-changer for anyone who loves barbecue.
Now that you have the knowledge and confidence to tackle this classic, it’s time to fire up your smoker. The perfect rack of ribs is within your reach!
Ready to try your hand at the ultimate Smoking Ribs? Get started today and taste the difference!
Pingback: BBQ Techniques Explained: A Master Guide