

How to Braise Meat for Maximum Tenderness
There are few culinary techniques as rewarding as braising, especially when it comes to transforming tough, inexpensive cuts of meat into fall-apart tender, deeply flavorful masterpieces. It’s a method steeped in tradition, celebrated for its ability to create comfort food that warms the soul and satisfies the palate.
If you’ve ever wondered how to achieve that succulent texture and rich sauce that define truly great braised dishes, this guide is your definitive resource. This comprehensive exploration will delve into every essential step, from choosing the right cut to perfecting the braising liquid, ensuring you learn precisely How to Braise Meat for Maximum Tenderness.
With this guide, you will unlock the secrets to creating unbelievably tender, juicy meat every single time, making you a master of this classic cooking method.
What is Braising? The Science of Transforming Tough Cuts
To truly understand How to Braise Meat for Maximum Tenderness, it’s essential to grasp the science behind this incredible cooking method. Braising is a combination cooking technique that involves two main stages: initial searing at a high temperature, followed by slow cooking in a small amount of liquid in a covered pot.
The Role of Collagen
The magic of braising lies in its ability to break down collagen. Collagen is a tough connective tissue found in abundance in harder-working muscles of an animal (like the shoulder, legs, and ribs). These cuts are often cheaper but packed with flavor.
- Collagen Breakdown: When collagen is exposed to low, moist heat over an extended period (typically above 160°F or 71°C), it slowly dissolves and transforms into gelatin.
- Gelatin’s Effect: This gelatin then melts into the braising liquid, enriching it and giving it a silky, unctuous texture. More importantly, it reabsorbs into the meat itself, making it incredibly moist, succulent, and tender. This is precisely How to Braise Meat for Maximum Tenderness.
Moisture and Heat
Braising relies on both dry heat (from searing) and moist heat (from the liquid).
- Searing: The initial high-heat sear creates complex flavor compounds on the surface of the meat through the Maillard reaction. This caramelization adds depth and richness to the final dish. For more on this, check out our guide on How to Pan-Sear Meat Like a Professional Chef.
- Moist Heat: The gentle, moist heat from the simmering liquid slowly works its way through the meat, gradually breaking down the tough connective tissues without drying out the muscle fibers. The covered pot traps steam, ensuring a moist environment.
Choosing the Right Cut: The Foundation of Tenderness
The success of How to Braise Meat for Maximum Tenderness largely depends on selecting the appropriate cut of meat. You want cuts with a good amount of collagen and marbling that will benefit from a long, slow cook.
- Beef:
- Chuck Roast: The quintessential braising cut. It’s affordable, well-marbled, and has plenty of connective tissue that breaks down into gelatin, resulting in incredibly tender beef. This is often used for dishes like pot roast or barbacoa.
- Short Ribs: Famous for their rich flavor and fall-off-the-bone tenderness when braised. They have a perfect balance of meat, fat, and bone.
- Brisket: While often smoked, brisket can also be braised to achieve a remarkably tender result.
- Oxtail: A highly gelatinous cut that yields a rich, luxurious braise.
- Pork:
- Pork Shoulder (Pork Butt): Excellent for pulled pork or hearty stews. It’s fatty and full of collagen.
- Pork Shanks: Similar to beef shanks, these become incredibly tender and flavorful when braised.
- Pork Ribs (Spare Ribs): While baby back ribs are often grilled, larger, meatier spare ribs can be braised to perfection.
- Lamb:
- Lamb Shank: A classic braising cut, known for its rich flavor and extreme tenderness when cooked low and slow.
- Lamb Shoulder: Similar to pork shoulder, it benefits greatly from braising.
Essential Tools for Braising Like a Pro
To master How to Braise Meat for Maximum Tenderness, you’ll need a few key pieces of equipment.
- Heavy-Bottomed Pot with a Tight-Fitting Lid:
- Dutch Oven (Cast Iron): The absolute best choice. Cast iron retains and distributes heat exceptionally well, ensuring even cooking. The tight-fitting lid minimizes moisture loss.
- Heavy Stockpot: A thick-bottomed stockpot can work, but ensure it’s heavy enough to prevent scorching and has a lid that seals well.
- Sharp Knife: For trimming and preparing the meat. Check out our guide on the only 4 knives you need for meat prep.
- Tongs: For safely handling the meat during searing.
- Ladle: For serving and skimming fat.
- Instant-Read Meat Thermometer (Optional but Useful): While tenderness is the primary indicator, a thermometer can confirm safe cooking temperatures, especially for poultry or ground meat additions. For general food safety guidelines, consult the USDA food safety chart.
The Step-by-Step Guide to Braising for Maximum Tenderness
Follow these detailed steps to achieve a perfectly braised dish.
1. Prepare the Meat
- Trim Excess Fat: While some fat is good for flavor, trim off any large, hard chunks of fat or silverskin that won’t render down. Leave a decent layer of fat for flavor and moisture.
- Cut into Portions: For larger roasts, cut the meat into 2-3 inch pieces. This allows for more surface area for searing and ensures even cooking. For bone-in cuts like short ribs or shanks, leave them whole.
- Pat Dry & Season: This is crucial. Use paper towels to pat the meat completely dry. Then, season generously on all sides with salt and freshly cracked black pepper. Don’t be shy; a good seasoning helps build flavor.
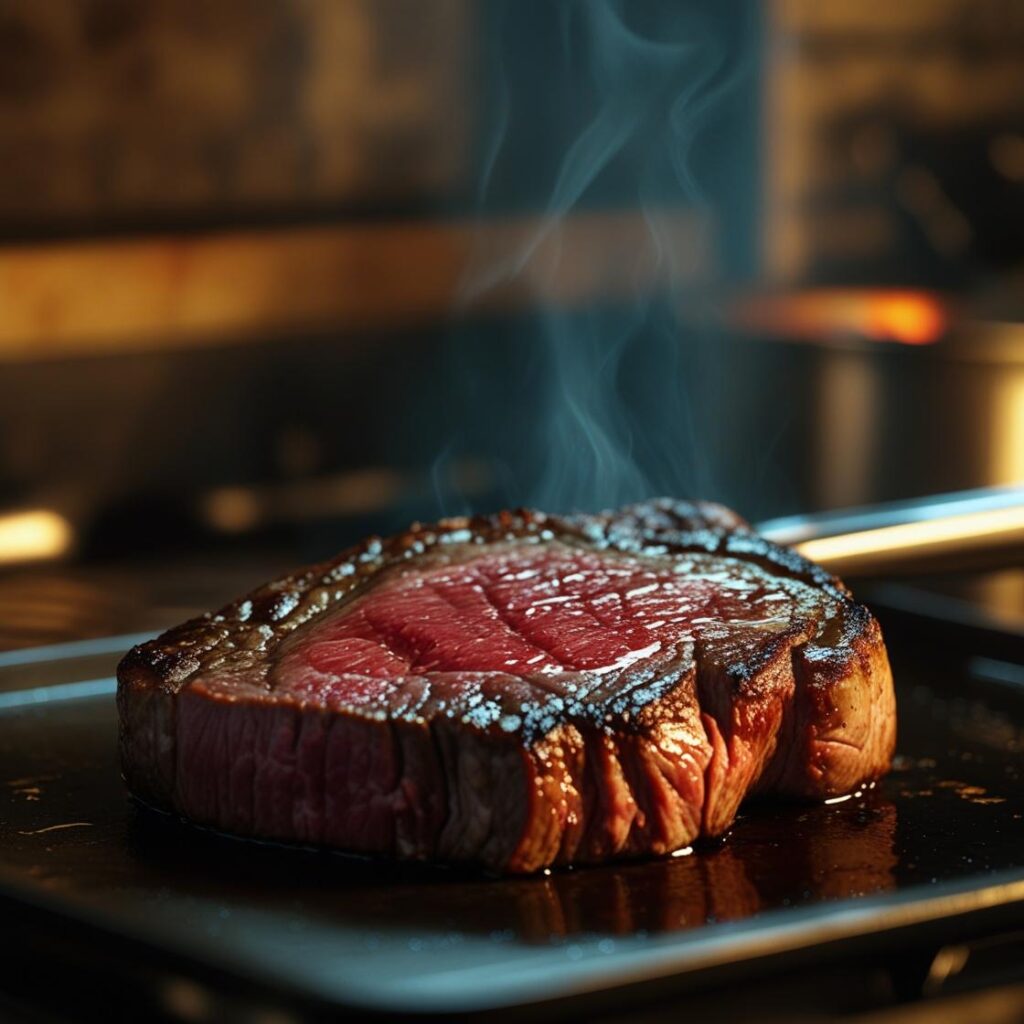
2. Sear the Meat
- Heat the Pot: Place your Dutch oven or heavy-bottomed pot over medium-high heat. Add a tablespoon or two of high-smoke-point oil (grapeseed, canola, or avocado). Heat until it shimmers and just begins to smoke lightly.
- Sear in Batches: Working in batches to avoid overcrowding the pot, sear the meat on all sides until a deep, golden-brown crust forms. This step is vital for developing rich flavor through the Maillard reaction. Remove the seared meat and set aside.
3. Sauté Aromatics and Deglaze
- Sauté Vegetables: In the same pot, reduce the heat to medium. Add chopped aromatics like onions, carrots, and celery (a classic mirepoix). Sauté until softened, scraping up any browned bits from the bottom of the pot.
- Garlic & Herbs: Add minced garlic and herbs (fresh thyme, rosemary, bay leaves) and cook for another minute until fragrant.
- Deglaze: Pour in a splash of liquid (wine, beer, or broth) and scrape the bottom of the pot with a wooden spoon to loosen all the flavorful browned bits (fond). This creates the base of your rich braising liquid.
4. Build the Braising Liquid
- Add Liquid: Add your main braising liquid. This could be beef broth, chicken broth, red wine, crushed tomatoes, or a combination. The liquid should come about one-third to halfway up the sides of the meat. You don’t want to completely submerge it, as it’s a braise, not a boil.
- Season Liquid: Taste the liquid and adjust seasoning. Add more salt, pepper, or other spices (e.g., paprika, chili powder, cumin, Worcestershire sauce) as needed. A good braising liquid is deeply flavorful.
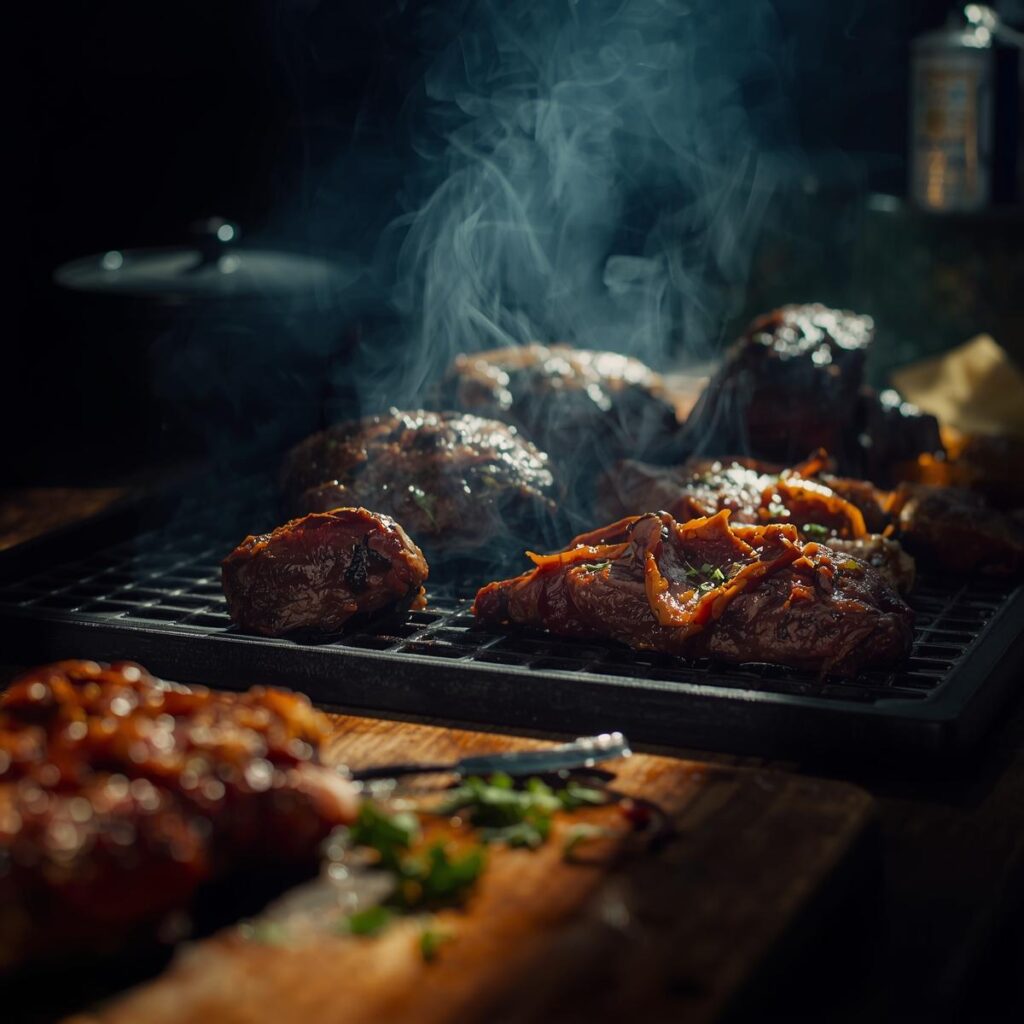
5. The Low-and-Slow Cook
- Return Meat: Return the seared meat to the pot, nestling it into the liquid and aromatics.
- Cover and Cook: Bring the liquid to a gentle simmer on the stovetop. Then, cover the pot tightly with its lid and transfer it to a preheated oven.
- Oven Temperature: Braise at a low oven temperature, typically 300-325°F (150-165°C).
- Cooking Time: Braising takes time. Cook for 2 to 4 hours, or even longer for very tough cuts. The exact time depends on the cut and size of the meat. The key indicator of doneness is tenderness, not a specific time.
6. Check for Doneness: The Fork Test
- The True Indicator: The meat is done when it is incredibly tender and can be easily shredded with a fork. There should be little to no resistance. If it’s still tough, it needs more time. This is the definition of How to Braise Meat for Maximum Tenderness.
- Resting (Optional but Recommended): While not as critical as with a seared steak, letting braised meat rest for 10-15 minutes after removing from the oven can help the juices redistribute.
7. Finishing the Sauce
- Remove Meat: Carefully remove the tender meat from the pot and set aside.
- Strain (Optional): You can strain the braising liquid through a fine-mesh sieve to remove the solids for a smoother sauce.
- Skim Fat: Skim off any excess fat from the surface of the sauce using a ladle or a fat separator.
- Reduce (Optional): If the sauce is too thin, return it to the stovetop and simmer over medium-high heat until it reduces and thickens to your desired consistency. Taste and adjust seasoning one final time.
- Combine: Return the shredded or whole pieces of meat to the finished sauce to warm through.
Common Mistakes and Pro Tips for Braising
Even with a detailed guide on How to Braise Meat for Maximum Tenderness, pitfalls can occur.
- Not Searing Properly: Skipping the sear or not getting a deep enough crust leads to a less flavorful braise. The Maillard reaction is crucial.
- Not Enough Time: The most common mistake. Tough cuts need time for collagen to break down. Don’t rush it! If it’s tough, it’s not done yet.
- Too Much Liquid: Braising uses a relatively small amount of liquid. Too much liquid will boil the meat instead of gently cooking it, potentially leading to less flavor concentration.
- Pro Tip: Braise Ahead: Braised dishes often taste even better the next day. The flavors have more time to meld and deepen. This makes them perfect for entertaining.
- Pro Tip: The Freezer is Your Friend: Braised meat freezes beautifully. Portion it into airtight containers with some sauce for quick, delicious meals.
- Pro Tip: Use Your Nose: Your nose is a great indicator. When the meat is nearly done, the aroma will be incredibly rich and inviting.
- Pro Tip: Add Acidity: A touch of acid (wine, vinegar, tomatoes, lemon juice) in the braising liquid brightens the flavor and can help tenderize the meat. For more advanced braising techniques, a resource like Serious Eats on braising provides excellent insights.
Conclusion
Mastering How to Braise Meat for Maximum Tenderness is a culinary skill that will serve you well for a lifetime. It’s a testament to the power of patience and understanding how heat interacts with tough cuts of meat. By following the principles of searing for flavor, slow-cooking for tenderness, and careful sauce finishing, you can consistently produce dishes that are rich, comforting, and undeniably delicious.
Embrace the low-and-slow approach, experiment with different cuts and liquids, and soon you’ll be creating braised masterpieces that will impress everyone at your table.
Ready to try your hand at braising for maximum tenderness? Grab your Dutch oven and start transforming tough cuts into culinary gold today!


Pingback: The Science of Meat: Understanding Marbling, Aging, and Tenderness
Pingback: BBQ Techniques Explained: A Master Guide