The Ultimate Guide to Cooking Ribs on the Grill
Master the art of cooking ribs on the grill. Our guide covers preparation, techniques, and pro tips for fall-off-the-bone, smoky perfection every time. 155 characters.
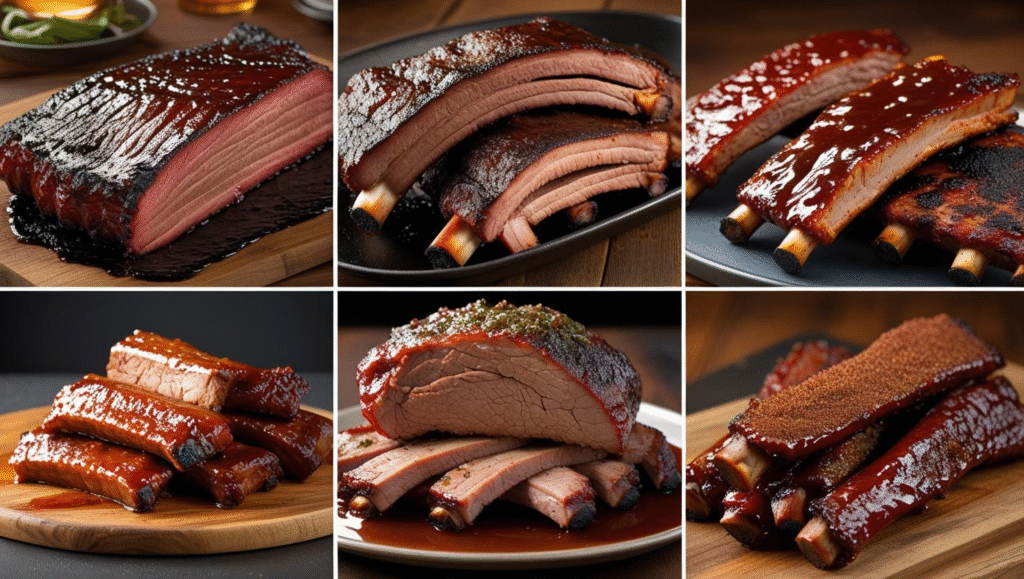
There’s nothing quite like the sound of a satisfied sigh after someone takes their first bite of perfectly grilled ribs. The smoky aroma, the caramelized crust, and the tender, juicy meat pulling cleanly from the bone is the holy grail of backyard barbecuing. While it may seem intimidating, cooking ribs on the grill is an achievable art form. This guide will demystify the entire process, transforming you from a novice into a pitmaster capable of producing incredible ribs every single time. We will cover everything from selecting your ribs to the final, glorious presentation.
The journey to perfect ribs is a rewarding one. It requires patience, the right technique, and a passion for great flavor. Whether you prefer baby back ribs or hearty spare ribs, the fundamental principles remain the same. By the end of this article, you will have the confidence and knowledge to fire up your grill and create a meal that will have your friends and family talking for weeks.
Understanding Your Ribs: Baby Back vs. Spare Ribs
Before you even light the grill, your first crucial decision is choosing the right type of rib. The two most common varieties are baby back ribs and spare ribs, each with distinct characteristics. For a definitive guide to meat cuts, you can always refer to the <a href=”https://www.beefitswhatsfordinner.com/cuts/cut/4116/baby-back-ribs” target=”_blank” rel=”noopener nofollow”>Beef It’s What’s For Dinner website</a>, a fantastic external resource.
Baby Back Ribs
Baby back ribs come from the top of the rib cage, between the spine and the spare ribs. They are shorter, curved, and generally more tender and leaner than spare ribs.
-
Characteristics: More meat between the bones, less fat, quicker cooking time.
-
Flavor Profile: Milder pork flavor, often described as more “delicate.”
-
Best For: Those who prefer a less fatty rib and a faster cook.
Spare Ribs
Spare ribs are cut from the lower section of the pig’s rib cage, near the belly. They are larger, flatter, and contain more bone and fat than baby backs.
-
Characteristics: More overall meat, higher fat content, richer flavor, longer cooking time.
-
Flavor Profile: Robust, hearty pork flavor that stands up well to strong rubs and sauces.
-
Best For: Traditional barbecue enthusiasts who love a rich, fatty, and deeply flavorful rib.
St. Louis Style Ribs
This is a trimmed-down version of spare ribs. By removing the rib tips and breastbone, you get a uniform, rectangular rack that cooks more evenly. They offer the best of both worlds: the great flavor of spare ribs with a neater presentation.
Essential Preparation: The Key to Flavorful Ribs
Proper preparation is the non-negotiable foundation of cooking ribs on the grill. Rushing this stage will lead to mediocre results, no matter how good your grilling technique is.
Removing the Membrane
Every rack of ribs has a thin, tough membrane on the bony side. Leaving it on will prevent seasonings from penetrating the meat and make the finished ribs chewy.
-
Slide a butter knife or your finger under the membrane on one end of the rack to loosen it.
-
Grab the membrane with a paper towel for a better grip.
-
Pull it slowly and steadily across the entire rack until it releases in one piece.
Removing this membrane is the single most important step for ensuring tender ribs that allow you to take a clean bite. For a visual guide, check out our internal article on [How to Remove the Membrane from Ribs Like a Pro].
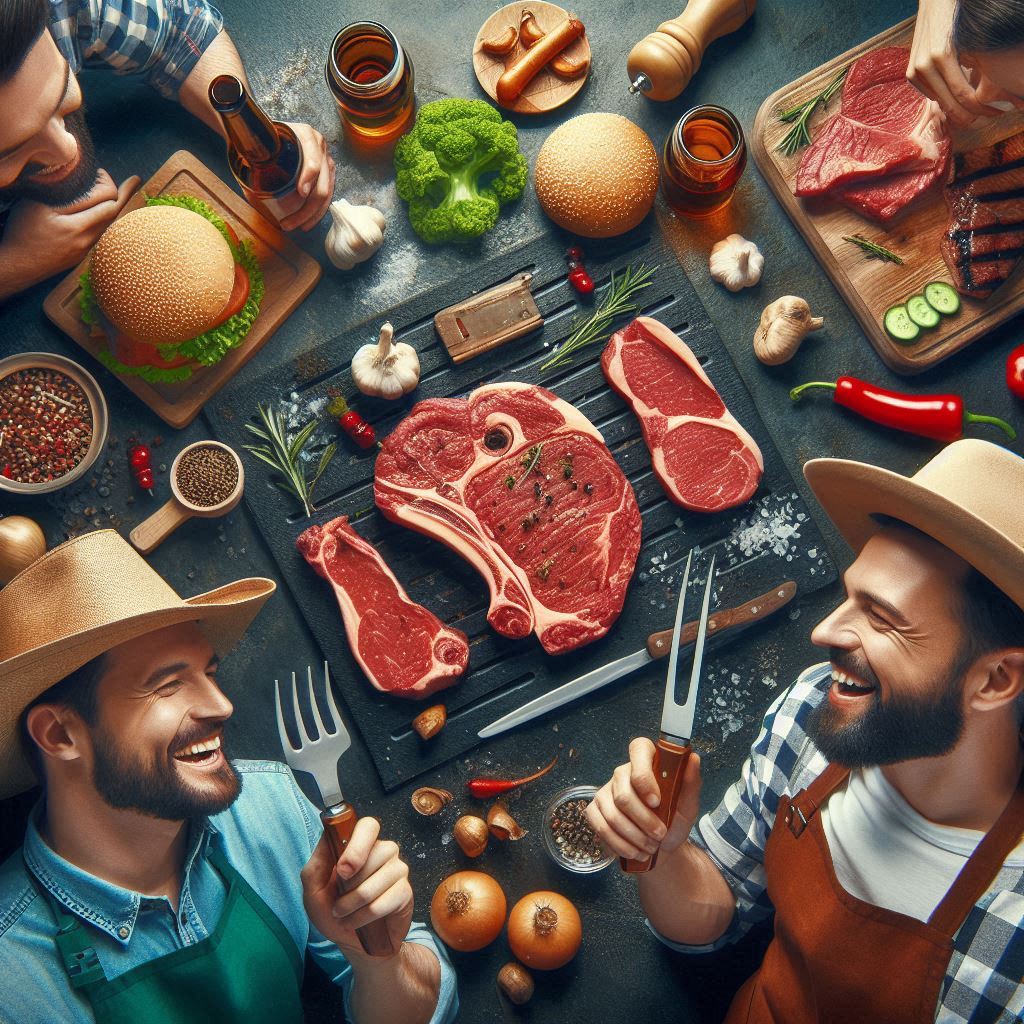
Applying the Rub
A good dry rub creates a flavorful crust, known as the “bark.” You can use a store-bought rub or make your own. A basic, all-purpose rub might include brown sugar, paprika, garlic powder, onion powder, salt, and black pepper. The science of salt in rubs is fascinating; for an in-depth look, see this article from <a href=”https://www.seriouseats.com/the-food-lab-complete-guide-to-dry-brining” target=”_blank” rel=”noopener nofollow”>Serious Eats on dry-brining</a>.
-
Mustard Slather (Optional): Many pitmasters slather the ribs with a thin layer of yellow mustard before applying the rub. This acts as a “glue” for the rub and helps form a great bark, without imparting a strong mustard flavor.
-
Application: Generously coat the ribs on all sides with the rub, pressing it into the meat. Let the ribs sit with the rub for at least 30 minutes at room temperature, or ideally, wrap them and refrigerate for several hours or overnight. This allows the flavors to penetrate deeply.
Choosing Your Grilling Method: Low and Slow is the Way to Go
When it comes to cooking ribs on the grill, patience is your greatest asset. High heat will burn the outside long before the inside is tender. The goal is low, indirect heat for a long period.
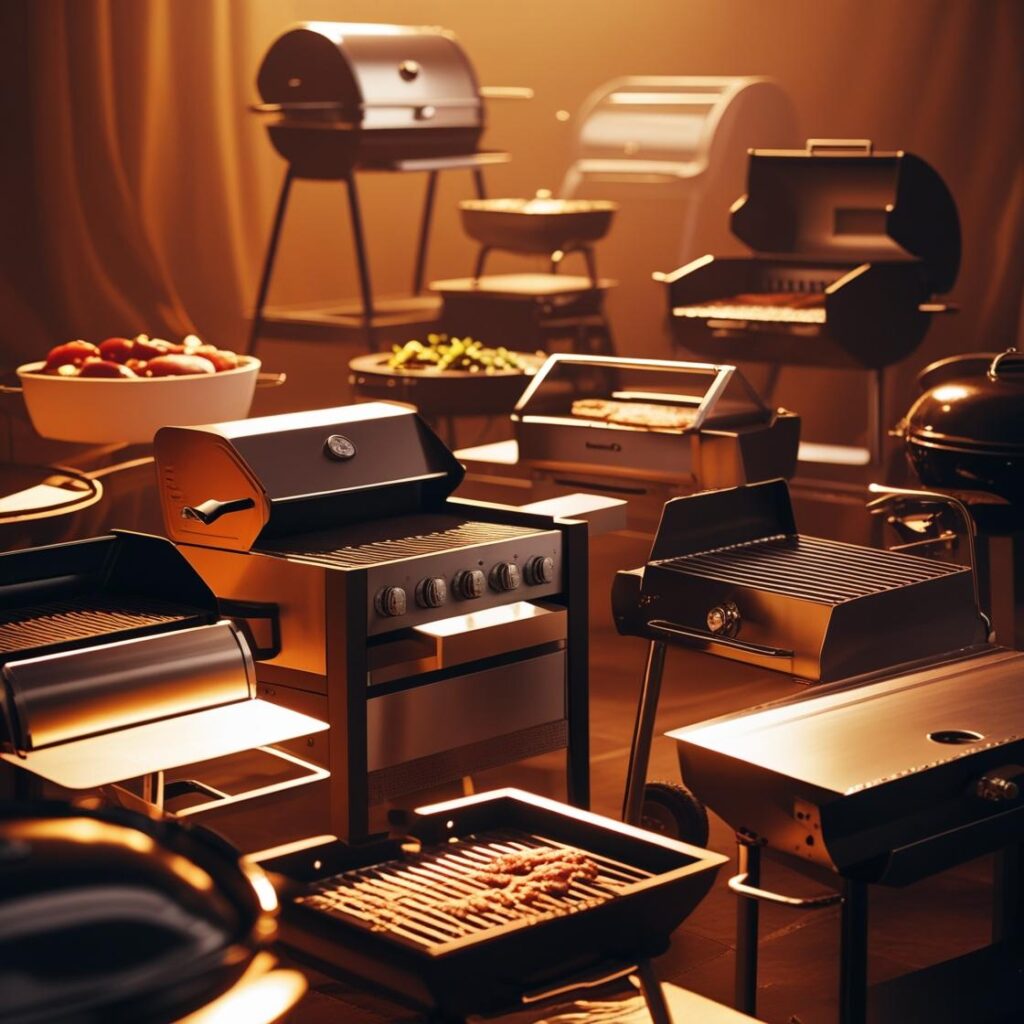
Setting Up Your Grill for Two-Zone Cooking
Whether you use a charcoal or gas grill, you must create two zones: a direct heat zone and an indirect heat zone.
-
Charcoal Grill: Pile the lit charcoal on one side of the grill. This creates a hot direct zone. The other side, with no coals underneath, is your cooler indirect zone.
-
Gas Grill: Light only one or two of the burners. Place the ribs over the burners that are turned off. The lit burners will heat the grill indirectly.
The ribs will always cook over the indirect zone. The direct zone is used for searing or managing the fire. If you’re new to this, our guide on [Mastering Two-Zone Fire Grilling] will walk you through it step-by-step.
The 3-2-1 Method for Foolproof Ribs
The 3-2-1 method is a famous, almost foolproof technique for cooking ribs on the grill that yields incredibly tender results. This method is ideal for spare ribs or St. Louis cut.
-
3 Hours of Smoke: Place the seasoned ribs on the grill grate over indirect heat. Close the lid and let them smoke for 3 hours. Maintain a consistent grill temperature of around 225-250°F (107-121°C). Add wood chunks (like hickory, apple, or cherry) to the coals or a smoker box for smoke flavor.
-
2 Hours Wrapped in Foil: After 3 hours, carefully remove the ribs. Wrap each rack tightly in heavy-duty aluminum foil. Many people add a few tablespoons of a liquid like apple juice, beer, or apple cider vinegar at this stage to braise the ribs. Return the foiled ribs to the grill for 2 more hours over indirect heat. This step tenderizes the meat by steaming it in its own juices.
-
1 Hour of Glazing: Unwrap the ribs and place them back on the grill, bone-side down, over indirect heat. Brush on your favorite barbecue sauce. Let them cook for the final hour, uncovered. This allows the sauce to set and caramelize, creating a sticky, delicious glaze.
For baby back ribs, which are smaller, you can use a 2-2-1 method (2 hours smoke, 2 hours wrapped, 1 hour glazed).
Pro Tips for Grill Master Success
These small details can make a big difference in your final product.
-
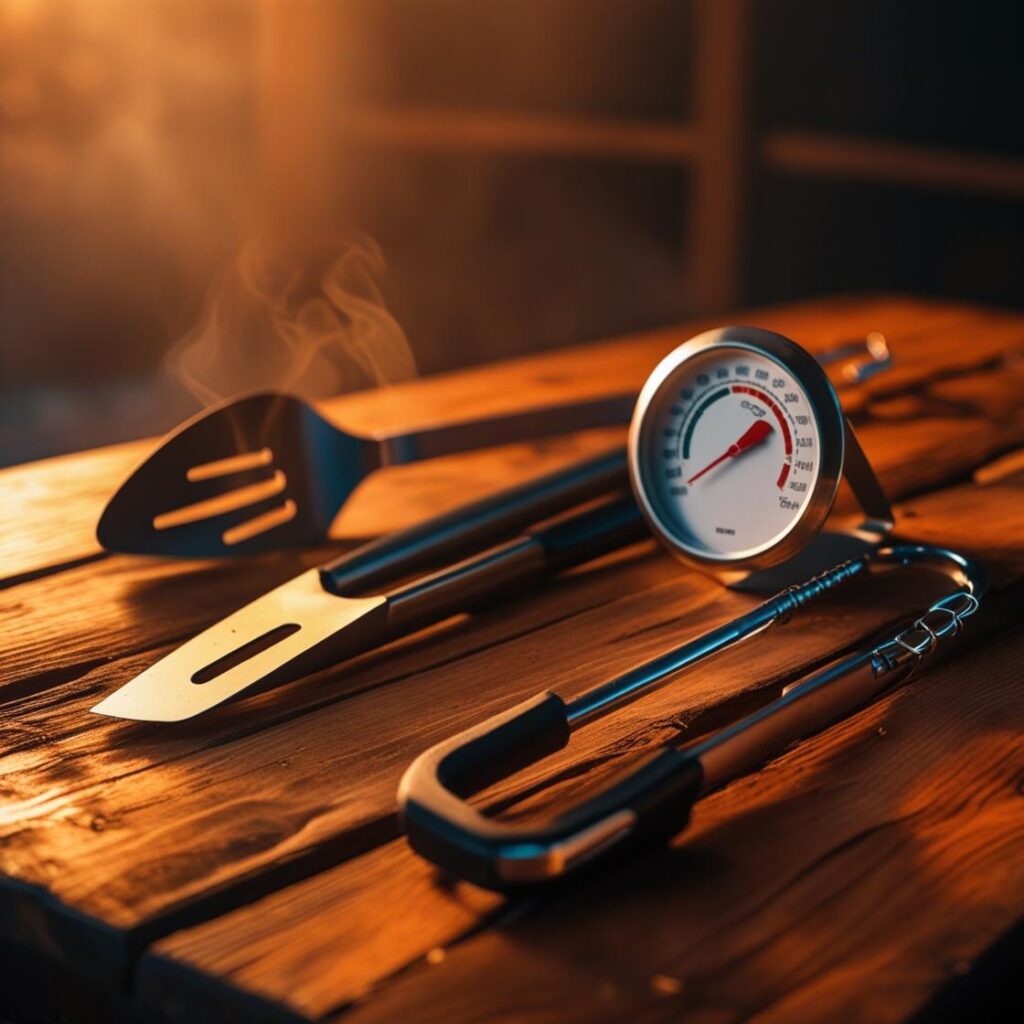
Maintain Consistent Temperature: Use a reliable grill thermometer to monitor the air temperature inside the grill. Fluctuating temperatures extend cooking time and can dry out the meat.
-
Don’t Peek! Every time you open the lid, you release heat and smoke. Trust the process and only open the lid when necessary, like when it’s time to wrap or glaze.
-
Choose Your Wood Wisely:
-
Hickory: Strong, bacon-like flavor; great for pork.
-
Apple or Cherry: Milder, sweeter smoke; excellent for ribs.
-
Oak: A solid, medium-flavored wood that is very versatile.
-
-
Know When They’re Done: Ribs are done when the meat has pulled back about ¼ to ½ inch from the ends of the bones. The true test is the “bend test.” Pick up the rack with tongs from the center. If the ribs bend easily and the surface cracks a little, they are ready.
Serving and Saucing Your Perfect Ribs
Once your ribs are perfectly cooked, let them rest for about 10 minutes before cutting. This allows the juices to redistribute throughout the meat.
-
Cutting: Slice the ribs between the bones to serve individual portions.
-
Saucing Philosophy: Serve extra barbecue sauce on the side. This allows your guests to add as much or as little as they like, ensuring everyone enjoys the masterpiece you’ve created. The flavor of the smoke and rub should be the stars.
For more great side dish ideas to complement your ribs, check out our guide to [The Best BBQ Side Dishes for Summer]. And if you’re looking for a homemade sauce recipe, our [Classic Kansas City BBQ Sauce Recipe] is a crowd-pleaser.
Conclusion: You Are Now a Rib Master
Cooking ribs on the grill is a journey that blends science and art. We’ve covered the essentials: from selecting your rack and the critical preparation steps to mastering the low-and-slow 3-2-1 method on your grill. Remember, the keys to success are patience, temperature control, and not being afraid to get your hands dirty with a good rub.
The process of cooking ribs on the grill is incredibly rewarding. The time and care you invest translate directly into the incredible flavor and texture of the final dish. Now that you have the knowledge, it’s time to put it into practice. Fire up your grill, be patient, and get ready to serve the most memorable ribs of your life. We’d love to see your results! Share your rib masterpieces with us on social media using the hashtag #GrillMasterRibs.
FAQs: Cooking Ribs on the Grill
-
-
Q: What is the best temperature for cooking ribs on the grill?
A: The ideal temperature for cooking ribs on the grill is between 225°F and 250°F (107°C and 121°C). This “low and slow” method allows the connective tissue to break down without burning the exterior. -
Q: How long does cooking ribs on the grill typically take?
A: Cooking time depends on the type of rib and method. For spare ribs using the 3-2-1 method, plan for about 6 hours. For smaller baby back ribs using a 2-2-1 method, it takes about 5 hours. Always cook until tender, not just by time. -
Q: Should I boil ribs before cooking ribs on the grill?
A: No, boiling ribs is not recommended. It leaches flavor and nutrients out of the meat, resulting in a less flavorful final product. The low and slow grilling method is far superior for achieving tender, juicy ribs. -
Q: How can I tell when the ribs are done cooking on the grill?
A: Use the “bend test.” Pick up the rack with tongs from the center. If the ribs bend easily and the meat starts to crack on the surface, they are done. Also, the meat will have pulled back about a quarter-inch from the bones. For more tips on meat temperatures, see our article on [How to Use a Meat Thermometer Correctly].
-
Furter Reading
- How to Cook Picanha Like a Pro – The Meat Master USA
- 10 Common BBQ Mistakes (And How to Fix Them) – The Meat Master USA
- 7 Brining Mistakes to Avoid for Juicy, Flavorful BBQ Meat
- A Beginner’s Guide to Poultry BBQ: Chicken & Turkey Tips
- A World of Fire & Flavor: A Global Guide to BBQ – The Meat Master USA
You Might Also Like:
- American BBQ Styles – The Meat Master USA
- American BBQ vs Argentinian Asado: The Ultimate Showdown 2025
- American vs Brazilian BBQ: The Ultimate Guide to Cuts, Techniques, and Flavors
- Baby Back Ribs Recipe | The Meat Master USA – 2025
- Backyard BBQ Ideas for Beginners – The Meat Master USA