

Saturday Skill Builder: Master 3 BBQ Moves This Weekend
Saturday is a special day. It’s for relaxing, spending time with friends and family, and for many of us, it’s the perfect time to get out in the backyard and fire up the grill. But what if this Saturday could be more than just another cookout? What if it could be a day to level up your grilling game? This is your definitive Saturday Skill Builder, a guide designed to help you master three fundamental BBQ techniques that will elevate your cooking from good to absolutely great.
We’re going to focus on three simple, high-impact grilling moves that even beginners can master. These aren’t just recipes; they are skills that you can apply to almost anything you put on the grill. By the end of this weekend, you’ll be on your way to becoming a true backyard pitmaster.
Skill #1: The Two-Zone Fire – Master Any Grill
The number one mistake beginners make is cooking everything over direct, high heat. This often leads to a charred outside and a raw inside. The secret to consistent, delicious results is to master the two-zone fire. This is the foundation of any great backyard BBQ.
What It Is & Why It Works
A two-zone fire means creating two distinct heat zones on your grill: a direct, high-heat zone and an indirect, low-heat zone.
- Direct Zone: The area directly over the heat source. This is for searing, getting those perfect grill marks, and cooking thin, quick-cooking foods like vegetables.
- Indirect Zone: The area away from the heat source. This is for slow cooking, smoking, and finishing off thick cuts of meat without burning them.
This simple setup gives you total control, allowing you to move food between zones to achieve a perfect cook without charring. It’s a key part of our Sunday Funday BBQ and Weekend Grilling Guide.
How to Practice It: The Perfect Pork Chop
A thick-cut pork chop is the perfect canvas for this grilling move.
- Set Up Your Grill: For a charcoal grill, pile the coals on one side. For a gas grill, turn on the burners on one side to high, and leave the other side off. Close the lid and let the grill preheat to around 400°F.
- Sear: Pat a thick (1.5-inch) pork chop dry and season it generously with salt and pepper. Place it over the direct, high-heat zone. Sear for 2-3 minutes per side until a deep, golden-brown crust forms.
- Finish: Move the pork chop to the indirect, low-heat zone. Close the lid and cook for another 10-15 minutes, until the internal temperature reaches 140°F.
- Rest & Serve: Remove the chop and let it rest for 5-10 minutes before slicing.
The result is a pork chop with a beautiful sear, a perfectly cooked interior, and all its juices locked in.
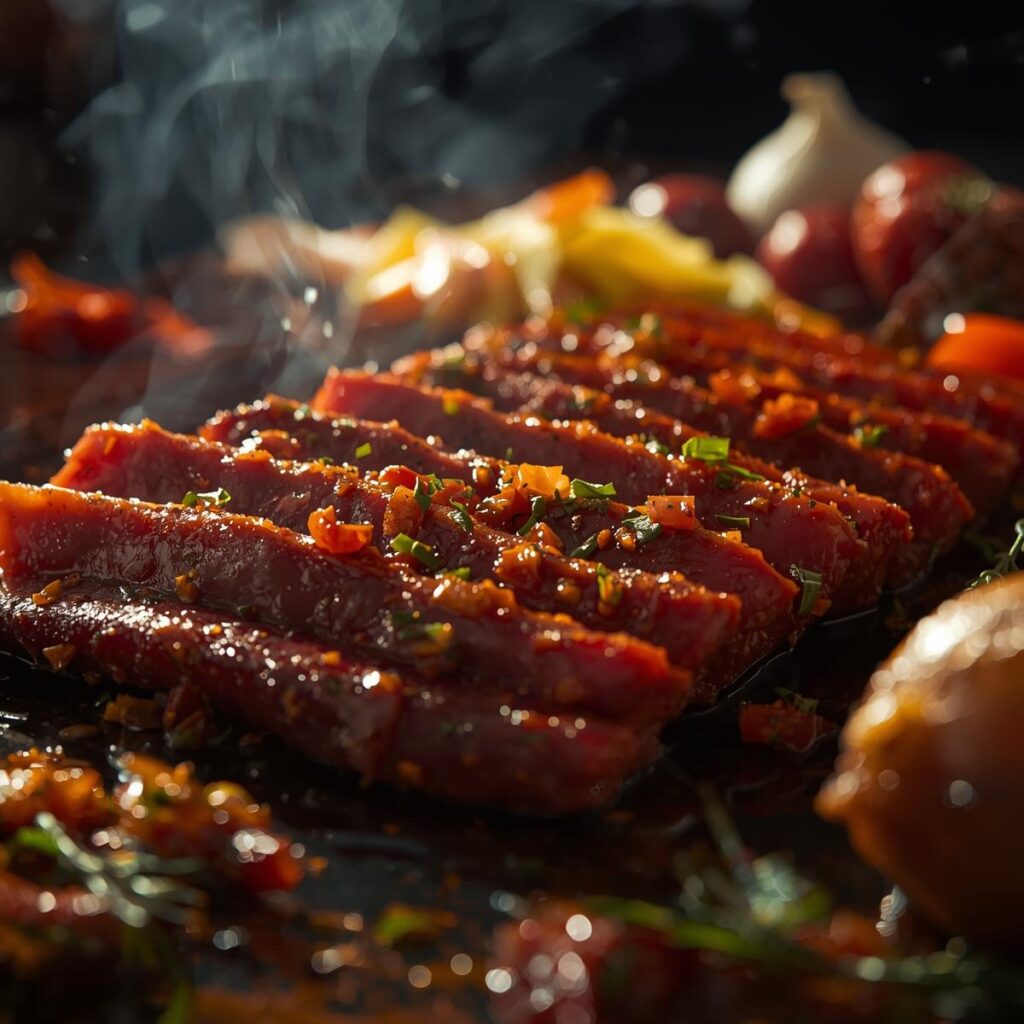
Skill #2: The Reverse Sear – The Key to a Perfect Steak
The reverse sear is a professional technique that sounds complicated but is incredibly simple to master. It’s the best way to get a perfectly cooked, edge-to-edge steak without a raw center. It’s one of the most powerful BBQ skills you can learn.
What It Is & Why It Works
Instead of searing a steak first, you cook it slowly at a low temperature before finishing it with a quick, high-heat sear. This method ensures the entire steak cooks evenly, bringing it to a consistent internal temperature. The final, high-heat sear then creates a flawless crust and deep, rich flavor. It’s a game-changer for thick cuts of meat.
How to Practice It: The Perfect Sirloin Steak
A thick sirloin steak is a great, affordable cut to practice this grilling move.
- Slow Cook: Set up your grill for a two-zone fire as described above. Place the seasoned steak on the indirect side of the grill. Close the lid and maintain a temperature of around 250°F.
- Monitor Temp: Cook until the internal temperature reaches 115°F for a medium-rare steak. This can take anywhere from 20-40 minutes, depending on the thickness. Use an instant-read thermometer to check the temperature.
- Rest: Remove the steak and let it rest for 10-15 minutes. This is a non-negotiable step that allows the muscle fibers to relax. This is one of the top 15 BBQ Secrets Professional Chefs Won’t Tell You.
- Sear: Now, crank up the direct side of your grill to its highest temperature. Place the steak directly over the flames and sear for 60-90 seconds per side, until a deep, dark crust has formed.
The result is a steak with a perfect crust and an even, rosy interior from edge to edge. This is a signature BBQ technique for any serious griller.
- Suggested Image Alt Text: A perfectly reverse-seared steak on a cutting board, a result of a successful Saturday Skill Builder.
Skill #3: The Long Rest – The Final Secret to Juicy Meat
This is the easiest but most often skipped step in any weekend grilling session. You’ve done all the hard work, but if you cut into your meat too early, all that hard-won moisture will spill out onto your cutting board, leaving you with a dry meal.
What It Is & Why It Works
When meat cooks, its muscle fibers tense up and squeeze the juices to the center. If you slice it right away, those juices have nowhere to go but out. Resting the meat gives the muscle fibers time to relax and reabsorb all that delicious moisture, ensuring every slice is as juicy as can be. This is a crucial pro grilling tip for all cuts of meat, from steak to roasts. It’s one of the most important Weekend Chef Secrets.
How to Practice It: A Juicy Chicken Breast
A lean chicken breast is a great way to practice this essential grilling move, as it’s prone to drying out.
- Cook to Temp: Grill your chicken breast over medium heat until it reaches an internal temperature of 165°F. Use a thermometer to be precise.
- The Rest: Remove the chicken from the grill and place it on a plate or cutting board. Loosely tent it with a piece of aluminum foil. Do not wrap it tightly, as this will trap steam and make the crust soggy.
- The Wait: Let the chicken breast rest for at least 5-10 minutes. For larger cuts like a roast or brisket, the rest can be 30-60 minutes or even longer.
- Slice & Serve: Slice the chicken breast and serve. You will see how much more juice remains in the meat compared to slicing it immediately.
Conclusion: From Good to Great Grilling
Mastering these three simple grilling moves can fundamentally change the way you cook. A Saturday Skill Builder is more than just a session; it’s an investment in your cooking ability. By understanding and practicing the two-zone fire, the reverse sear, and the long rest, you’ll be on your way to getting perfect results every time you fire up the grill. So, this Saturday, take your cooking to the next level.
FAQ: SATURDAY SKILL BUILDER
1. Do I need a fancy grill to practice these skills?
No, you don’t. These skills are applicable to any type of grill, whether it’s a simple charcoal kettle or a high-end gas grill. The principles remain the same.
2. What’s the most important tool for a beginner to buy?
A reliable instant-read digital thermometer is your best friend. It takes all the guesswork out of cooking and ensures you hit the perfect temperature every time, which is essential for these BBQ techniques.
3. How can I learn more BBQ skills?
Start by watching videos, reading blogs, and practicing. The best way to learn is by doing. Try new techniques on different cuts of meat to see how they respond.
4. What’s the difference between direct and indirect heat?
Direct heat is the high-heat cooking you get from the flames or coals directly beneath the food. Indirect heat is the gentle, ambient heat from the closed lid and the opposite side of the grill.
5. Is a two-zone fire always necessary?
For thin, quick-cooking foods like hot dogs or thin burgers, direct heat is all you need. But for thicker cuts like chicken, pork chops, or steak, a two-zone fire is essential to prevent burning and ensure a proper cook.
6. Can I apply the long rest to all meats?
Yes. The long rest is a universal rule for all cooked meat, whether it’s grilled, roasted, or pan-seared. It is the final, crucial step to a juicy result.
7. How do I prevent my meat from sticking to the grill?
Ensure your grill grates are clean and hot before you add the meat. Use a brush to scrape them clean, then use a paper towel dipped in high-smoke-point oil to grease the grates. This is a basic but essential BBQ tip.


Pingback: Backyard BBQ Ideas for Beginners: The Ultimate Guide