
Aussie Expert’s Note: This guide is a cornerstone of our butcher’s toolkit mastery series. A sharp knife isn’t a luxury—it’s a fundamental safety tool. Dull blades don’t just make prep work frustrating; they’re dangerous, unpredictable, and tear meat fibers rather than slicing them. Mastering sharpening transforms your entire cooking experience from a chore into a precise, satisfying craft.
Knife Sharpening Techniques: The Complete Guide to Razor-Sharp Blades Every Time
“A sharp knife is an extension of your hand—predictable, precise, and safe. A dull knife is a liability that fights you with every cut. Sharpening isn’t just maintenance; it’s the conversation you have with your tools. Learning to feel the edge, to hear the steel’s feedback, to transform a tired blade into a laser-sharp instrument—this is where cooking transcends preparation and becomes craft.”

Knife Sharpening Techniques: The Complete Guide to Razor-Sharp Blades Every Time
Download the Ultimate Sharpening Angle Guide & Grit Progression Chart
Every great meal begins with a sharp knife. Whether you’re breaking down a primal cut or thinly slicing finished brisket, proper knife sharpening is the foundation of culinary excellence. This guide will transform you from someone who uses knives into someone who understands them—teaching you to read edges, feel angles, and achieve that satisfying “push-cut through paper” sharpness that makes prep work a joy, not a struggle.
🎯 THE SHARPENING PHILOSOPHY: MORE THAN JUST REMOVING METAL
Understanding why sharpness matters is the first cut toward mastery.
⚙️ The Four Pillars of Knife Sharpening Mastery
Where Steel Meets Science
- Safety Through Sharpness: A sharp knife follows your intended path. A dull blade requires excessive force, slips unpredictably, and causes most kitchen cuts. Control begins with a proper edge.
- Precision in Every Cut: Sharp knives create clean slices that preserve meat texture and appearance. They don’t crush cell walls or tear fibers—they glide through, leaving perfect, professional results.
- Respect for Your Tools: Regular sharpening extends knife lifespan exponentially. A well-maintained knife can last generations; an abused one becomes scrap metal in years.
- The Joy of Effortless Prep: When your knife does the work instead of your muscles, cooking transforms from labor to artistry. The right edge makes delicate herb chiffonades and tough squash feel the same.
🎯 Sharpening vs. Honing: The Critical Difference
🔪 SHARPENING
- Removes metal to create new edge
- Uses abrasives: stones, rods, systems
- Needed every 2-6 months
- Fixes dull, damaged edges
- Restores cutting geometry
- 15-30 minute process
⚡ HONING
- Realigns existing edge
- Uses smooth steel or ceramic
- Needed every 2-3 uses
- Maintains sharp edges
- Straightens microscopic teeth
- 30-60 second process
🔪 THE SHARPENER’S LEXICON: SPEAKING THE LANGUAGE
First rule of sharpening club: know your terminology or risk ruining good steel.
🗣️ Essential Sharpening Terms Every Cook Must Know
From Burrs to Bezels
- Burr (Wire Edge): The microscopic curl of metal that forms on the opposite side you’re sharpening. Feeling the burr form along the entire edge is your signal to switch sides.
- Angle Guide: Your training wheels. Small devices that clip to blade spine to maintain consistent sharpening angle. Essential for beginners, discarded by experts.
- Grit Progression: The sequence of abrasive coarseness. Coarse (200-400) for repair, Medium (800-1200) for sharpening, Fine (3000+) for polishing.
- Bezel (Edge Angle): The angle between blade face and sharpening surface. Lower angles (15°) are sharper but fragile; higher angles (25°) are durable but less sharp.
- Stroke Pattern: The motion used—edge-leading (pushing into stone) or edge-trailing (pulling away). Each has advantages for different stages.
- Stone Soaking: Water stones require 15-20 minute soaking before use. Oil stones use mineral oil. Diamond plates need only water spray.
- Stropping: The final polish on leather or denim to remove microscopic burrs and achieve mirror edges.
📊 The Ultimate Knife Angle & Grit Matrix
🎯 Sharpening Settings by Knife Type & Steel Hardness
| Knife Type | Ideal Angle | Starting Grit | Finishing Grit | Sharpening Frequency |
|---|---|---|---|---|
| Japanese Chef (VG-10) | 12-16° per side | 1000 | 6000+ | Monthly (Pro) |
| Western Chef (German) | 18-22° per side | 800 | 3000 | 6-8 weeks |
| Boning Knife | 15-20° per side | 1000 | 4000 | Monthly |
| Cleaver | 22-25° per side | 400 | 2000 | Quarterly |
| Paring Knife | 15-18° per side | 1200 | 5000 | 8-10 weeks |
| Serrated/Bread | Ceramic rod only | N/A | N/A | Honing only |
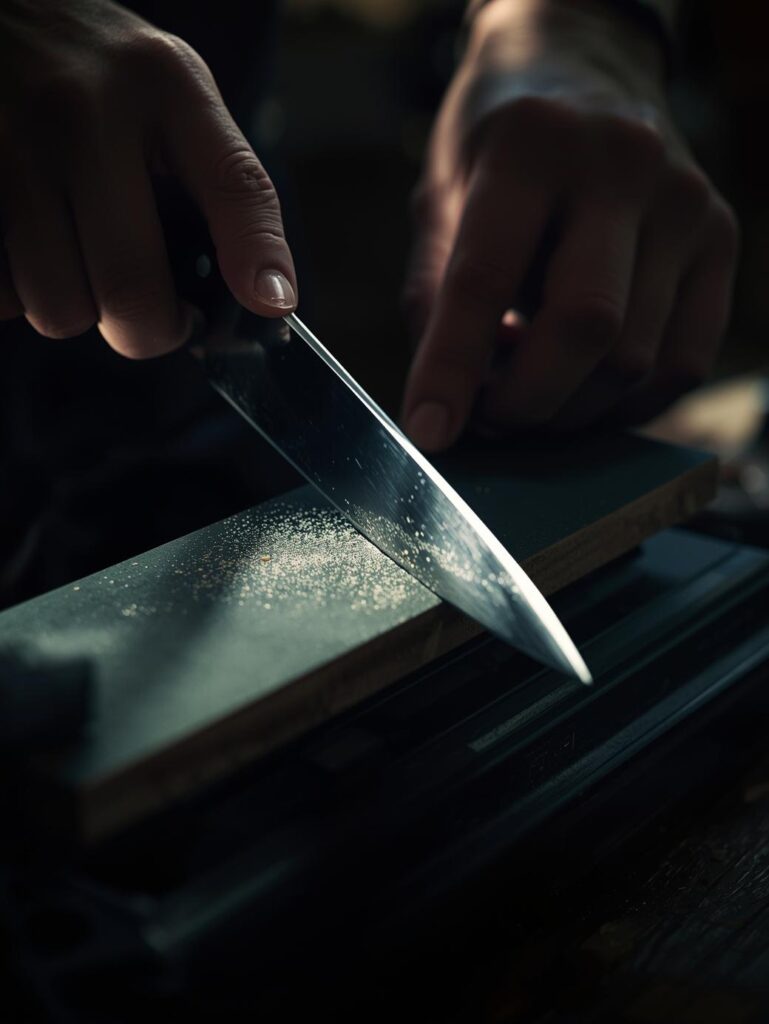
🔥 THE WHETSTONE METHOD: GOLD STANDARD SHARPENING
Stones separate the enthusiasts from the experts—master this and you master sharpening.
🎪 The Sacred Stone Ceremony
Where Steel Meets Stone
- Stone Selection Matters: Soaking stones (1000/6000 combo ideal for beginners) vs. splash-and-go (convenient) vs. diamond plates (fast, no soaking). Each has personality and purpose.
- The Angle Dance: Consistency beats perfection. A consistent 20° angle produces better results than a varying 15-25°. Use the “coin trick”—place coin under spine to find angle, then muscle memory takes over.
- Burr is Your Guide: Sharpening isn’t timed—it’s felt. Work one side until you feel a slight burr along the entire edge. No burr = not sharpened. Too much burr = over-sharpened.
- Pressure Progression: Heavy pressure on coarse stones, light pressure on fine stones. Imagine “massaging the stone” rather than “grinding metal.” Let the abrasive do the work.
- The Sound Tells All: Coarse grinding sound transitions to smooth swooshing as you progress. Learn to listen—the stone communicates throughout the process.
- Edge-Leading vs. Trailing: Edge-leading (pushing into stone) for aggressive metal removal, edge-trailing (pulling away) for burr minimization and polishing.
🍖 THE HONING RITUAL: DAILY EDGE MAINTENANCE
Honing isn’t sharpening—it’s alignment that keeps edges performing between sharpenings.
⚡ Honing Rod Technique
The 30-Second Edge Revival
- Rod Position: Vertical, tip secured on cutting board. Never horizontal or unsupported—this causes inconsistent angles.
- The Sweeping Motion: Blade base to tip in one smooth, sweeping motion. Maintain consistent 15-20° angle throughout.
- Alternate Sides: 5-10 strokes per side, equal pressure. The goal is alignment, not metal removal.
- Pressure Control: Light pressure—imagine slicing a thin layer off the rod. Heavy pressure damages edges.
🎯 When to Hone vs. Sharpen
Reading Your Edge’s Needs
- Hone When: Knife still cuts but requires more pressure, tomatoes squish rather than slice, herbs tear instead of clean cut.
- Sharpen When: Honing doesn’t restore performance, visible nicks in edge, blade slides off tomato skins, crushing instead of slicing.
- Frequency Guide: Home cook: hone weekly, sharpen quarterly. Professional: hone daily, sharpen monthly.
- The Paper Test: If it cleanly slices printer paper, just hone. If it tears or won’t cut, time to sharpen.
🧂 THE SHARPNESS TESTS: PROVING YOUR EDGE
Don’t guess—test. These professional benchmarks separate sharp from scary sharp.
🎯 The Three Pillars of Edge Testing
From Basic to Brilliant
- The Paper Test (Basic Sharp): Hold single sheet printer paper loosely. Sharp knife should slice cleanly with minimal pressure, making smooth “shhh” sound without tearing. The universal first test.
- The Tomato Test (Kitchen Ready): Ripe tomato should puncture with light touch, skin should offer slight resistance then give way cleanly. No sawing motion required—just gentle forward pressure.
- The Onion Test (Professional): Should glide through onion with minimal resistance, creating transparent, uniform slices. No “crunching” sound—just clean separation of layers.
- The Arm Hair Test (Show-off): Carefully rest blade perpendicular to arm hair. Sharp edge will catch and slice hairs at slightest contact. Impressive but slightly dangerous party trick.
- The Phone Book Test (Obsessive): Sharp knife should cleanly slice through phone book pages (if you can find one). Demonstrates edge stability and keenness under pressure.
- The Grape Test (Sushi Master): Halve grapes without crushing. The ultimate test of keenness and edge alignment for precision tasks.
📋 THE ULTIMATE SHARPENING TIMELINE
The Rhythm of Razor-Sharp Maintenance
Before Each Use (30 sec)
Quick visual inspection, 2-3 strokes on honing rod if needed, paper test verification.
Weekly Maintenance (2-3 min)
Full honing session (10 strokes/side), edge inspection, cleaning, proper storage.
Monthly Sharpening (15-30 min)
Full progression sharpening (1000→3000→6000 grit), burr removal, stropping, testing.
Annual Tune-up (1-2 hours)
Complete edge reprofiling if needed, stone flattening, equipment deep clean, technique refinement.
🎯 Solving Typical Sharpening Problems
| Problem | Symptoms | Cause | Professional Fix |
|---|---|---|---|
| Uneven Edge | Cuts well in spots, skips in others | Inconsistent angle, uneven pressure | Use angle guide, focus on consistency, mark edge with marker to see contact |
| Rolled Edge | Feels sharp but won’t slice paper | Large burr not properly removed | Light edge-leading strokes on fine stone, strop aggressively on leather |
| Dull Quickly | Sharpens well but loses edge fast | Overheated edge, too fine angle for steel | Increase angle 2-3°, use cooler sharpening method, better steel |
| Scratched Blade | Cosmetic scratches on blade face | Angle too low, stone debris | Tape blade face during sharpening, clean stones thoroughly, accept character |
| No Burr Forms | Sharpening forever, no improvement | Not enough time on coarse stone, angle wrong | Start with 400 grit, verify angle, be patient—some steels take time |
🏁 MASTERING THE EDGE: YOUR CULINARY SUPERPOWER
Sharpening mastery transforms your relationship with cooking. It’s not just about maintaining tools—it’s about understanding the fundamental interface between steel and food. When your knife becomes an extension of your intention rather than an obstacle to overcome, every meal preparation becomes meditation in motion.
Remember: sharpening is a conversation with steel. Listen to the feedback—the sound, the feel, the visual cues. Each knife has its own personality, each steel its own preferences. With practice, you’ll not just sharpen knives—you’ll understand them.
Start your sharpening journey today with a cheap practice knife and a basic stone. Feel the burr form for the first time, experience that magical moment when a tired blade suddenly bites into paper, and join the centuries-old tradition of craftsmen who understand that great results begin with great edges.
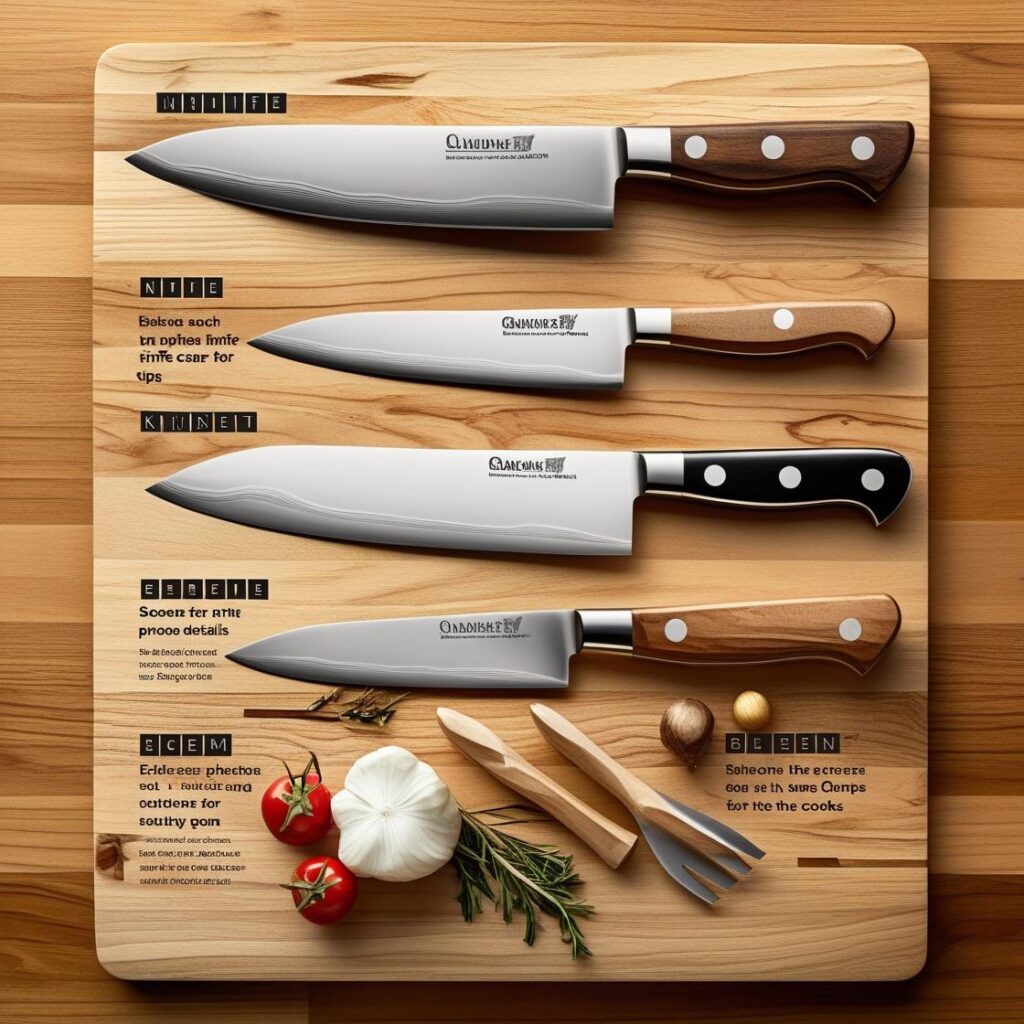
🛠️ BUILD YOUR KNIFE COLLECTION →
Start with the right tools—learn which knives actually matter

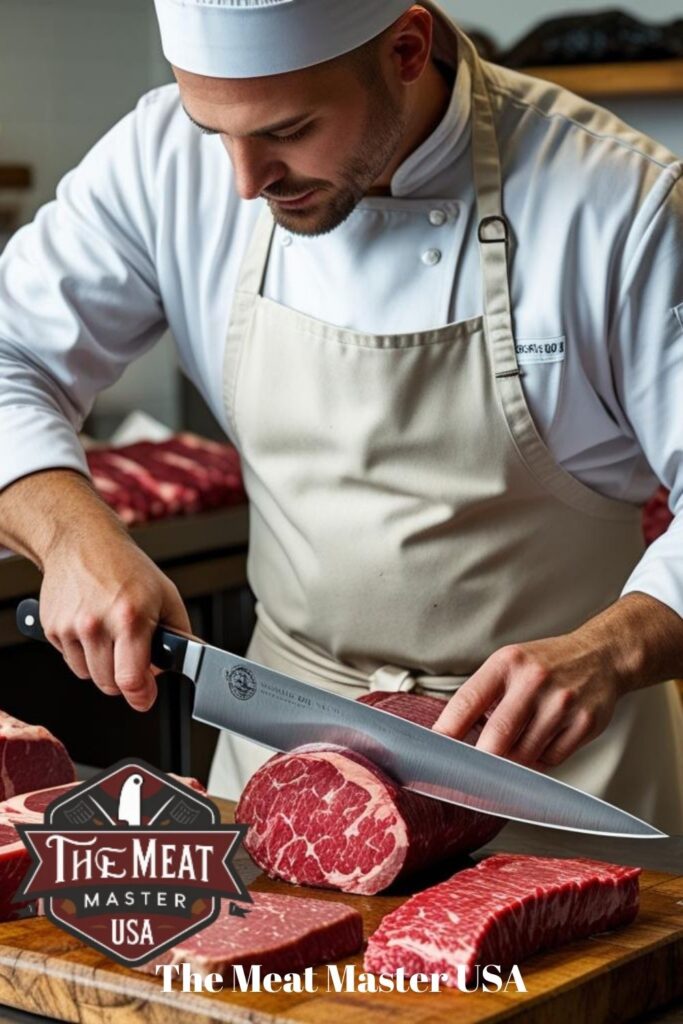
Complete Your Butcher’s Toolkit: Master all aspects of meat preparation and safety.