
Mastering the Art of Grilling Steak
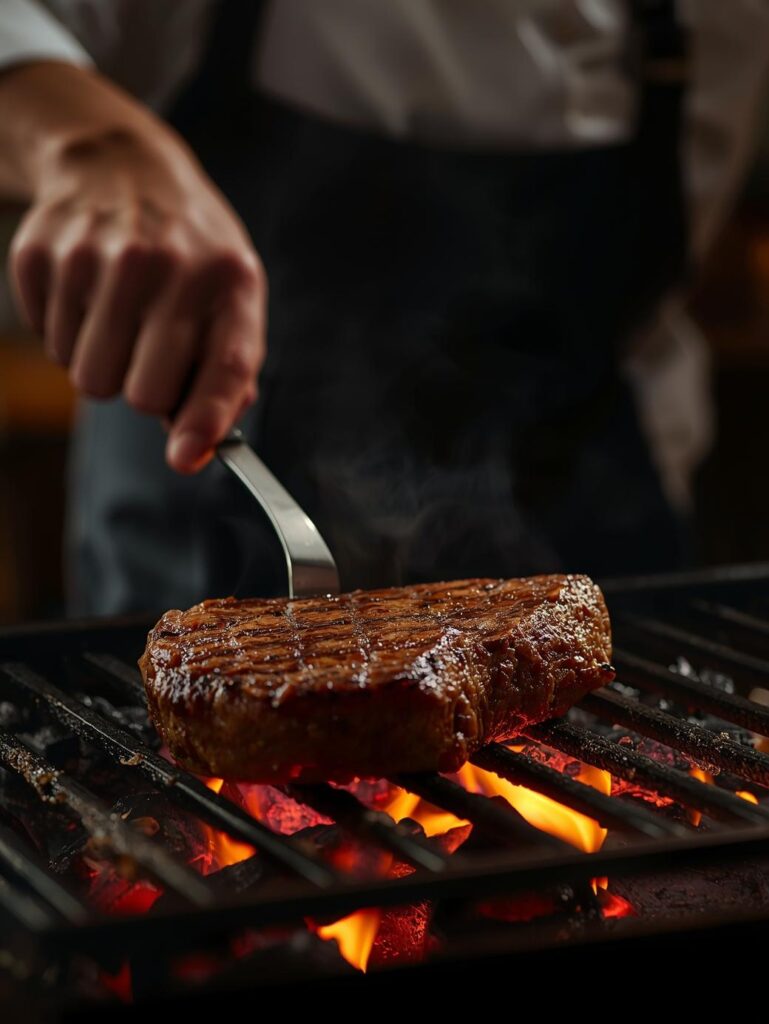
There are few things as satisfying as the sizzle of a steak hitting a hot grill, the aroma of smoke mingling with the rich scent of beef. Grilling Steak is a quintessential summer ritual, a classic cooking method that brings out the best in a great cut of meat. However, achieving that perfect, smoky crust and a juicy, tender interior can seem like a challenge.
If you’re looking for a definitive guide on Grilling Steak that guarantees a flawless result every time, you’ve come to the right place. This comprehensive guide will walk you through every critical step, from selecting the right cut to mastering the two-zone grilling method. With these expert tips, you’ll be able to create a steakhouse-quality meal in your own backyard.
Choosing the Right Cut for Grilling Steak
The foundation of any exceptional Grilling Steak experience is the cut of meat itself. Not all steaks are created equal when it comes to the grill. For the best results, you want a steak with good marbling and a thickness of at least one inch.
- Ribeye: This is a fan favorite for a reason. Its generous marbling melts into the meat as it cooks, resulting in an incredibly juicy and flavorful steak. This marbling also makes it a very forgiving cut for grilling. For a deep dive into this cut, see our ultimate ribeye guide.
- New York Strip: Known for its firm texture and robust, beefy flavor. The New York strip has a nice fat cap on one side that adds flavor and helps protect the meat from drying out.
- T-Bone and Porterhouse: These two-in-one steaks offer the best of both worlds: a flavorful New York strip on one side of the bone and a tender filet on the other. They are a grilling classic.
- Top Sirloin: A lean and flavorful cut that is more budget-friendly. While not as tender as a ribeye, it performs well on the grill if not overcooked.
- Flank Steak: A thinner cut that is perfect for marinating and grilling hot and fast. It’s best served sliced against the grain.
The Prep: The Foundation of Flavor
Proper preparation is non-negotiable for a perfect Grilling Steak. Every step before the steak hits the grill contributes significantly to the final result—a succulent, well-crusted steak.
Bringing it to Room Temperature
This is perhaps the most crucial initial step for achieving an even cook.
- Why it matters: A cold steak will cook unevenly. The outside will sear quickly while the center remains cold and undercooked, leading to a large “gray band” of overcooked meat just below the crust. By bringing the steak to room temperature, you allow for more even heat penetration, resulting in a consistent level of doneness from edge to edge.
- How to do it: Remove the steak from the refrigerator at least 45 minutes to 1 hour before you plan to grill it. Place it on a wire rack over a plate to allow air to circulate around all sides.
The Seasoning
Because of its rich flavor, a great steak needs a simple seasoning that enhances, not overpowers, its natural taste.
- Pat it Dry: This step is absolutely critical. Use paper towels to thoroughly pat the entire surface of the steak completely dry. Any moisture on the surface will create steam when it hits the hot grill, preventing the Maillard reaction (the browning that creates flavor) and resulting in a less-than-perfect crust.
- Season Liberally: The best seasoning for a great steak is a generous amount of coarse salt (such as kosher or sea salt) and freshly cracked black pepper. The larger granules of coarse salt help form a beautiful crust, while the pepper adds a pleasant spice and aroma. Apply the seasoning liberally to all sides of the steak, gently pressing it into the meat to ensure it adheres.
The Dry Brine (Optional)
For an even more flavorful and juicy steak, consider a dry brine. Simply apply the coarse salt to the steak up to 24 hours in advance and leave it uncovered on a wire rack in the refrigerator. The salt will draw out moisture, create a small amount of liquid, and then reabsorb it, seasoning the meat from the inside out and making it incredibly juicy.
The Cook: The Two-Zone Grilling Method
The secret to a perfect Grilling Steak is the two-zone grilling method. This technique allows you to create a beautiful crust on the outside while gently bringing the interior to your desired doneness, all without overcooking the inside.
Setting up the Grill
- Charcoal Grill: Pile the coals on one side of the grill to create a hot zone for searing. Leave the other side empty to serve as a cool zone for indirect cooking.
- Gas Grill: Turn one or two burners to high for your hot zone and leave the other burners off for your cool zone.
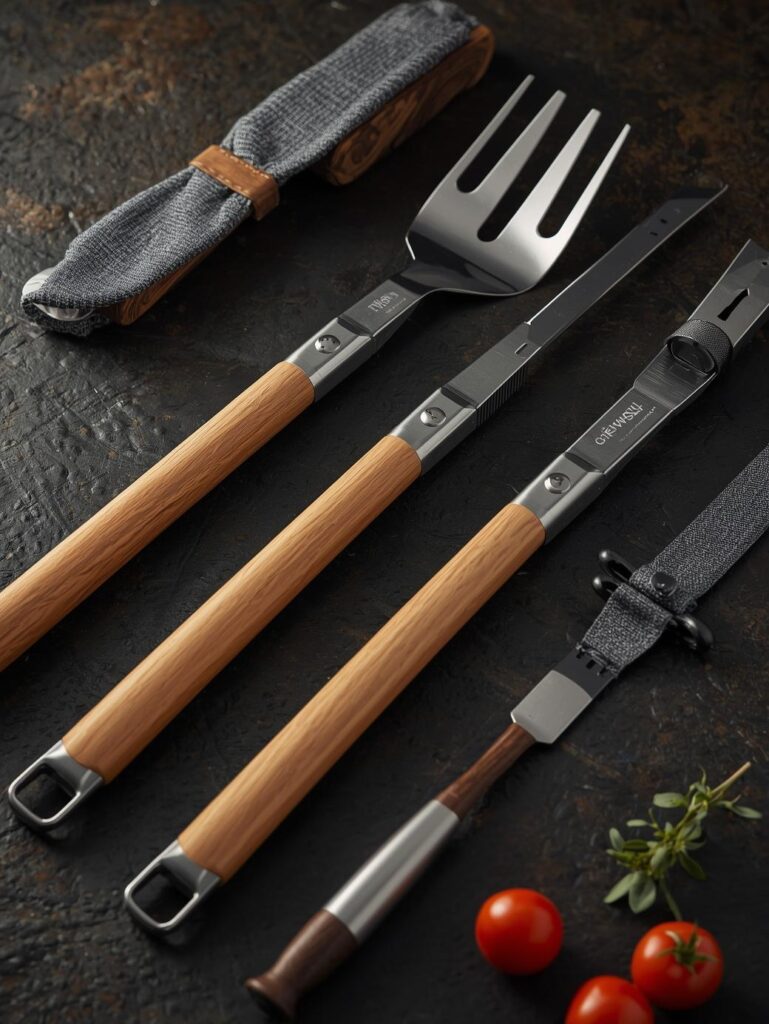
This two-zone setup is key to achieving a steak that is seared on the outside and cooked to a uniform doneness on the inside. You can find more tips on setting up your grill in our guide to the essential BBQ tools you need.
The Grilling Process
- Clean and Oil the Grates: Using a stiff wire brush, scrape the grates to remove any old food debris. Then, use a paper towel soaked in a high-smoke-point oil (like canola) to lightly oil the clean grates.
- Sear the Steak: Place the seasoned steak on the hot zone of the grill. Sear for 2-3 minutes per side. This is where you’ll get those beautiful grill marks and the delicious, flavorful crust.
- Move to the Cool Zone: Once both sides have a nice sear, move the steak to the cool zone of the grill. Close the lid and continue to cook until the steak reaches your desired internal temperature. This low-and-slow finish is what ensures a tender, juicy interior.
For very thick steaks, a variation of this method called the reverse sear is a game-changer. Our ultimate reverse-sear guide provides a deep dive into this technique.
Grilling Steak: Doneness and Resting
Knowing when your steak is perfectly cooked is the most important part of any Grilling Steak session. You’ll need an instant-read meat thermometer for accuracy.
The Internal Temperature Guide
Always remove the steak when it is 5-10°F below your target temperature, as it will continue to cook as it rests (this is called carry-over cooking). For more details on this, explore our comprehensive steak doneness guide. For our recommendations on the best thermometers, see our list of top 5 meat thermometers. You can also reference the official USDA food safety chart for safe cooking temperatures.
- Rare: 120-125°F (49-52°C) – The center is a cool, deep red color.
- Medium-Rare: 130-135°F (54-57°C) – The center is a warm, red-pink color. This is widely considered the ideal doneness for most steaks.
- Medium: 140-145°F (60-63°C) – The center is light pink.
- Medium-Well: 150-155°F (66-68°C) – Barely any pink in the center.
- Well-Done: 160°F+ (71°C+) – Gray all the way through.
Resting is Critical
After all that careful grilling, resting your steak is the final, essential step. Do not skip it!
- Why Resting Matters: When a steak cooks, the muscle fibers contract, pushing moisture towards the center. If you slice it too soon, all of those precious juices will run out onto your cutting board, leaving you with dry meat. Resting allows these fibers to relax and reabsorb those juices, ensuring a uniformly moist and tender result.
- How to Rest: Transfer the steak to a clean plate or cutting board. Tent it loosely with foil. Let it rest for 5 to 10 minutes before slicing.
Common Mistakes and Pro Tips
Even with a detailed guide on Grilling Steak, minor mistakes can happen. Here’s how to avoid them and elevate your grilling game.
- A Tough, Dry Steak: This is almost always a result of overcooking. The only way to truly avoid this is to use a meat thermometer. Don’t rely on the “touch test.”
- No Crust: If your steak is gray and bland, it’s because your grill was not hot enough or the steak was not patted dry before grilling.
- Pro Tip: Finish with Compound Butter: A simple compound butter (butter mixed with herbs, garlic, or other seasonings) placed on top of the resting steak will slowly melt, adding richness and aromatic notes.
- Pro Tip: Use Your Hands: When searing, don’t use tongs to press down on the steak. This squeezes out precious juices. Let the heat of the grill do the work.
- Pro Tip: Slicing: For a truly tender experience, always slice your steak against the grain. This shortens the muscle fibers, making each bite more tender. A great external resource for grilling steak is a guide from Serious Eats.
Conclusion
Mastering Grilling Steak is an entirely achievable goal that can elevate your backyard cookouts and special occasions. By understanding the importance of proper preparation, utilizing the two-zone grilling method, and embracing the crucial step of resting, you can consistently achieve a meal that is both perfectly seared and incredibly juicy. The result is a simple yet magnificent feast that will be remembered long after the meal is over.
Now that you have the knowledge and confidence to tackle this ultimate grilling challenge, get your grill ready.
Ready to try your hand at perfecting Grilling Steak? The perfect steak is within your reach!

Pingback: Grilling vs Broiling: Key Differences Explained