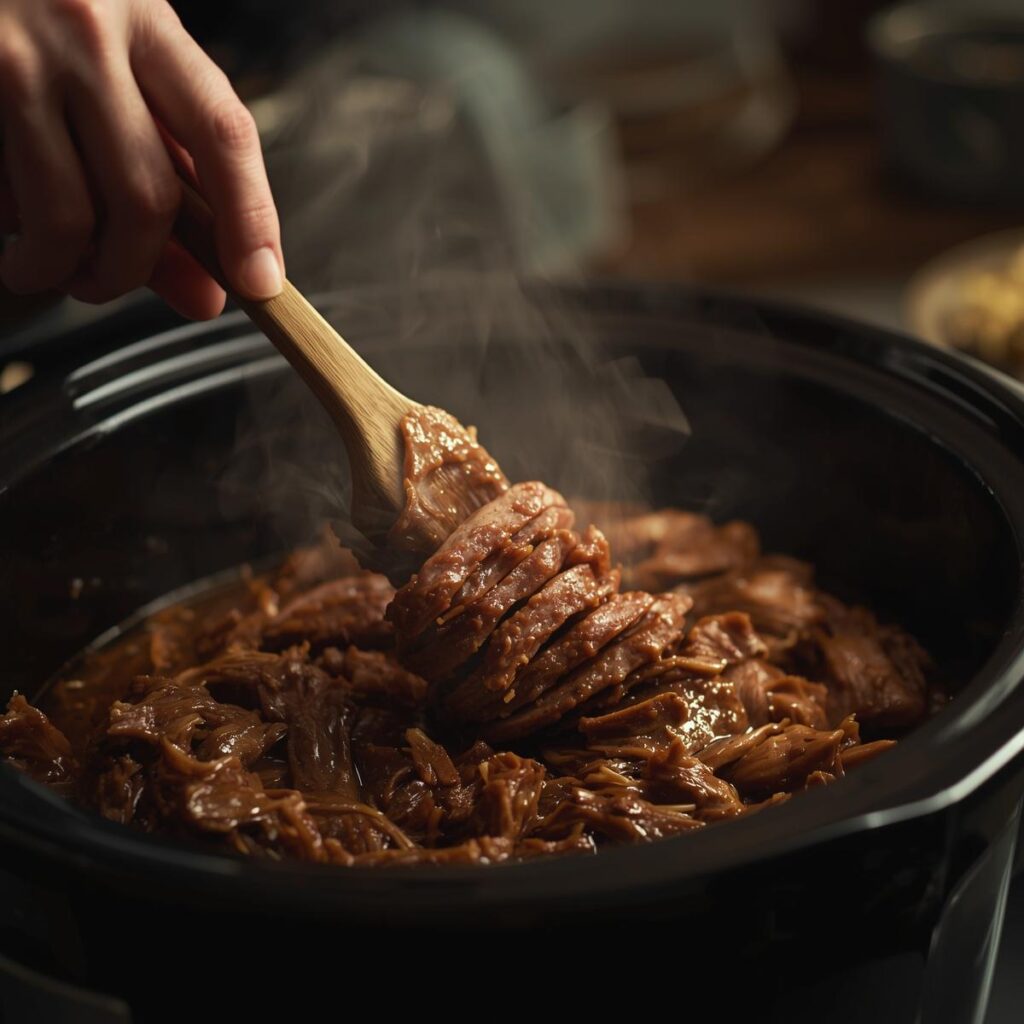

Pulled Pork Perfection: Mastering the Low and Slow Method
There’s nothing quite like the pride of serving a pile of perfectly cooked pulled pork—tender, juicy, and infused with smoky flavor that falls apart at the touch of a fork. While it might seem like a feat best left to pitmasters, achieving pulled pork perfection at home is entirely possible. It’s less about a secret recipe and more about understanding the art of low and slow cooking. Follow these essential tips, and you’ll be well on your way to creating a legendary barbecue masterpiece.
The Foundation: Choosing the Right Cut
You can’t make great pulled pork with just any cut of meat. You need a piece that’s rich in fat and connective tissue, which will slowly melt away over hours of cooking, basting the meat from within and making it incredibly tender. For a deeper dive into selecting meats, check out our guide on the best meat cuts for any cooking method.
-
The Champion: Pork Shoulder. This is the go-to cut, often labeled as “Pork Butt” or “Boston Butt” at the grocery store. Don’t be fooled by the name; it comes from the upper part of the shoulder. Its marbling and collagen are perfect for long cooking. Understanding different types of meat cuts is key to great BBQ.
-
The Alternative: Picnic Shoulder. This cut comes from the lower part of the shoulder. It’s slightly leaner and sometimes has the skin on, which can make for fantastic cracklings if prepared separately.
-
Size Matters: Aim for a 6-8 pound bone-in roast. The bone contributes to flavor, and a roast this size has enough mass to cook slowly without drying out. If you’re working with a budget, our list of the best affordable cuts of meat is a great resource.
The Prep Work: Seasoning and Rubs
The surface of your pork is the canvas for flavor, creating the coveted “bark”—a caramelized, seasoned crust.
-
Pat Dry: Start by patting the entire roast dry with paper towels. This helps the rub stick and promotes better browning.
-
The Rub Formula: A great rub has a balance of savory, sweet, and spice. For more inspiration, explore our complete guide to BBQ rubs and sauces.
-
Base: Coarse Kosher salt and black pepper (50/50 by volume is a great start).
-
Sweetness: Brown sugar (adds flavor and helps with caramelization) and paprika (for color and sweetness).
-
Complexity: Garlic powder, onion powder, chili powder, and cumin are classic additions.
-
-
Apply Generously: Sprinkle the rub onto every surface of the meat and press it in firmly. For even deeper flavor, you can apply the rub the night before and let the meat rest uncovered in the fridge.
The Main Event: Low and Slow Cooking
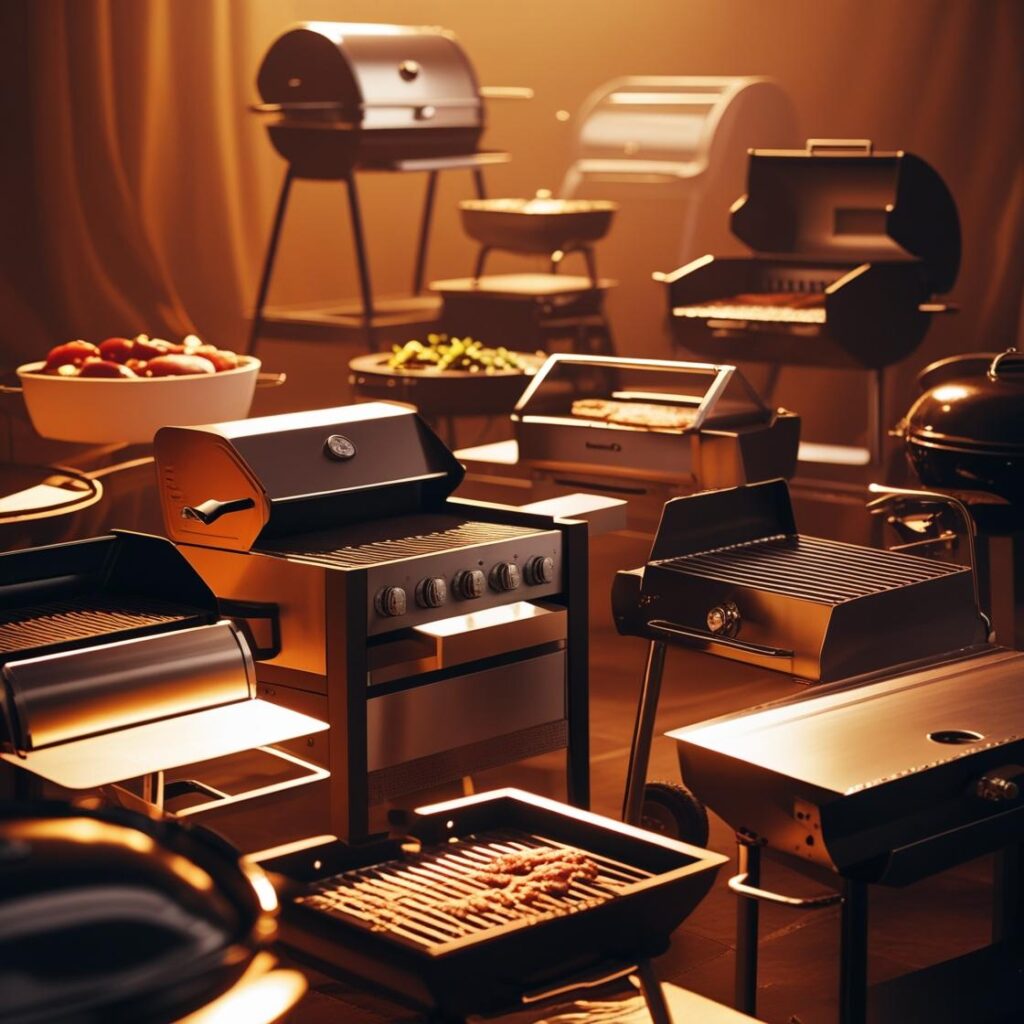
This is where the magic happens. Patience is your most important ingredient. If you’re new to this, our guide on smoking vs. grilling can help you choose your method.
-
The Smoker Method (Gold Standard):
-
Temperature: Maintain a steady cooking temperature between 225-250°F (107-121°C).
-
Wood: Use fruitwoods like apple or cherry for a sweet, mild smoke, or hickory or oak for a stronger, more traditional flavor.
-
Cook until tender, not just until it hits a temperature (see below).
-
-
The Oven Method (Excellent Alternative):
-
Temperature: Set your oven to 275-300°F (135-150°C).
-
Add Smoke Flavor: Add a teaspoon of liquid smoke to your rub, or use smoked paprika to mimic that smoky depth.
-
Place the roast on a rack set inside a roasting pan to allow air to circulate.
-
-
The Slow Cooker Method (Easiest):
-
Sear the roast in a skillet first for better flavor (optional but recommended).
-
Place it in the slow cooker with about ½ cup of liquid (broth, apple juice, or apple cider vinegar).
-
Cook on LOW for 8-10 hours.
-
-
The Stall: Don’t panic! Around 150-170°F, the internal temperature will stop rising for hours. This is the “stall,” caused by evaporative cooling. Be patient. It will pass. To power through it faster, you can wrap the roast in butcher paper or aluminum foil (the “Texas Crutch”).
How to Know It’s Done: Temperature vs. Feel
A thermometer is essential, but it’s not the only test. Using a reliable meat thermometer is non-negotiable for nailing the perfect doneness.
-
Target Temp: The finished temperature should be between 195-205°F (90-96°C).
-
The Probe Test: The real sign of doneness is tenderness. Poke the meat with a thermometer probe or a fork. If it slides in and out with little to no resistance, like pushing into a stick of soft butter, it’s done. If it feels tough, let it keep cooking.
The Most Important Step You Must Not Skip: Resting
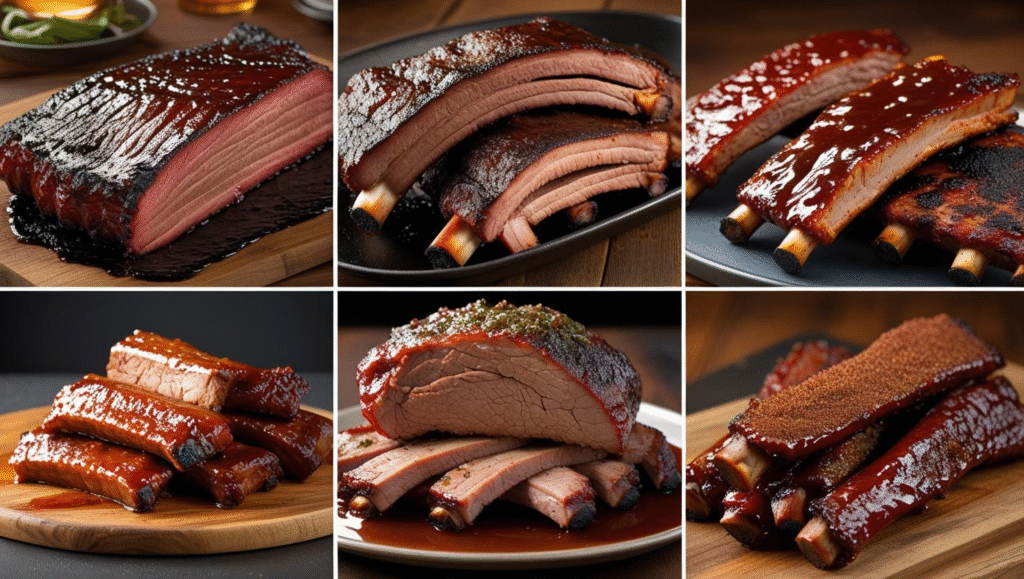
You’ve waited this long; don’t ruin it now! Resting allows the frantic muscle fibers to relax and reabsorb all the juicy goodness. This is a crucial step for all large cuts of meat, much like when cooking a brisket.
-
Method: Take the roast off the heat, wrap it tightly in foil, then an old towel, and place it in an empty cooler (a “faux cambro”) or your turned-off oven.
-
Time: Let it rest for at least 1 hour, but 2 hours is even better. The temperature will hold perfectly, and the results will be juicier.
Shredding and Serving
-
Shred: Transfer the roast to a large pan. Pull out the bone (it should be clean), discard any large fat pockets, and use two forks or—even easier—meat claws to shred the pork.
-
Sauce: You can mix in your favorite barbecue sauce until just coated, or serve it on the side for guests to add themselves. For a true taste of tradition, explore the unique flavors from different American BBQ styles.
-
Serve: Classic pulled pork sandwiches on soft buns with coleslaw are a winner. But don’t stop there! Use it for tacos, nachos, loaded fries, or pizza. Find more inspiration in our collection of BBQ recipes.
Troubleshooting Common Issues
-
Tough & Won’t Shred? It’s undercooked. Sadly, you can’t fix this without more cooking. Return it to the heat until it becomes probe-tender.
-
Dry? It might be slightly overcooked or not rested long enough. Next time, check for doneness a little earlier and rest longer. For now, sauce is your best friend!
-
Bark is Soft? If you wrapped it during the cook, the steam softened the bark. Next time, try leaving it unwrapped for the entire cook, or unwrap it for the final hour to let the bark firm back up.
Conclusion: Your Pulled Pork Masterpiece
Mastering pulled pork is a rewarding journey. By choosing the right cut, applying a flavorful rub, cooking with low, steady heat, and resting patiently, you are guaranteed incredible results. For more foundational knowledge, AmazingRibs.com is a fantastic external resource for the science of BBQ, and the USDA’s Food Safety guidelines are essential for safe handling. So fire up your smoker, oven, or slow cooker, embrace the process, and get ready for some of the best barbecue you’ve ever made.
Frequently Asked Questions (FAQ)
Q: Can I make pulled pork with a boneless pork shoulder?
A: Absolutely. A boneless pork shoulder will work just fine and can even cook a bit faster. However, many pitmasters prefer a bone-in roast because the bone can help conduct heat and contribute to a richer flavor. Just be sure to tie a boneless roast with kitchen twine so it cooks evenly.
Q: My pulled pork is too fatty. How can I avoid this?
A: While fat is essential for flavor and moisture, you can manage it. Before cooking, trim any large, thick areas of hard, external fat down to about ¼ inch. After cooking and resting, be diligent while shredding—use your fingers or forks to separate and discard any large, unrendered chunks of fat that didn’t melt away.
Q: I’m short on time. Can I cook pulled pork at a higher temperature?
A: You can, but you risk a less tender result. The “low and slow” method is crucial for breaking down tough connective tissues. If you must speed it up, try the Texas Crutch (wrapping in foil) once the meat hits about 160-170°F. This will help power through the stall and reduce total cooking time, though the bark may soften.
Q: How long can I store leftover pulled pork?
A: Leftover pulled pork can be stored in an airtight container in the refrigerator for up to 4 days. For longer storage, it freezes exceptionally well for up to 3 months. Thaw in the refrigerator overnight before reheating.
Q: What’s the best way to reheat pulled pork without drying it out?
A: The best way to reheat pulled pork is gently. Avoid the microwave if you can.
-
Oven Method: Place the pork in an oven-safe dish, add a splash of broth or apple juice, cover tightly with foil, and warm at 325°F until heated through.
-
Skillet Method: Reheat it slowly in a covered skillet over low heat with a little bit of liquid.
Q: Is there a way to make pulled pork without a smoker if I don’t have one?
A: Yes! As outlined in the article, your oven or a slow cooker are both excellent alternatives. To add a smoky flavor without a smoker, use a tablespoon of smoked paprika in your rub or a very small amount (½ teaspoon) of liquid smoke mixed into the cooking liquid.
Pingback: Best Pork Cuts for BBQ: Ultimate Grilling & Smoking Guide [2025]
Pingback: Essential BBQ Tools & Gadgets Every Home Pitmaster Needs [2025]
Pingback: Pork Cuts Explained: A Comprehensive Guide [2025] The Meat Master USA
Pingback: How to Cook Pork Ribs: A Step-by-Step Guide
Pingback: The Ultimate Guide to Beef, Pork, and Poultry for BBQ: Cuts, Tips & Techniques [2025]
Pingback: Regional BBQ Styles in the USA — Texas, Kansas City, Memphis & Carolina | Good Ultimate Guide [2025]
Pingback: Charcoal vs Gas vs Pellet Grills: Which One Is Best for You? - The Meat Master USA
Pingback: BBQ Grilling vs. Smoking: Key Differences and When to Use Each Method - The Meat Master USA
Pingback: Make KC-Style Barbecue Sauce at Home - The Meat Master USA
Pingback: The Juiciest Pork Cuts for Smoking and Grilling - The Meat Master USA
Pingback: BBQ Mistakes to Avoid: Expert Tips for Perfect Grilling
Pingback: Whole-Hog BBQ Techniques (Carolina) - The Meat Master USA