
Table of Contents Hide ContentsThe Ultimate Smoked Pulled Pork Recipe
If you’re searching for the perfect Pulled Pork Recipe, you’ve come to the right place. There’s a reason why pulled pork holds a legendary status in barbecue circles: it’s incredibly versatile, deeply flavorful, and a crowd-pleaser for any gathering.
Mastering a great Pulled Pork Recipe requires patience, attention to detail, and a good understanding of the low-and-slow smoking process. This comprehensive guide will walk you through every step, ensuring your next batch of pulled pork is tender, juicy, and packed with smoky goodness.
Forget dry, bland pork; we’re aiming for a succulent, melt-in-your-mouth experience that will have everyone asking for your secrets. This isn’t just a meal; it’s a testament to the art of barbecue, and with this Pulled Pork Recipe, you’ll be well on your way to pitmaster status.
Understanding the Key Ingredient: The Pork Shoulder
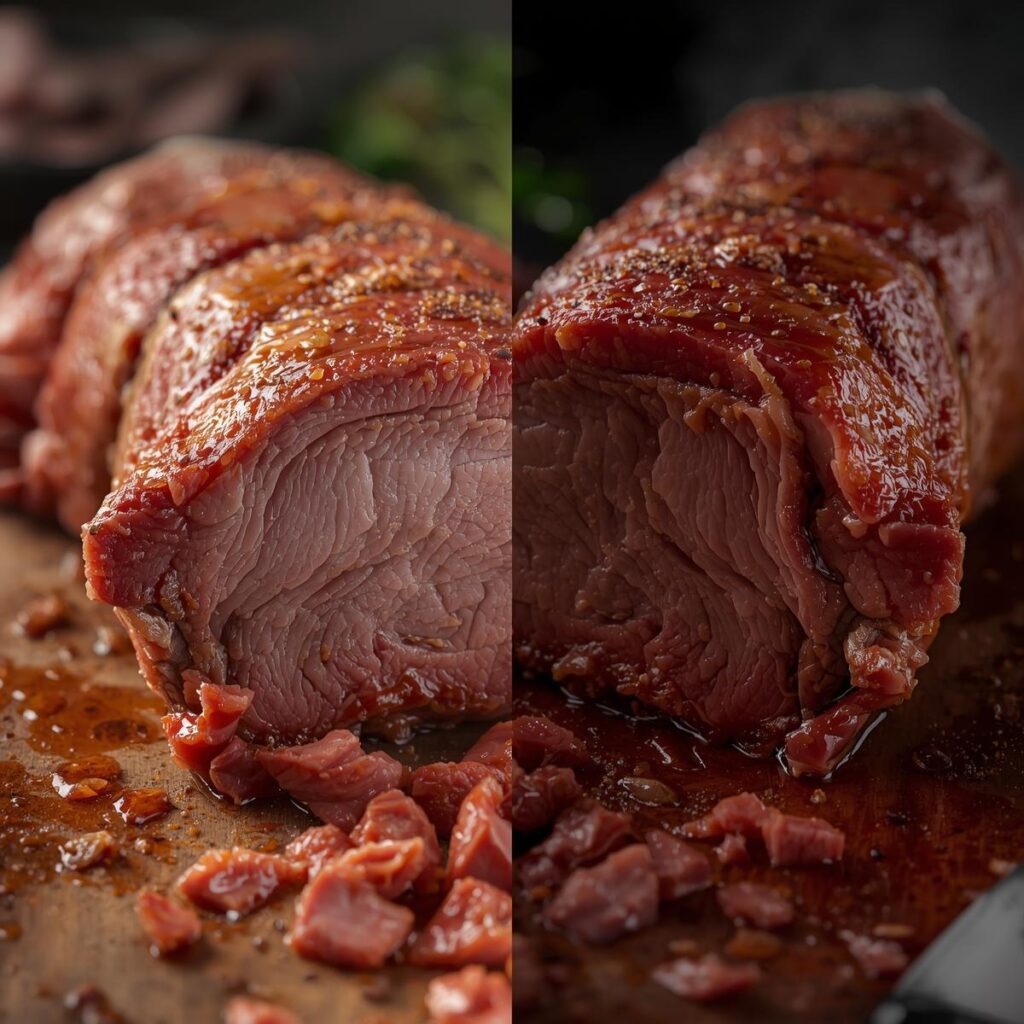
The foundation of any exceptional Pulled Pork Recipe begins with the right cut of meat: the pork shoulder. This cut, often referred to as a “Boston Butt” or “Pork Butt” (despite coming from the front shoulder of the pig, not the rear), is ideal for slow smoking.
Why the Pork Shoulder is Perfect for Pulled Pork
The pork shoulder is a working muscle, rich in connective tissue and intramuscular fat. During a long, slow cook, this collagen breaks down into gelatin, creating an incredibly tender, moist, and flavorful result. The fat renders, keeping the meat lubricated and adding depth to the final product.
- Boston Butt vs. Picnic Shoulder: While both come from the pork shoulder, the Boston Butt (the upper part) is typically preferred due to its more uniform shape and higher fat marbling, making it easier to handle and yielding more consistent results. The picnic shoulder (the lower part) has a bone and can be tougher, though still usable. For this Pulled Pork Recipe, we’ll focus on the Boston Butt.
- Bone-in vs. Boneless: Many pitmasters prefer bone-in pork shoulder because the bone is believed to contribute extra flavor and moisture. Furthermore, a perfectly cooked bone-in shoulder will have the bone literally slide out clean when it’s done, which is a great indicator of tenderness. Boneless is convenient, but you might lose a little on the flavor front. Our Pulled Pork Recipe will assume a bone-in Boston Butt, typically weighing between 7-10 pounds.
Preparing Your Pork Shoulder: Trimming and Seasoning
Proper preparation is crucial before your pork even touches the smoker. This stage sets the stage for the bark, flavor, and overall succulence of your final pulled pork.
Trimming the Pork Shoulder
Trimming a pork shoulder isn’t as precise as trimming a brisket, but it’s still important.
- Fat Cap: The top of the Boston Butt usually has a thick fat cap. You’ll want to trim this down to about ¼ to ½ inch thickness. This remaining fat will render during the cook, basting the meat and contributing moisture, while also helping to form a flavorful bark. Avoid trimming too much, or the meat could dry out.
- Silver Skin and Excess Fat: Look for any thick, tough silver skin on the other sides of the roast. This won’t render down, so it’s best to remove it. Also, trim off any small, dangling pieces of meat or excessively thick pockets of hard fat that might not render properly. The goal is to create a relatively even surface for the rub and cook.
- Score the Fat Cap (Optional): Some pitmasters like to score the fat cap in a crisscross pattern, about ¼ inch deep, to help the rub penetrate and allow more fat to render. This step is optional but can enhance bark development.
Crafting the Perfect Rub for Your Pulled Pork Recipe
A great rub is essential for a memorable Pulled Pork Recipe. It forms the “bark”—the flavorful, crispy exterior that is highly prized in barbecue. While you can buy pre-made rubs, making your own allows you to customize the flavor profile. For this classic Pulled Pork Recipe, we’ll go with a balanced sweet and savory rub.
- Basic Sweet & Savory Rub:
- ½ cup brown sugar (light or dark)
- ¼ cup coarse kosher salt
- ¼ cup smoked paprika (or regular paprika)
- 2 tablespoons black pepper (freshly ground is best)
- 1 tablespoon garlic powder
- 1 tablespoon onion powder
- 1 teaspoon cayenne pepper (adjust for desired heat)
- 1 teaspoon dry mustard
- 1 teaspoon cumin
- Mixing and Applying the Rub:
- In a bowl, combine all rub ingredients thoroughly.
- Pat the pork shoulder dry with paper towels. This helps the rub stick and promotes bark formation.
- Apply the rub liberally to all surfaces of the pork shoulder. Don’t be shy; you want a thick, even coating. Gently massage and pat the rub into the meat.
- For best results, allow the rubbed pork shoulder to sit uncovered in the refrigerator for at least 4 hours, or ideally overnight (up to 12-24 hours). This allows the salt to draw out some moisture and then reabsorb it, creating a “brine” effect and helping the flavors penetrate deeper into the meat.
The Smoking Process: Low and Slow for Success
This is where the magic happens for any great Pulled Pork Recipe. Slow smoking is key to breaking down tough fibers and rendering fat, transforming the shoulder into tender, succulent pulled pork.
Setting Up Your Smoker
Whether you’re using a pellet grill, an offset smoker, an electric smoker, or a charcoal smoker, maintaining a consistent temperature is paramount.
- Target Temperature: Aim for a smoker temperature between 225°F and 250°F (107°C – 121°C). Consistency is more important than hitting an exact number, so try to keep it within this range.
- Wood Choice: For pork, fruitwoods like apple or cherry are excellent choices, providing a mild, sweet smoke. Hickory is also a popular choice for a stronger, classic BBQ flavor. Avoid overly strong woods like mesquite, which can overpower pork. Use chunks or chips, depending on your smoker type. For pellet grills, choose a blend of these woods.
The Smoking Stages
Smoking a pork shoulder for pulled pork is a marathon, not a sprint. It typically takes 1.5 to 2 hours per pound, so a 7-10 pound shoulder can take anywhere from 10 to 18 hours.
- Initial Smoke (Unwrapped):
- Place the pork shoulder directly on the grates, fat cap side up.
- Close the lid and maintain your target temperature.
- During this phase (the first 4-6 hours), the meat will absorb most of its smoke flavor and start to develop its bark. Avoid opening the lid frequently, as “if you’re looking, you’re not cooking.”
- Monitor your smoker temperature and adjust vents/dampers (for charcoal/offset) or settings (for pellet/electric) as needed.
- The Stall:
- Around the 5-8 hour mark, or when the internal temperature of the pork reaches approximately 150°F – 170°F (65°C – 77°C), you’ll likely hit “the stall.” This is when the internal temperature of the meat stops rising, sometimes for several hours. This phenomenon is due to “evaporative cooling,” as moisture from the surface of the meat evaporates and cools it down.
- Don’t panic! This is a normal part of the process for any Pulled Pork Recipe. Resist the urge to increase your smoker temperature drastically.
- Wrapping (The Texas Crutch – Optional but Recommended):
- To power through the stall and keep the meat moist, many pitmasters use the “Texas Crutch”—wrapping the pork.
- Once the bark has set (usually after 5-8 hours or when you’re happy with its appearance), remove the pork shoulder from the smoker.
- Wrap it tightly in a double layer of heavy-duty aluminum foil or untreated butcher paper. Butcher paper is often preferred as it allows some breathability, preserving more of the bark texture.
- Return the wrapped pork shoulder to the smoker. Wrapping helps retain moisture and pushes the meat through the stall more quickly.
- Finishing the Cook:
- Continue smoking the wrapped pork until it reaches an internal temperature between 195°F and 205°F (90°C – 96°C).
- Tenderness is Key: While temperature is a good guide, the ultimate test for any Pulled Pork Recipe is tenderness. Use your instant-read thermometer to probe different parts of the meat; it should slide in with very little resistance, feeling like “poking butter.” The bone should also wiggle loose easily or pull out clean. If it feels tight, keep cooking.
- For a firmer bark, you can unwrap the pork for the last 30 minutes to an hour of cooking once it hits the target temperature.
Monitoring Temperature
A reliable meat thermometer is your best friend throughout this entire process. An accurate meat temperature chart is crucial for safety and doneness. Use a leave-in probe thermometer to monitor the internal temperature without opening the smoker too often, and an instant-read thermometer for spot-checking tenderness in various spots.
The Rest: A Critical Step for Juiciness
After the long smoke, resist the urge to immediately shred your masterpiece. The resting phase is absolutely critical for a juicy Pulled Pork Recipe.
- Why Rest? During cooking, the muscle fibers contract, pushing moisture towards the center of the meat. Resting allows these fibers to relax and reabsorb those juices, ensuring a uniformly moist and tender result.
- How to Rest:
- Once the pork shoulder is done (tender and at target temperature), remove it from the smoker.
- If it was wrapped in foil, keep it wrapped. If it was in butcher paper, you can wrap it in another layer of foil.
- Place the wrapped pork shoulder in an empty cooler (without ice, just a dry cooler) and close the lid.
- Let it rest for a minimum of 1 hour, but ideally 2-4 hours. A well-insulated cooler can keep the pork hot for even longer. This extended rest is a game-changer for moisture.
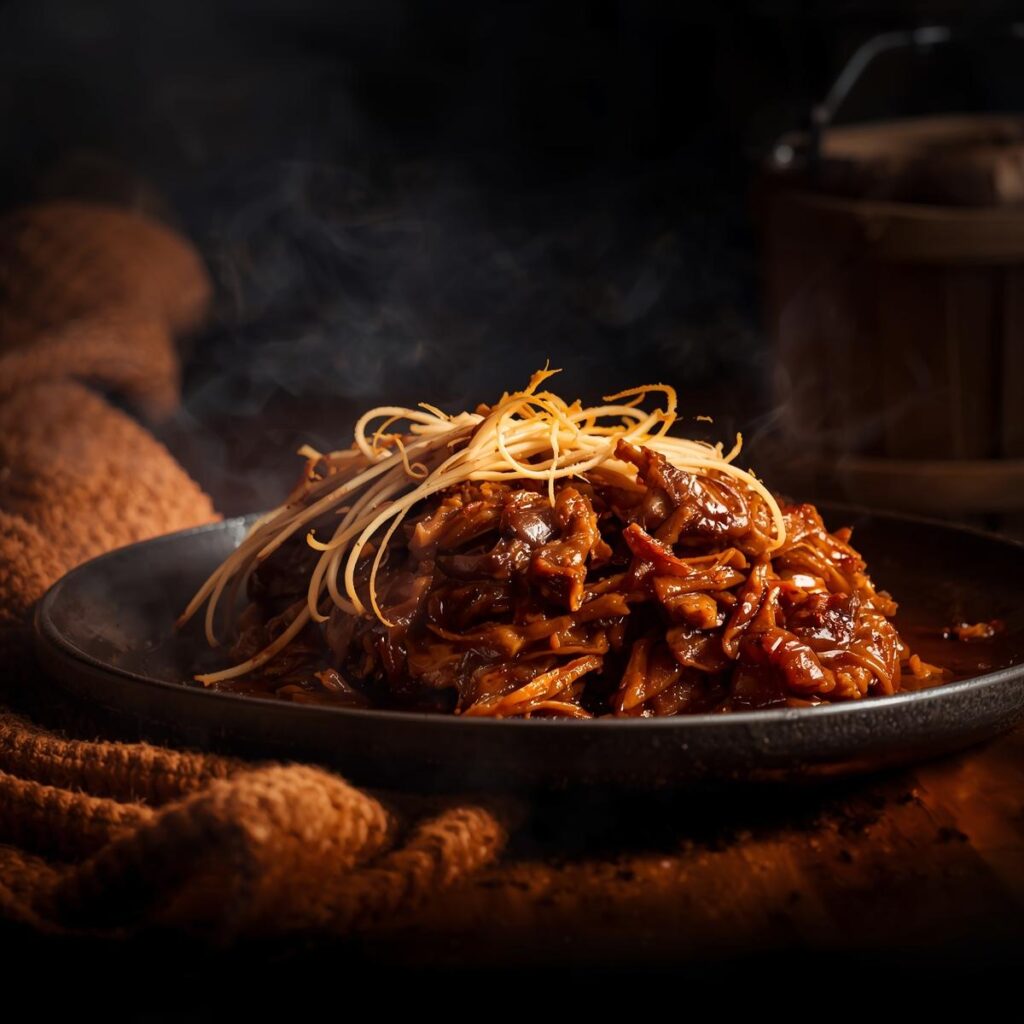
Pulling and Saucing Your Creation
The moment of truth! After all that patience, it’s time to transform your perfectly cooked pork shoulder into a pile of delicious pulled pork.
Pulling the Pork
- Tools: You can use two forks, meat claws (highly recommended for efficiency), or even gloved hands (if the pork has cooled slightly).
- Process:
- Carefully remove the rested pork shoulder from the wrapping. There will be a pool of delicious juices; save these!
- The bone should pull out easily and cleanly. Discard it.
- Begin pulling the meat apart. It should shred with very little effort.
- As you pull, discard any large pieces of unrendered fat or connective tissue. You can also chop up some of the darker, crispy bark pieces and mix them in for added flavor and texture.
The Sauce (Optional, but Often Desired)
While some purists enjoy their pulled pork unadorned, a great sauce complements the smoky richness beautifully. The style of sauce often depends on regional preference.
- Eastern North Carolina Style: A thin, tangy, vinegar-based sauce. For a classic, check out our Carolina-style pulled pork with vinegar sauce recipe.
- Lexington/Piedmont Style (Western NC): A slightly thicker vinegar-based sauce with some tomato added.
- Kansas City Style: A thick, sweet, tomato- and molasses-based sauce.
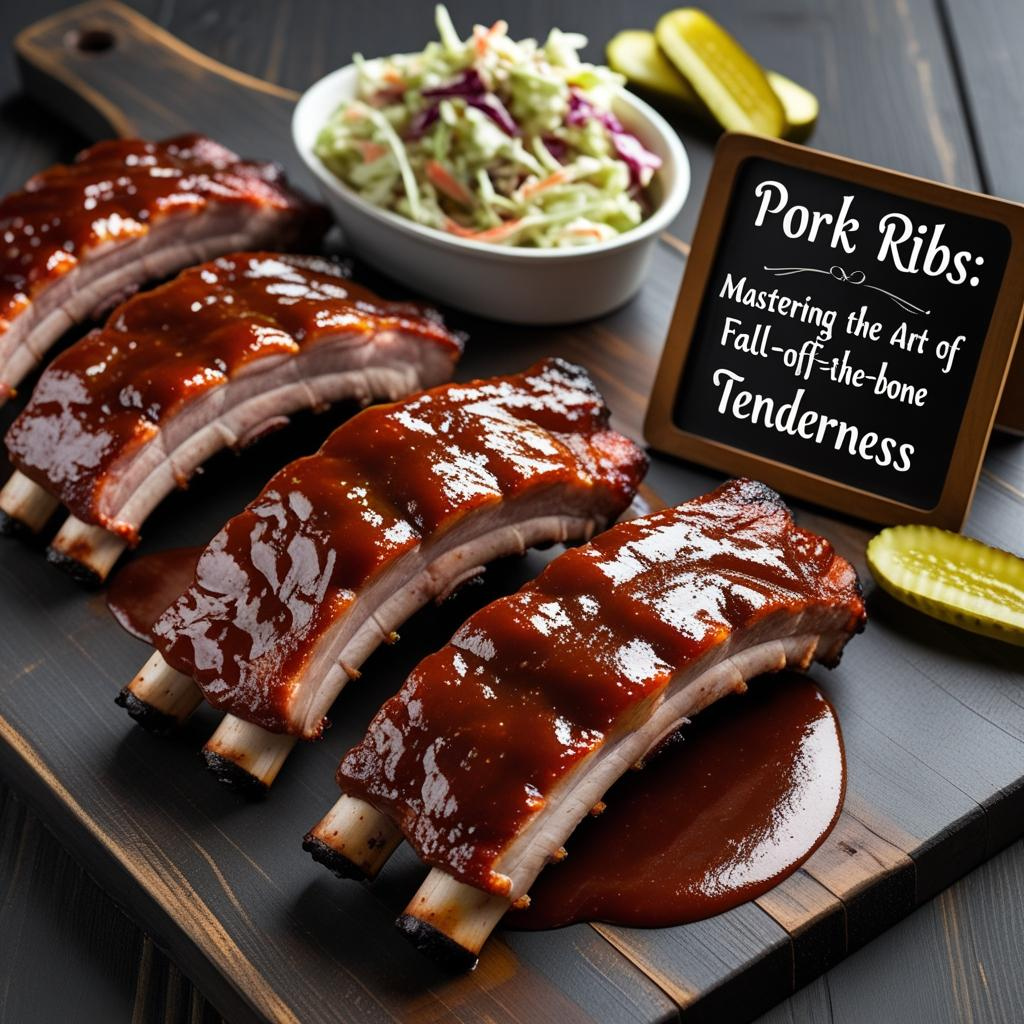
- Memphis Style: Often served dry, but if sauce is offered, it might be a thinner, tangy sauce or a sweet, tomato-based one. Check out our Memphis dry rub rib guide for a glimpse into that regional preference.
- Serving Suggestion: Toss the pulled pork with a modest amount of your chosen sauce directly in the serving bowl. You want to enhance the flavor, not drown the meat. Always have extra sauce on the side for those who prefer more. You can also mix in some of the reserved juices from the wrapping to add extra moisture and flavor.
Serving Suggestions for Your Perfect Pulled Pork Recipe
Your meticulously prepared pulled pork is incredibly versatile. Here are some classic ways to enjoy it:
- Sandwiches: Serve on soft brioche buns or toasted hamburger buns with a scoop of coleslaw on top.
- Platter: Alongside traditional BBQ sides like coleslaw, baked beans, cornbread, macaroni and cheese, or potato salad.
- Tacos/Nachos: Use as a flavorful filling for tacos, burritos, or piled high on nachos.
- Loaded Fries/Potatoes: Top French fries or baked potatoes with pulled pork, cheese, and your favorite toppings.
- Leftover Ideas: Pulled pork is fantastic for meal prepping. Use it in quesadillas, omelets, chili, or even pizza.
Troubleshooting Common Pulled Pork Recipe Issues
Even experienced pitmasters run into challenges. Here’s how to address some common problems:
- Dry Pulled Pork:
- Cause: Cooked too hot, not rested long enough, or trimmed too much fat.
- Fix: Ensure your smoker temperature is consistent. Always rest the meat. If it’s already dry, toss it with some extra sauce or the reserved juices from the wrapping.
- Tough Pulled Pork (won’t shred easily):
- Cause: Not cooked long enough, or not cooked to a high enough internal temperature. The collagen hasn’t fully broken down into gelatin.
- Fix: Put it back in the smoker (wrapped) until it probes tender. Patience is key.
- No Bark:
- Cause: Wrapped too early, not enough rub, or smoker temperature too low/inconsistent.
- Fix: Ensure a liberal rub application. Avoid wrapping too soon; let the bark set for at least 4-6 hours. You can also try unwrapping for the last hour of the cook.
- Bitter Smoke Flavor:
- Cause: Using too much wood, using “dirty” smoke (thick white smoke instead of thin blue smoke), or using the wrong type of wood.
- Fix: Use less wood. Ensure your fire is clean-burning. Stick to mild-to-medium woods like apple, cherry, or hickory for pork.
Conclusion
Mastering a Pulled Pork Recipe is a journey, but a deeply satisfying one. From selecting the perfect pork shoulder to the meticulous trimming, the magical bark-building rub, the long low-and-slow smoke, and the crucial resting period, every step contributes to the final, mouth-watering result. This isn’t just about feeding people; it’s about creating an experience, a memory, and sharing the rich tradition of barbecue.
With this detailed guide, you have all the knowledge to craft a pulled pork masterpiece that will impress your family and friends. Don’t be afraid to experiment, refine your technique, and most importantly, enjoy the process. Happy smoking, and get ready to earn your pitmaster stripes!
Ready to fire up your smoker and become a pulled pork legend? Start planning your next smoke and explore more of our guides and recipes today!