
Master the reverse sear technique for a steak that’s perfectly cooked from edge to edge with a crispy, savory crust. It’s the foolproof method for steak lovers.
Introduction: The Reverse Sear Steak
Have you ever cut into a beautifully seared steak only to find a sad, grey band of overcooked meat around the edge? The reverse sear is the secret to avoiding this common disappointment. It’s a simple, foolproof technique that guarantees a steak with a perfect, crispy crust and an incredibly juicy, evenly cooked interior every single time. By changing the order of your cooking steps, you’ll unlock a level of steak perfection you never thought possible.
What is the Reverse Sear?
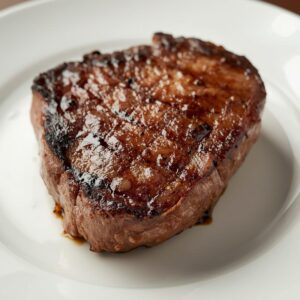 reverse sear steak" width="300" height="300" />The reverse sear is a two-step cooking method. Instead of searing the steak first, you cook it slowly at a low temperature to bring it to your desired doneness, and only then do you finish it with a quick, high-heat sear to create a beautiful crust.
This method works better than the traditional way because it allows the steak’s interior to cook evenly from edge to edge without any temperature shock. The initial low-temperature phase slowly warms the steak, preparing it for a final flash of heat that creates a delicious, caramelized exterior without overcooking the inside.
The Step-by-Step Guide to a Perfect Reverse Sear
Follow these simple steps to cook a restaurant-quality steak right in your own kitchen or backyard.
Step 1: Prep Your Steak
- Choose a thick steak, at least 1.5 inches thick. This technique works best with cuts like Ribeye or New York Strip.
- Pat the steak completely dry with a paper towel. This is crucial for getting a great sear.
- Season it generously with coarse salt and pepper on all sides.
Step 2: Slow Cook the Steak
- Place the steak on a rack in a preheated oven or on the indirect side of your grill at 225-275°F (107-135°C).
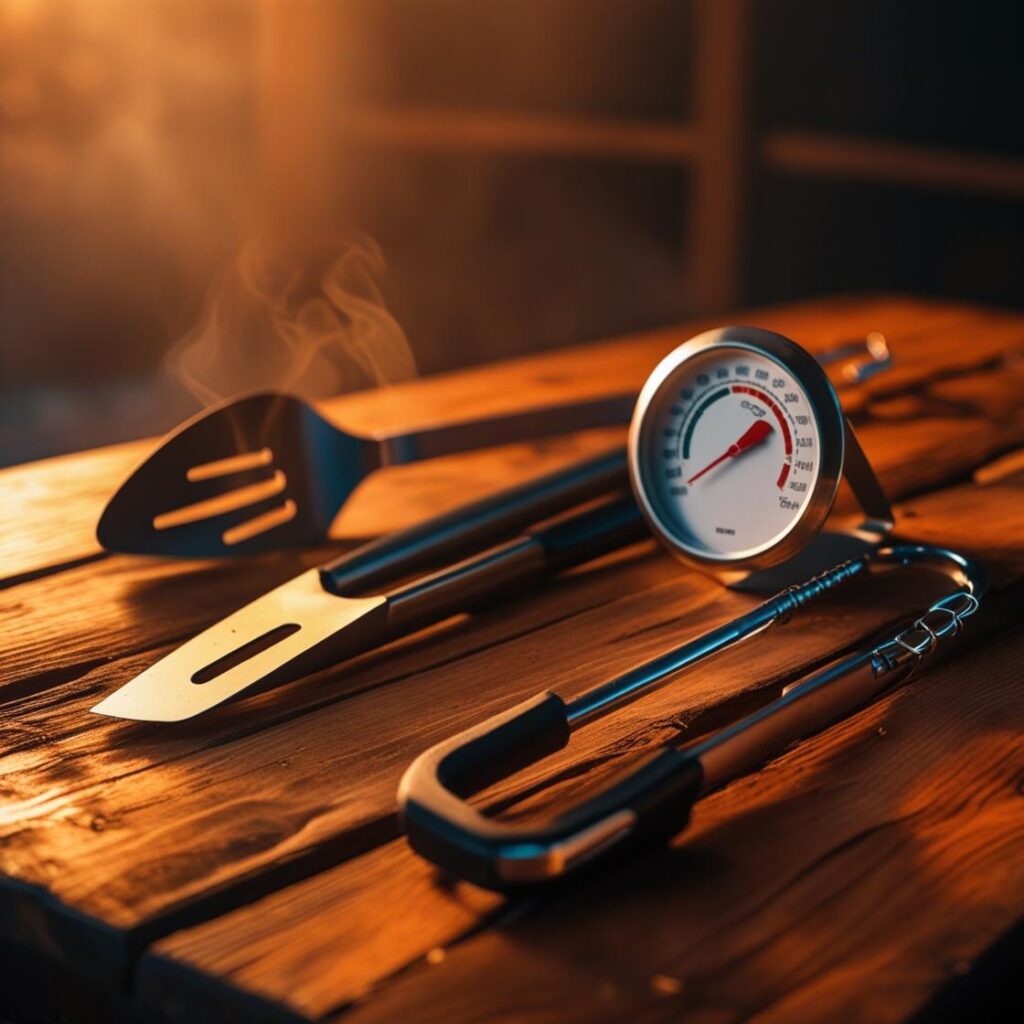
- Monitor the internal temperature with a [suspicious link removed]. The target temperature for the first stage is about 15-20 degrees below your final desired doneness.
- For medium-rare, cook until the internal temperature reaches 115-120°F (46-49°C).
Step 3: Rest the Steak
- Once the steak reaches its target temperature, remove it from the heat and let it rest on a cutting board or wire rack for 10-15 minutes.
- This rest allows the meat to relax and its juices to redistribute, ensuring a juicy final product.
Step 4: The Final Sear
- Preheat a cast-iron skillet, heavy-bottomed pan, or your grill to very high heat. Add a touch of high-smoke-point oil like avocado oil or a dab of butter.
- Sear the steak for 60-90 seconds per side, or until a beautiful, deep brown crust has formed.
- For extra flavor, you can finish by basting the steak with melted butter, garlic, and herbs.
Why the Reverse Sear Works Better
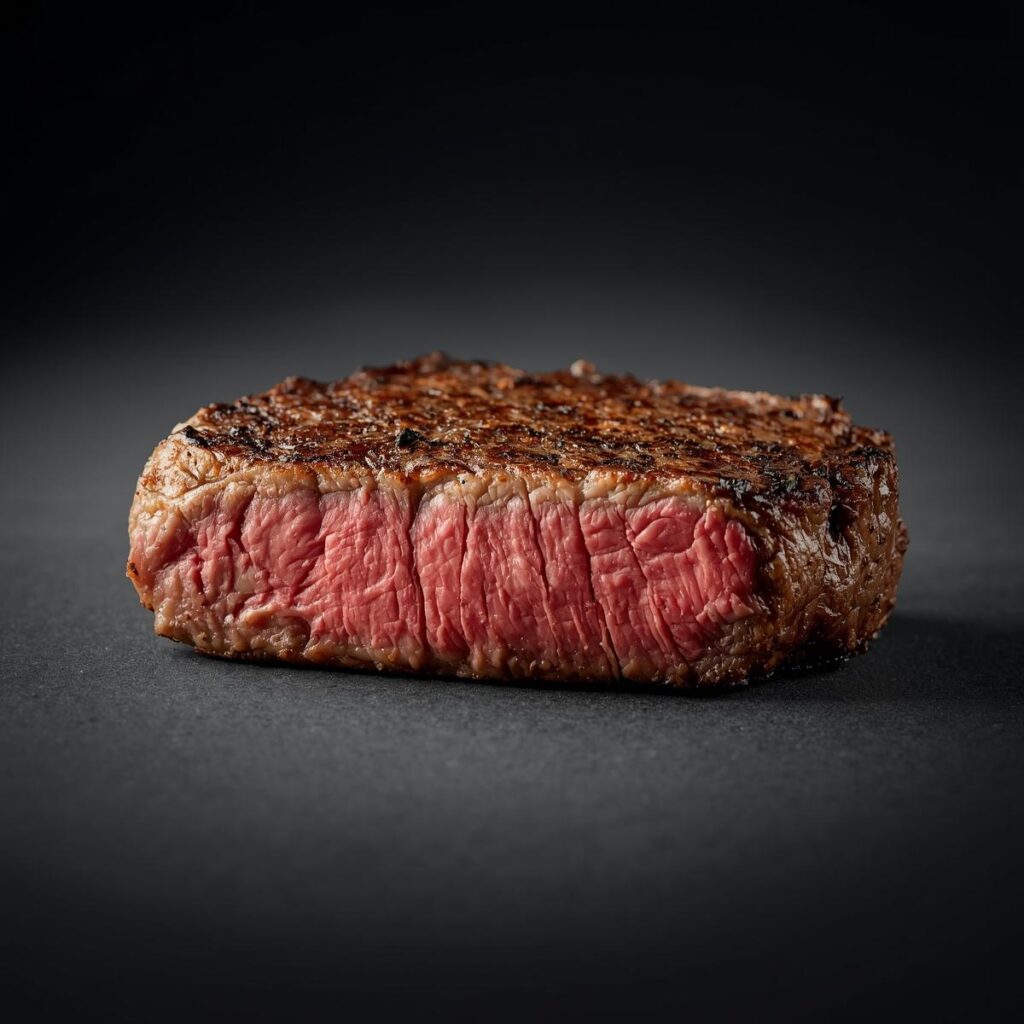
- No Grey Band: You get a perfect, edge-to-edge pink interior with no overcooked meat.
- Juicy Results: The slow cook prevents the muscle fibers from seizing up, leaving you with a tender, moist steak.
- Superior Crust: By searing the steak when it’s already warm, you get a quick, deep crust without the risk of overcooking.
What Meats Work Best?
This technique is best for thick steaks, at least 1.5 inches thick. Thin cuts will cook too quickly for the low-and-slow method to work. Try the reverse sear on these cuts:
- Ribeye
- T-Bone
- New York Strip
- Porterhouse
- Filet Mignon
Conclusion
The reverse sear may seem unconventional, but once you try it, you’ll understand why it’s the preferred method for chefs and steak enthusiasts alike. It’s a simple, scientific approach that eliminates guesswork and delivers a perfectly cooked steak every single time.
Ready to take your steak game to the next level? Grab a [suspicious link removed] and explore our guides on mastering different steak cuts and seasoning for more tips!
Frequently Asked Questions
Q: Can I do the reverse sear on a gas grill? A: Yes, absolutely. To use a gas grill, you need to create a two-zone fire. Turn one burner on low to create an indirect heat zone, and leave the others off for the slow-cooking phase. For the sear, turn all burners to high. Our Two-Zone Grilling Guide provides more detail.
Q: Why do I have to rest the steak twice? A: The first rest after the slow cook is to allow the steak’s juices to settle before the high-heat sear. The final rest is crucial after the sear to prevent the juices from spilling onto the plate when you cut into it, ensuring a juicy bite. For more on the final rest, read our guide on Why Resting Your Steak Makes it Juicy.
Q: Why is a meat thermometer so important for this technique? A: A meat thermometer is your only foolproof way to ensure you hit the precise internal temperature required for the reverse sear. Unlike the traditional method where a touch test might suffice, the reverse sear relies on hitting a very specific temperature range for a perfect, edge-to-edge cook. Our [suspicious link removed] can help you find the right one.
Q: What if my steak is thin? Can I still use this method? A: The reverse sear works best on thick steaks (1.5 inches or more). A thin steak would cook too quickly in the low-temperature phase, and you might not get the even, edge-to-edge doneness that the reverse sear is famous for. For thin steaks, the traditional high-heat sear is often the better choice.
The reverse sear may seem unconventional at first, but once you try it, you’ll see why it’s the preferred method for chefs and steak enthusiasts alike. It eliminates guesswork and delivers a perfectly cooked steak every single time.
Ready to take your steak game to the next level? Explore our guides on mastering different steak cuts and seasoning for more tips!