
Reverse Searing Explained: Cold Smoking vs Hot Smoking
Mastering the art of cooking with fire involves understanding diverse techniques that can transform your ingredients. Today, we’re diving into two distinct but equally valuable methods: reverse searing for the perfect steak and the fundamental differences between cold smoking and hot smoking. These techniques will expand your culinary repertoire and help you achieve incredible results in your backyard.
Reverse Searing Explained: The Secret to the Perfect Steak
Have you ever cut into a perfectly grilled steak only to find a sad, gray band of overcooked meat just below the surface? It’s a common problem for even the most experienced grillers. The good news is, there’s a game-changing technique that solves this issue once and for all: reverse searing.
At The Meat Master, we’re all about elevating your backyard cooking. This method combines the best of low-and-slow cooking with high-heat grilling, giving you a steak that is perfectly cooked from edge to edge with an incredible crust.
What is the Reverse Sear?
Reverse searing is a simple, two-step process that flips the traditional searing method on its head. Instead of searing first and then finishing the cook, you do the opposite.
- Step 1: The Low & Slow Cook. Cook the meat at a low, consistent temperature using indirect heat (in a smoker or on a grill) until it is almost done.
- Step 2: The Final Sear. Finish with a short, high-temperature sear on a direct flame to create a perfect crust.
The entire goal of this process is to achieve a perfectly even internal cook with no “bull’s-eye” of gray meat, while simultaneously developing a superior crust on the outside.
Why Reverse Searing Works
While it might seem counterintuitive to cook a steak slowly, the benefits are clear.
- Uniform Doneness: Because the steak is cooked at a low temperature, it heats all the way through gradually. This ensures a beautiful, consistent color from the center to the very edge, giving you a perfectly cooked steak every single time.
- Superior Crust: Searing at the end allows you to get an incredible, deep-brown crust on the outside without risking an overdone center.
- More Forgiving: The slow cooking process makes it much harder to accidentally overcook your meat, giving you a wider window of time to hit your target temperature.
How to Reverse Sear: A Step-by-Step Guide
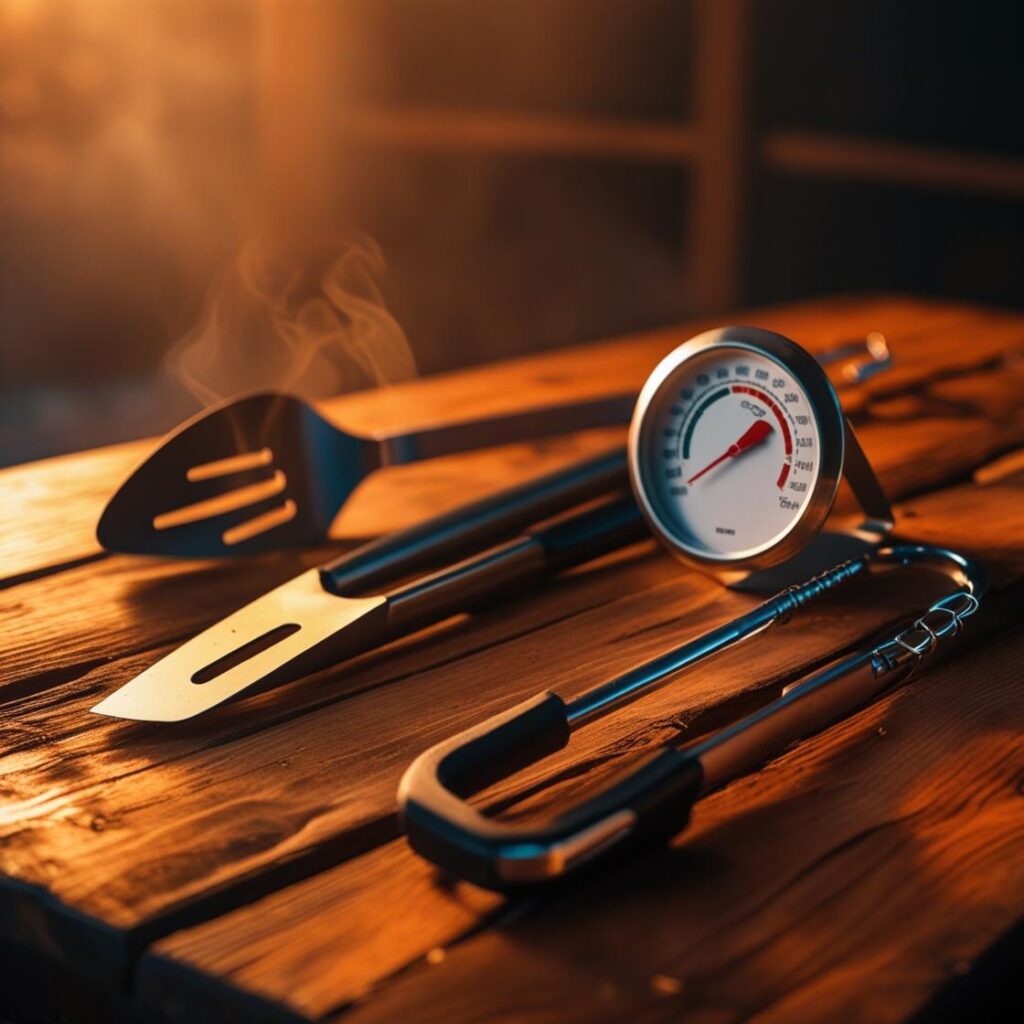
Mastering the reverse sear is easier than you think. All you need is a little patience and a good meat thermometer.
- Prep: Pat your steak completely dry with a paper towel. This is crucial for getting a great sear. Then, season it liberally with coarse salt and freshly ground black pepper on all sides.
- The Low & Slow Cook: Set up your grill for two-zone grilling or fire up your smoker. The target ambient temperature should be between 225°F and 275°F. Place the meat on the indirect-heat side, away from the direct flame. Cook until the internal temperature reaches 10-15°F below your desired final doneness (e.g., 115°F for medium-rare). For a Tomahawk Steak, this initial cook can take a while.
- The Rest: Remove the steak from the grill and let it rest for 5-10 minutes. This is a crucial, often overlooked step that allows the juices to redistribute throughout the meat.
- The Final Sear: While the meat is resting, crank up your grill to a very high temperature. Transfer the steak to the direct heat zone and sear for 1-2 minutes per side until a deep, flavorful crust forms.
Best Meats for Reverse Searing
This technique is ideal for any steak or roast that is at least 1.5 inches thick. Thinner cuts will cook too quickly for this method to be effective.
- Thick Steaks: Ribeye, New York Strip, T-bone, and Porterhouse are perfect candidates.
- Large Roasts: Prime Rib or Tri-Tip also benefit greatly from this method.
Essential Tools for Success
The most important tool for a perfect reverse sear is a reliable meat thermometer. You cannot guess the temperature with this method. An instant-read thermometer will work, but a leave-in probe thermometer is even better, as it allows you to monitor the temperature without opening the grill lid.
Conclusion: Unlock a New Level of Flavor
The reverse sear is a powerful technique that delivers a truly professional, steakhouse-quality result every time. By leveraging both low-and-slow cooking and high-heat searing, you can say goodbye to dry, overcooked meat and hello to a perfect, juicy, and flavorful steak.
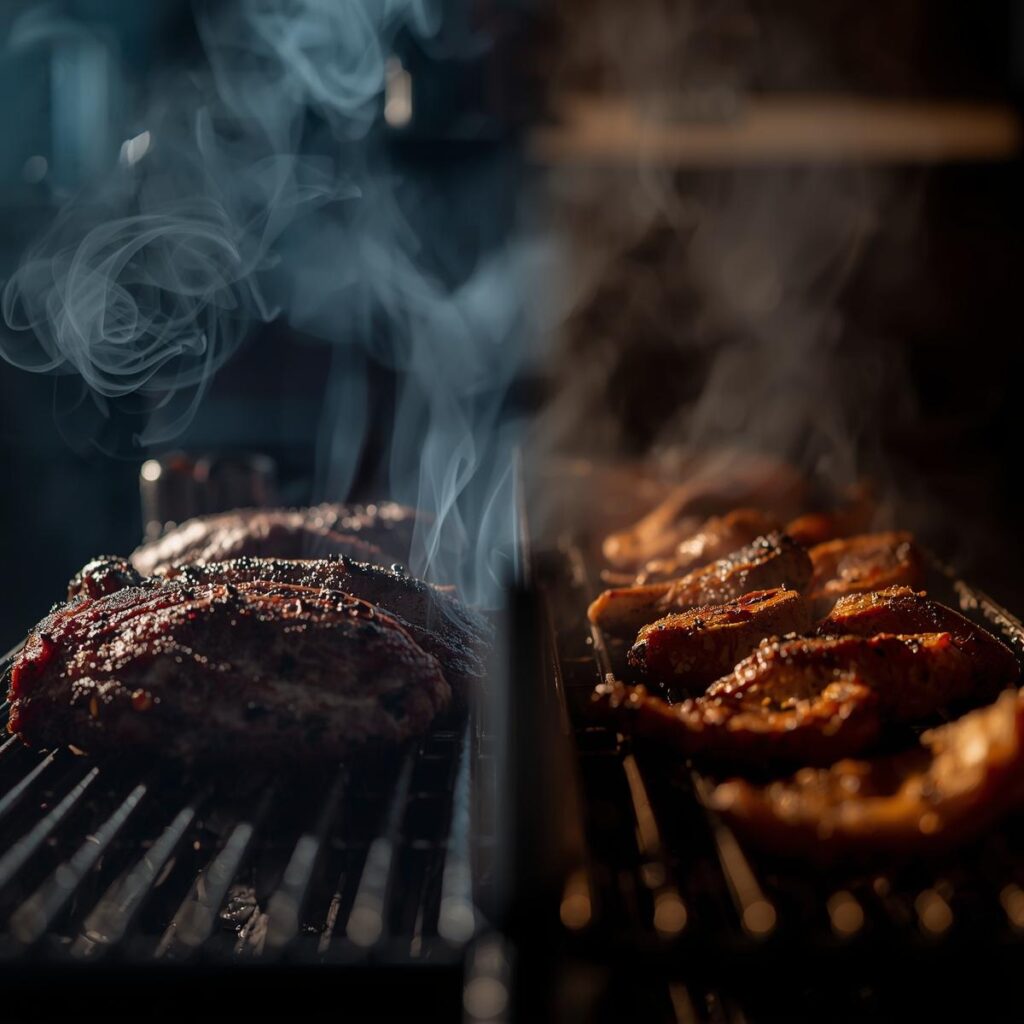
Cold Smoking vs. Hot Smoking: Not All Smoke Is the Same
When we talk about “smoking,” it often conjures images of juicy briskets and tender ribs. However, smoking actually encompasses two distinct techniques: hot smoking and cold smoking. While both impart that unmistakable smoky flavor, their purposes, temperatures, and safety considerations are vastly different.
At The Meat Master, understanding these distinctions is key to achieving your desired culinary outcome.
What is Hot Smoking?
Hot smoking is what most people typically think of when they hear “smoking meat.”
- Definition: This is a cooking method where food is cooked and flavored simultaneously by the heat and smoke from a low-temperature fire.
- Temperature Range: Typically between 225°F and 275°F (107-135°C). This temperature range is high enough to cook the food safely while still being low enough to allow for slow cooking and tenderization.
- Purpose: To cook tough cuts of meat slowly, breaking down connective tissue into gelatin, making them incredibly tender. It also infuses the food with a deep, smoky flavor.
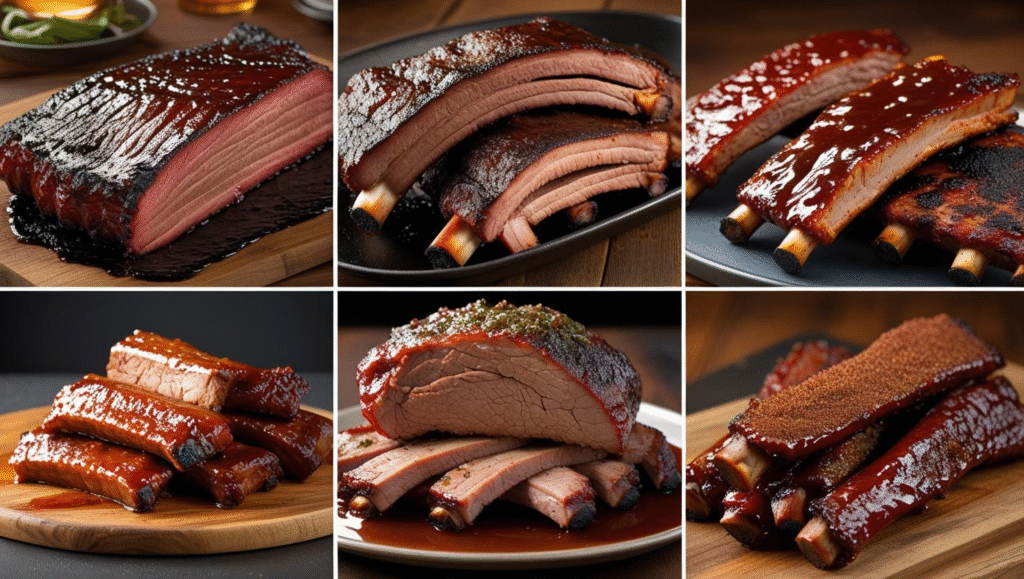
- Best for: Brisket (like a Texas-style smoked brisket), pork shoulder (for pulled pork), ribs, whole chickens, and other BBQ staples.
What is Cold Smoking?
Cold smoking is a very different process, focused primarily on flavor and preservation rather than cooking.
- Definition: This is a flavoring and preservation technique that uses smoke at very low temperatures, typically without cooking the food.
- Temperature Range: Below 90°F (32°C). It is crucial that the temperature remains low enough to prevent the food from cooking or entering the “danger zone” for bacterial growth (40-140°F).
- Purpose: To impart a distinct smoky flavor to foods without significantly altering their texture. It is often a key step in curing and preserving items.
- Best for: Cheeses, nuts, salt, garlic, salmon (to make lox or smoked salmon that isn’t cooked), and certain cured meats (like bacon or sausages before cooking).
- Safety Warning: Cold smoking requires careful preparation, often including curing with salt and nitrites, to prevent the growth of harmful bacteria. It is a more advanced technique that demands strict attention to food safety.
Key Differences: Hot vs. Cold Smoking
| Feature | Hot Smoking | Cold Smoking |
| Temperature | 225-275°F (107-135°C) | Below 90°F (32°C) |
| Purpose | Cooks food, adds flavor, tenderizes | Flavors food, aids preservation, does not cook |
| Best For | Brisket, Ribs, Pork Shoulder, Chicken | Cheese, Nuts, Salt, Salmon (lox), Cured Meats |
| Safety/Preparation | Focus on reaching safe internal cooking temperatures | Requires careful curing/preparation to prevent bacterial growth |
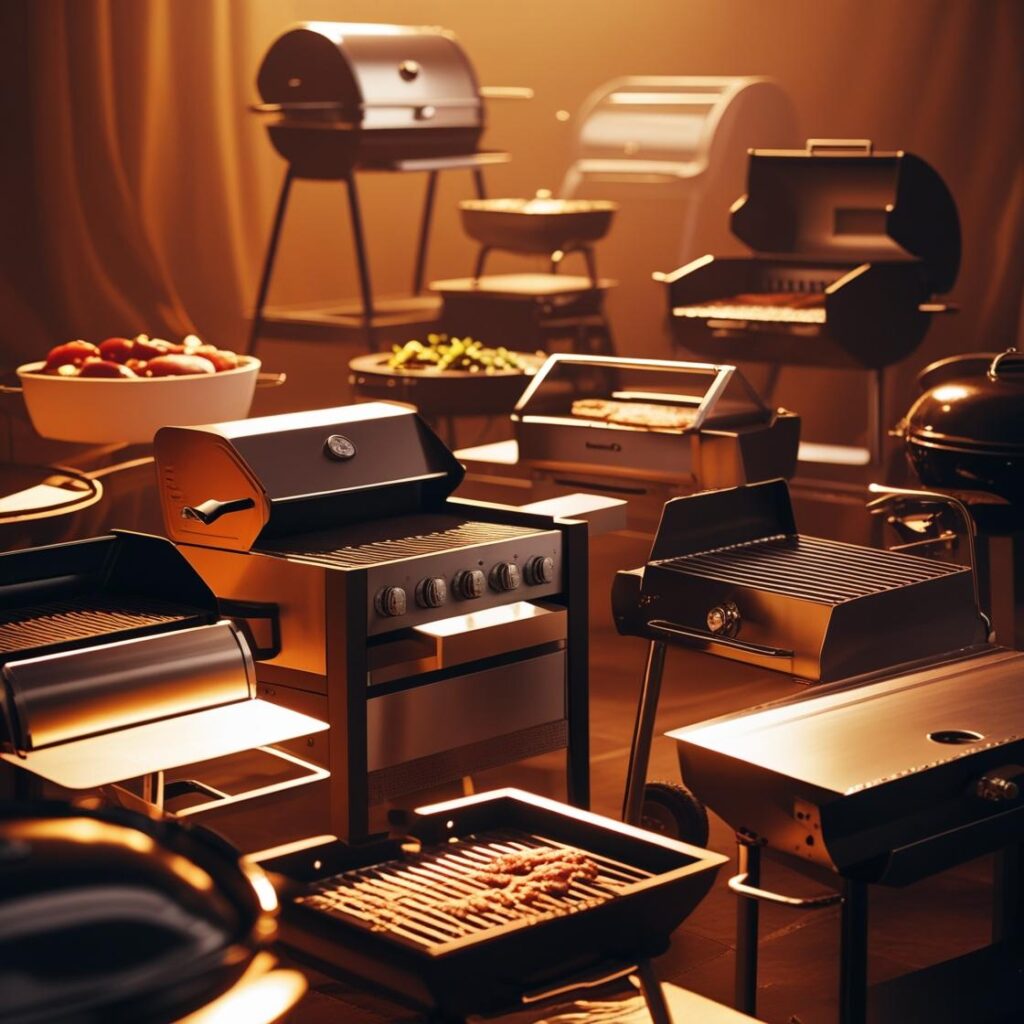
Essential Tools for Each Method
- Hot Smoking: A standard smoker (offset, charcoal, pellet, or electric) or a grill set up for indirect heat with wood chunks.
- Cold Smoking: Requires a separate, low-temperature smoke generator (like a smoke tube or maze) or a dedicated cold smoker attachment designed to keep heat out of the food chamber.
Conclusion
Hot smoking and cold smoking are not interchangeable; they serve distinct culinary goals. Hot smoking is about cooking and flavoring, transforming tough cuts into tender barbecue. Cold smoking is a precise art of flavoring and preservation that enhances ingredients without cooking them. Understanding both techniques will allow you to explore a much broader world of smoky deliciousness.
Pingback: BBQ Grilling vs Smoking: Key Differences and When to Use Each Method [2025] an excellent ultimate guide.