

The Single-Sided Sear Method
Most people flip their steak at least once. It’s what we’ve been taught to do—a quick sear on each side and you’re done. But what if you didn’t? What if you placed your steak down on a hot surface and never touched it again until it was time to rest?
This is the principle behind the single-sided sear method, a powerful technique that promises a steak with a superior crust, a juicier interior, and a perfect, even cook. By focusing the heat on one side, you create a beautiful crust while the heat gently rises through the steak, cooking it from the bottom up. Let’s dive into the science and a step-by-step guide to mastering this game-changing method.

How the Single-Sided Sear Method Works
The magic of the one-sided steak method lies in how it manages heat and moisture. Instead of constantly flipping, you’re letting the steak cook on one side only. This allows a deep, dark crust to form from the Maillard reaction, the complex chemical process that creates flavor and color in seared foods. This technique is designed to supercharge the Maillard reaction, giving you a flavor-packed crust that’s difficult to achieve with traditional flipping.
As the bottom of the steak sizzles, the heat travels upward, creating a natural temperature gradient. The top of the steak stays cooler, which helps retain moisture and prevents the meat from drying out. This is a stark contrast to traditional flipping, where the heat is applied to both sides, which can sometimes lead to a less uniform internal temperature and a less developed crust. For a more detailed look at the science of searing, you can read this comprehensive guide from Serious Eats.
Benefits of Not Flipping Your Steak
- Enhanced Crust & Caramelization: By keeping the steak on one side, you give the Maillard reaction time to do its work, resulting in an incredibly flavorful, deep-brown crust.
- Juicier Interior: Unlock the ultimate juicy steak secrets with the single-sided sear. By cooking on only one side, you significantly reduce moisture loss. The top of the steak acts as a natural shield, preventing juices from evaporating and ensuring every bite is as succulent and tender as possible.
- Less Hassle: No more guessing when to flip. You simply set your timer and wait. This method is surprisingly low-maintenance.
- Ideal for Specific Cuts: This technique works wonders with thick, well-marbled cuts like ribeye and striploin. The fat renders beautifully and helps create that crispy, flavorful crust.
Your Step-by-Step Guide
1. Preparation
Before you start, make sure your steak is at room temperature. Pat it completely dry with a paper towel and season generously with coarse salt and black pepper. A dry surface is crucial for a great sear.
2. Preheat Your Cookware
Heat a heavy-bottomed pan, like cast iron, or a flat-top grill over medium-high heat. You want it hot, but not smoking. Add a high-smoke point oil like grapeseed or avocado oil.
3. The Sear
Gently place your steak in the pan. Listen for that satisfying sizzle! Now, here’s the key: leave it alone. Do not move it, and do not flip it. Use a meat thermometer to monitor the internal temperature. When it gets within 5–10°F of your desired doneness, it’s time to move on.
4. Resting
Once the steak is cooked, transfer it to a wire rack or cutting board. Let it rest for at least 10 minutes. This is non-negotiable! Resting allows the juices to redistribute throughout the meat, ensuring every bite is moist and flavorful.
For a finishing touch, you can top the steak with a pat of butter, fresh herbs, or a finishing salt.
Common Mistakes to Avoid
- Heat Too High: If your pan is too hot, you’ll burn the outside before the inside has a chance to cook. Medium-high heat is the sweet spot.
- Thin Steaks: This method is best for steaks that are at least 1.5 inches thick. Thinner cuts will cook too quickly and can get overdone.
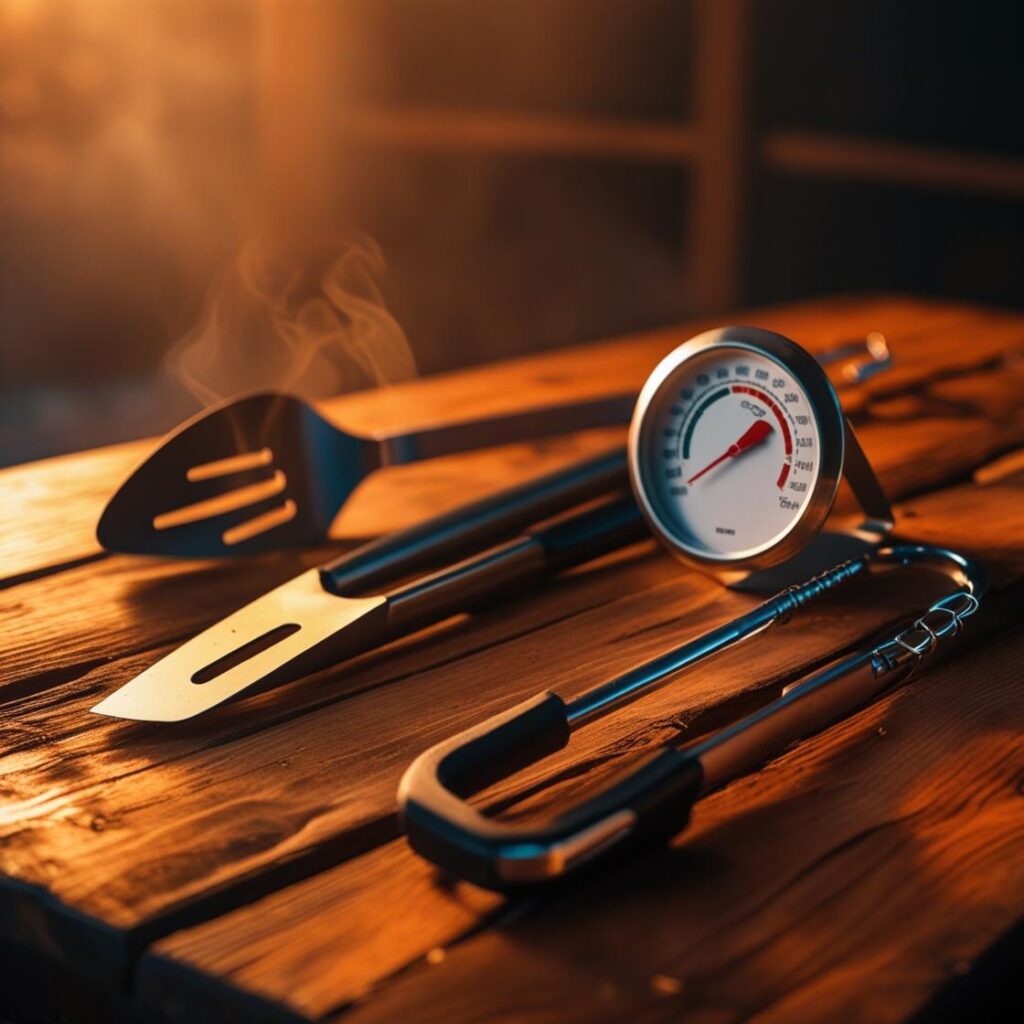
- Ignoring the Thermometer: Don’t eyeball it! A good meat thermometer is your best friend. It’s the only way to guarantee a perfect cook.
Expert Tips & Tricks
For those seeking new steak cooking tips, these expert techniques will help you master the single-sided sear and achieve perfection every time.
- Using a Thermometer: For perfect doneness, a good digital meat thermometer is essential. Check out our list of the Top 5 Meat Thermometers to find the best one for you.
- Ideal Cuts for this Method: While this technique works for many cuts, it’s particularly well-suited for thick, well-marbled steaks like a ribeye or New York striploin. The high fat content and marbling of a ribeye make it an ideal candidate, as the fat renders beautifully and adds to the flavor and crispy crust. If you’re wondering how to cook a ribeye single-sided, the process is straightforward and yields incredible results.
- Basting: While the steak is searing, you can baste the exposed top with butter, garlic, and herbs like thyme and rosemary. This infuses incredible flavor.
- Searing on a Grill: If using a grill, a flat-top griddle or a heavy cast iron pan placed directly on the grates is a great way to achieve this.
- Flip Method vs. Single-Sided Sear: While the single-sided sear creates a phenomenal crust, the traditional flip method can be faster for thinner cuts and provides a more uniform cook from edge to edge.
- Reverse Searing: For a steak that’s cooked evenly from edge to edge, consider combining the single-sided sear with the reverse sear method. Learn how to do it perfectly with our guide on How to Reverse Sear a Steak Perfectly.
- Grill vs. Pan vs. Oven: This method works best in a pan or on a flat-top griddle, but it can be adapted for a grill with a cast iron skillet. The key is to have a consistent, direct heat source on one side. Learn more about different steak cooking methods from the experts at Food Network.
Frequently Asked Questions
Q: Can this method be used on thin steaks? A: We do not recommend using the single-sided sear on thin cuts. Steaks less than 1.5 inches thick will cook too quickly, preventing the heat from transferring slowly and evenly to the top of the steak. You’ll likely end up with an overcooked interior before a proper crust can form.
Q: What about rare vs. medium-rare vs. well-done? A: The single-sided sear is particularly well-suited for achieving a perfect rare to medium-rare steak. The lower, more even heat ensures you don’t overcook the interior. For well-done steak, this method is not ideal as it can result in a burnt exterior before the interior is fully cooked. A digital thermometer is key for nailing your desired doneness.
Q: Does not flipping a steak make it dry? A: On the contrary! One of the key juicy steak secrets of this method is its ability to retain moisture. By only applying high heat to one side, you significantly reduce the amount of moisture that escapes from the meat, resulting in a more succulent and tender final product.
Q: Is this method better than constantly flipping the steak? A: Both methods have their pros and cons. While some chefs prefer to flip a steak every 30 seconds for an even cook from edge-to-edge, the single-sided sear is less hands-on and provides a deep, all-over crust on one side that many people love. It comes down to your personal preference and what you are trying to achieve.
Q: What if I don’t have a cast iron pan? A: While a heavy cast iron pan is ideal for its heat retention, this method can be successfully done in any heavy-bottomed, high-quality skillet or even on a flat-top grill. The goal is to use a surface that can get very hot and hold that heat consistently.
Q: Can you adapt this for vegetables or other meats? A: While designed for steak, you can use the core concept of the one-sided steak method on thicker cuts of pork or even firm fish. For vegetables, this technique can be used to char and caramelize one side of a product, providing a nice contrast in texture and flavor.
Conclusion
The single-sided sear method is a simple technique that delivers extraordinary results. It’s a fantastic way to achieve a deep, caramelized crust and an unbelievably juicy interior without the guesswork of traditional flipping. The next time you’re craving a steak, challenge yourself to put it down and walk away. You’ll be amazed at the results.
Ready to perfect your grilling game? Check out our other guides:

Pingback: BBQ Mistakes to Avoid: Expert Tips for Perfect Grilling