
Stop guessing! Use the ultimate meat temperature guide for grilling and smoking. Get free, printable charts for steak, chicken, pork, and seafood to achieve perfect doneness every time. Your go-to resource for BBQ success.
The Ultimate Temperature Guide: Grilling and Smoking Charts for Every Meat
Introduction:
That moment of doubt is every griller’s secret shame. You’ve invested in a beautiful cut of meat, carefully seasoned it, and managed the fire like a pro. But now, as you squint at the grill, the dreaded question arises: “Is it done?” A poke, a guess, a hope—and too often, the result is a costly disappointment. Either a perfectly good steak is turned into leather, or worse, you risk serving something dangerously undercooked.
It’s time to ban the guesswork.
This guide is your definitive, science-backed answer. We’re eliminating the poking and prodding and replacing it with unshakable confidence. Here, you will find everything you need to hit the perfect internal temperature, every single time, transforming you into a master of both juicy, flavorful results and absolute food safety.
Bookmark this page. Consider this your new grilling command center. And to make it even easier, we’ve created free, printable temperature chart PDFs for both grilling and smoking. Your days of overcooked chicken and dry brisket are officially over.

The Ultimate Temperature Guide: Grilling and Smoking Charts for Every Meat
Our ultimate temperature charts help you grill like a pro.
Why Internal Temperature is the ONLY Way to Know It’s Done
Forget everything you think you know about poking, prodding, and peeking. When it comes to perfectly cooked meat, internal temperature is the only objective, reliable metric. Why? Because cooking is ultimately a game of biochemistry, not guesswork.
The Simple Science of Doneness:
Meat is transformed by heat in specific, predictable ways. Muscle proteins (myosin and actin) denature—they unwind and then rebind—at specific temperatures, which is what firms up the meat and makes it opaque. Meanwhile, tough connective tissues (like collagen) break down into rich, unctuous gelatin, and fats begin to render, basting the meat from within. These processes aren’t triggered by time; they are triggered by reaching a specific internal temperature.
Debunking the Myths: Why Your Eyes and Fingers Lie
You’ve probably heard the old rules. It’s time to break them.
-
Myth: “The juices should run clear.”
-
The Truth: While juices often clear up as meat cooks, this is not a guarantee of safety or perfection. Poultry can sometimes show clear juices before it’s safely cooked, and pork can easily be overdone long before this happens. It’s an unreliable visual cue.
-
-
Myth: “It’s done when it’s no longer pink.”
-
The Truth: Color is a terrible indicator. Cured meats like ham are never pink in the same way, yet are safe. Conversely, smoked meats can retain a pinkish “smoke ring” even when fully cooked. More importantly, ground meats must be cooked to a safe temperature throughout regardless of color, as bacteria are spread during grinding.
-
-
Myth: “It should feel firm” or “It should feel like the fleshy part of your hand.”
-
The Truth: The “hand test” is subjective and flawed. The firmness of meat changes based on the cut, its thickness, and the animal itself. Comparing it to your hand introduces massive variability. Your sense of touch is not calibrated to food safety standards.
-
The Non-Negotiable Tool: Your Instant-Read Thermometer
If you take only one thing from this guide, let it be this: A good digital instant-read thermometer is the most important tool in your grilling arsenal, more than any fancy grill or expensive knife.
It is the only way to get an accurate, scientific reading of what’s happening inside the meat. It removes all doubt, eliminates all fear, and guarantees perfect results. Investing in a reliable model (like a ThermoPop or Thermapen) isn’t a luxury; it’s a necessity for anyone serious about grilling.
How to Use This Guide & The Printable Charts
Before you dive into the numbers, it’s essential to understand the most important distinction in the world of meat temperatures: the difference between ** safety** and perfection.
Safety vs. Succulence: Understanding the Two Standards
You will often see two different temperature recommendations, and it’s crucial to know why both exist:
-
USDA Safe Minimum Temperatures:
-
What it is: This is the scientific, government-recommended standard for food safety. It represents the temperature at which harmful bacteria (like Salmonella or E. coli) are instantly and guaranteed to be killed.
-
Its Purpose: To eliminate the risk of foodborne illness. These are non-negotiable guidelines for public health.
-
The Catch: For some meats, especially red meat, this temperature can result in a drier, more well-done finish than many people prefer.
-
-
Chef-Recommended Temperatures for Taste & Tenderness:
-
What it is: This is the culinary standard used by professional chefs and pitmasters to achieve the most juicy, tender, and flavorful result possible.
-
Its Purpose: To maximize eating quality. These recommendations often leverage the concept of carryover cooking—where the internal temperature of meat continues to rise by 5-10°F (3-5°C) after being removed from the heat.
-
The Caveat: These temperatures assume you are starting with high-quality, fresh meat from a trusted source and handling it safely.
-
How This Guide Works:
Our charts and recommendations below will provide both temperatures. We will always prioritize safety first but give you the tools to understand the professional target for ultimate flavor.
Your Printable Temperature Cheat Sheets:
The heart of this guide is the set of charts below. We’ve designed them for clarity and quick reference.
-
Print them out and tape them to your grill lid or fridge.
-
Bookmark this page on your phone for easy access at the store or while cooking.
-
They are divided into two main styles: Grilling (Hot & Fast) and Smoking (Low & Slow).
A Final, Critical Rule: Always Rest Your Meat!
No matter which temperature target you choose, always let your meat rest after cooking. This allows the frantic juices to redistribute throughout the muscle fibers. If you slice immediately, those precious juices will simply spill out onto the cutting board. A good rule of thumb is to rest for at least 5-10 minutes for steaks and chops, and up to an hour or more for large roasts like brisket.
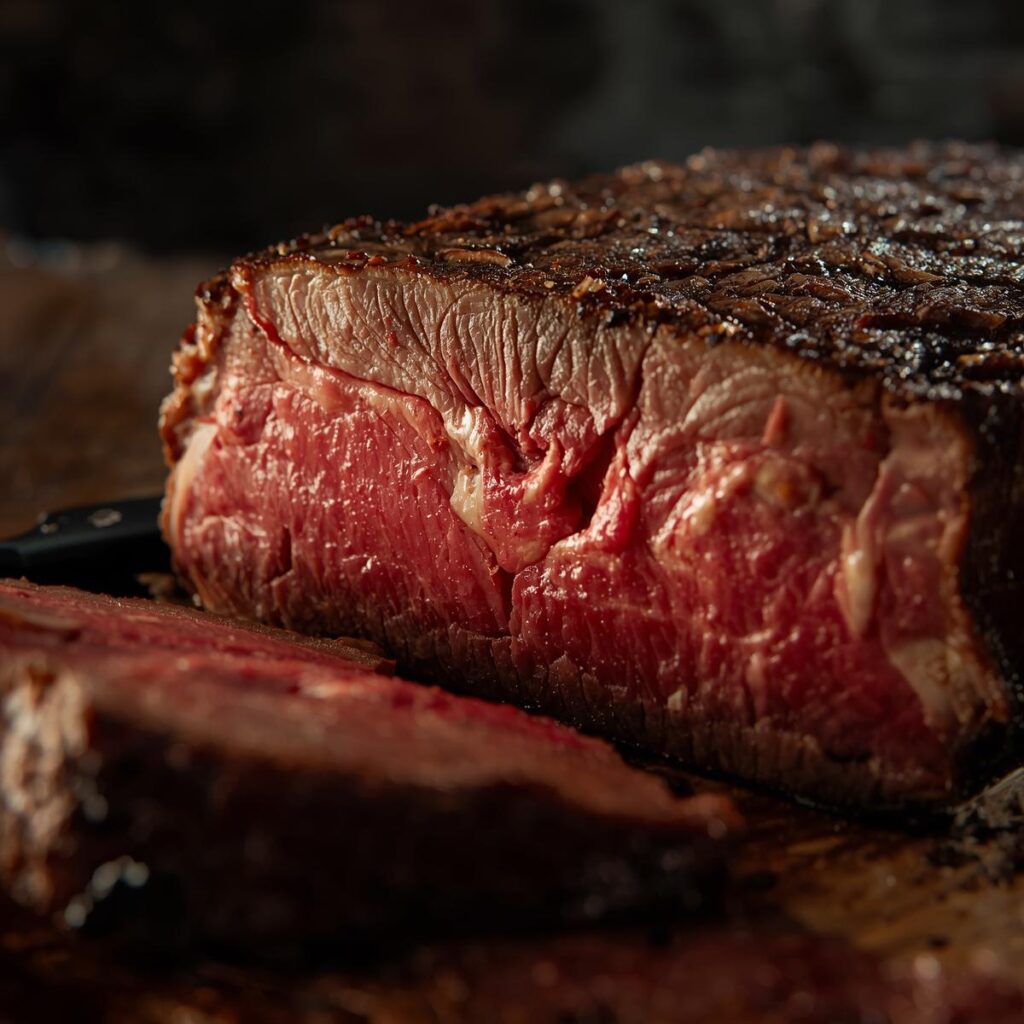
The Beef Temperature Chart: From Steak to Brisket
Beef offers the widest range of doneness, from juicy, red rare to fall-apart tender slow-cooked masterpieces. This chart covers the most common cuts and their ideal target temperatures. Remember: always use a thermometer and factor in carryover cooking.
A Note on Carryover Cooking:
Do not skip this! When you remove meat from the heat, its internal temperature continues to rise as the outer heat moves inward. This can cause an increase of 5-10°F (3-5°C). For perfect results, always remove the meat from the grill just before it hits your final target temperature and let it rest.
Beef Temperature Chart
| Cut | Doneness | Target Temp (Remove From Heat) | Final Temp (After Rest) | Notes & Tips |
|---|---|---|---|---|
| Steak (Ribeye, Strip, Filet) | Rare | 120-125°F (49-52°C) | 125-130°F (52-54°C) | Very red, cool center. |
| Medium-Rare | 130-135°F (54-57°C) | 135-145°F (57-63°C) | The chef’s choice. Warm red center; perfect juiciness. | |
| Medium | 140-145°F (60-63°C) | 145-155°F (63-68°C) | Warm pink center. | |
| Medium-Well | 150-155°F (66-68°C) | 155-165°F (68-74°C) | Slightly pink, firmer. | |
| Well-Done | 160°F+ (71°C+) | 165°F+ (74°C+) | Little to no pink, can be dry. | |
| Prime Rib / Rib Roast | Medium-Rare | 120-125°F (49-52°C) | 130-135°F (54-57°C) | Rest for 20-30 mins. The temperature will rise significantly. |
| Ground Beef (Burgers, Meatloaf) | Safe to Eat | N/A | 160°F (71°C) | USDA Standard. No doneness levels. Bacteria spread during grinding, so must be cooked through. |
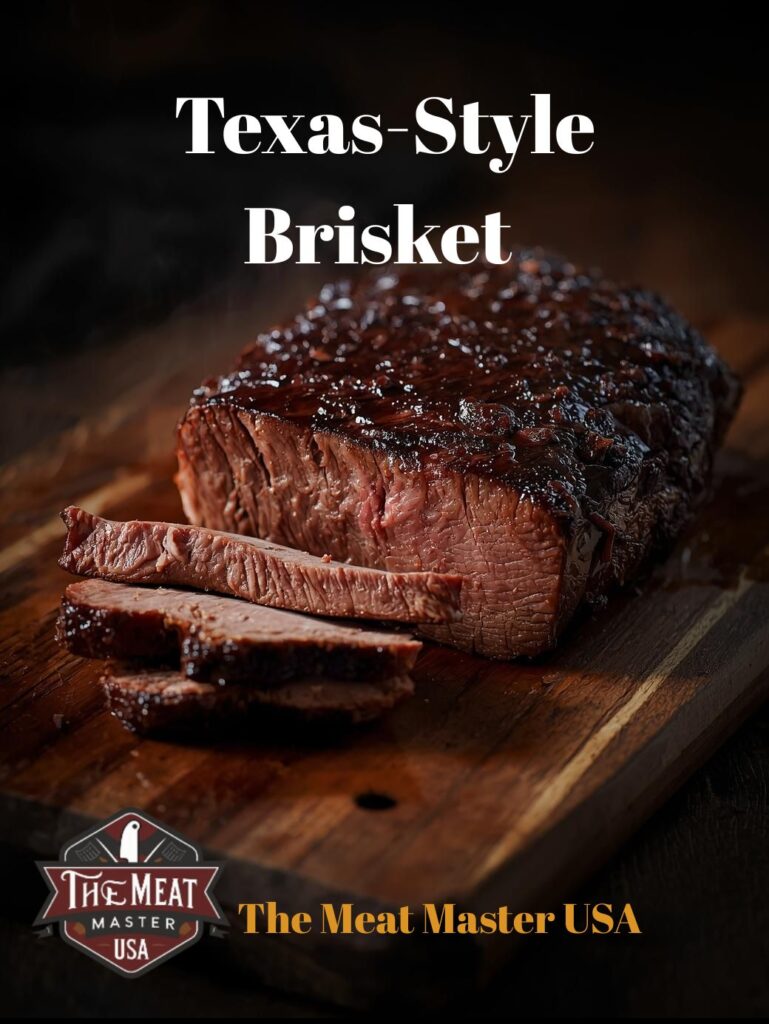
| Brisket (Slow-Smoked) | Tender | 195-205°F (90-96°C) | N/A | Probe for Tenderness. Temp is a guide. It’s done when a probe slides into the thickest part like warm butter. |
| Tri-Tip | Medium-Rare | 130-135°F (54-57°C) | 135-145°F (57-63°C) | Slice against the grain for maximum tenderness. |
Key Takeaways for Beef:
-
For Steaks: 135°F (57°C) is your magic number for perfect Medium-Rare. Remove the steak from the grill at 130°F (54°C) and let it rest for 5-10 minutes.
-
For Safety: Ground beef must always be cooked to 160°F (71°C). Do not eat rare burgers.
-
For BBQ: Brisket is done by feel, not just temp. Use the temperature range as a guideline, but start probing for tenderness around 195°F (90°C). The probe should meet no resistance.
-
Always Rest: Resting is non-negotiable. It allows juices to redistribute, resulting in a much more flavorful and moist bite.
The Pork Temperature Chart: Safe, Juicy, and Tender
Forget everything you thought you knew about dry, overcooked pork. Thanks to modern farming practices, trichinosis is extremely rare in commercially raised pork. This means you can safely cook your chops and loins to a perfectly juicy, slightly pink 145°F (63°C). This section will guide you to both safe and incredibly flavorful results.
The Modern Pork Rule: For whole-muscle cuts like chops, loin, and tenderloin, the USDA safe temperature is 145°F (63°C), followed by a 3-minute rest. This will result in a juicy, slightly pink center. The exception is for ground pork and slow-cooked “pulled” pork, which have different rules.
Pork Temperature Chart
| Cut | Doneness / Style | Target Temp (Remove From Heat) | Final Temp (After Rest) | Notes & Tips |
|---|---|---|---|---|
| Pork Chops & Loin Roast | Juicy & Safe | 140°F (60°C) | 145°F (63°C) | This is the new standard. Will be slightly pink and incredibly juicy. Rest for 3-5 mins. |
| Pork Tenderloin | Juicy & Safe | 140°F (60°C) | 145°F (63°C) | Cooks very quickly. Remove at 140°F (60°C) to avoid drying out. |
| Ground Pork | Safe to Eat | N/A | 160°F (71°C) | USDA Standard. Like all ground meat, must be cooked thoroughly to be safe. |
| Pork Shoulder/Butt (for Pulled Pork) | Shreddable & Tender | 195-205°F (90-96°C) | N/A | Probe for Tenderness. It’s done when a fork or probe twists easily and the meat shreds. Bone should pull clean. |
| Ham (Pre-Cooked) | Reheat to Serve | N/A | 140°F (60°C) | Just needs to be warmed through. |
Key Takeaways for Pork:
-
Stop Overcooking It!: The biggest mistake home cooks make is cooking pork chops and tenderloin until they are grey and dry. 145°F (63°C) is safe.
-
Carryover is Key: For chops and tenderloin, remove the meat from the heat at 140°F (60°C). The residual heat will carry it to the safe final temperature of 145°F (63°C) while it rests, preserving every drop of juice.
-
Low & Slow is Different: Pulled pork is the glorious exception. It must be cooked to a high internal temperature (195-205°F / 90-96°C) to break down all the tough collagen and connective tissue into unctuous, shreddable goodness.
-
Resting: Rest chops and tenderloin for 3-5 minutes. Rest a large pork shoulder for at least 60 minutes wrapped in a cooler to allow the juices to redistribute.
The Poultry Temperature Chart: Safe Without Being Dry
Poultry has the most rigid safety rules, but that doesn’t mean it has to be dry. The key to juicy chicken and turkey is hitting the safe temperature without overshooting it. This chart will show you the exact targets for every cut, and a simple trick for ensuring perfect results every time.
The Golden Rule of Poultry Safety: The USDA states that all poultry (whole birds, parts, and ground) must be cooked to a minimum internal temperature of 165°F (74°C) to ensure harmful bacteria like Salmonella are destroyed. This is non-negotiable for safety.
The Dark Meat Secret: While 165°F (74°C) is the safe minimum, the higher fat and collagen content in dark meat (thighs, legs, wings) means it can—and often should—be cooked to a higher temperature (175-195°F / 79-90°C) to become more tender and render its fat fully.
Poultry Temperature Chart
| Cut | Doneness / Style | Target Temp | Notes & Tips |
|---|---|---|---|
| Chicken Breast | Safe & Juicy | 165°F (74°C) | Remove from heat immediately. The most common cut to become dry. Use a thermometer to avoid overcooking. |
| Chicken Thighs & Legs | Tender & Juicy | 175-185°F (79-85°C) | Dark meat benefits from a higher temp. Collagen breaks down into gelatin, making it more tender and flavorful. |
| Whole Chicken | Safe | 165°F (74°C) | Measure in the thickest part of the thigh, without touching the bone. The breast will be at a higher temp. |
| Turkey Breast | Safe & Juicy | 165°F (74°C) | Remove from heat immediately. Consider brining for extra moisture and flavor insurance. |
| Whole Turkey | Safe | 165°F (74°C) | Measure in the thickest part of the thigh. The breast is done when it reaches 160°F (71°C) and will carry over to 165°F+. |
| Ground Poultry (Chicken, Turkey) | Safe to Eat | 165°F (74°C) | USDA Standard. Like all ground meat, must be cooked thoroughly to be safe. No pink should remain. |
Key Takeaways for Poultry:
-
White Meat vs. Dark Meat: Treat them differently! White meat (breast) is perfect at 165°F (74°C). Dark meat (thighs, legs) is better at 175-185°F (79-85°C).
-
The Tool is Non-Negotiable: It is impossible to guess the doneness of poultry visually. A digital thermometer is your only guarantee of both safety and juiciness.
-
Brining is Your Best Friend: For lean cuts like chicken or turkey breast, a simple brine (soaking in saltwater) works wonders to add moisture and flavor, giving you a buffer against slight overcooking.
-
Resting: Always let poultry rest for 5-10 minutes after cooking. This allows the juices to redistribute, ensuring they stay in the meat and not on your cutting board.
The Seafood Temperature Guide: Perfectly Flaky Every Time
Seafood is the swiftest path from grill to table, but its window of perfection is narrow. The biggest mistake is overcooking, which turns delicate, flaky flesh into a tough, dry disappointment. The golden rule for seafood is to cook until it’s almost done, then let residual heat do the rest. For most fish, this means pulling it just as it becomes opaque.
The Key to Perfect Seafood: Unlike meat and poultry, doneness is judged by both temperature and visual cues like opacity and firmness. Because it cooks so quickly, carryover cooking is a major factor. Always remove seafood from the heat just before it looks completely done.
Seafood Temperature & Doneness Guide
| Type | Doneness | Target Temp (Remove From Heat) | Visual & Textural Cues |
|---|---|---|---|
| Salmon (and other oily fish) | Medium | 125-130°F (52-54°C) | Remove at 120°F (49°C). Flesh is opaque but still very moist and deep pink in the center. It will flake easily with a fork. |
| Halibut, Cod, Snapper (and other white, flaky fish) | Done | 135-140°F (57-60°C) | Remove at 130°F (54°C). Flesh is opaque and flakes easily with a fork but is still juicy. Becomes dry and tough if overcooked. |
| Tuna Steaks | Rare to Medium-Rare | 115-125°F (46-52°C) | Sear quickly. The center should be deep red (rare) to pink (medium-rare). Slice against the grain. |
| Shrimp | Done | 120°F (49°C) | Remove just as they turn opaque. They curl into a “C” shape. Overcooked shrimp curl tightly into an “O” and become rubbery. |
| Scallops | Done | 115-120°F (46-49°C) | Sear quickly. They are done when they are opaque through the sides and have a golden-brown crust. The center should still be slightly tender, not rubbery. |
| Lobster Tail | Done | 135-140°F (57-60°C) | The meat becomes opaque and firm. |
Key Takeaways for Seafood:
-
The “10-Degree Rule”: As a general rule, remove seafood from the heat 10°F (5°C) below your desired final eating temperature. The residual heat will carry it the rest of the way to perfection.
-
Touch Test: Cooked fish will firm up. A good rule of thumb is that it should feel like the fleshy part of your palm when you press your thumb and pinky together.
-
Visual Cues are Key: Look for the change from translucent/glassy to opaque white. For shrimp and scallops, watch the color and shape change closely.
-
It Cooks Fast: Have your plates ready! Most seafood fillets and shellfish will cook in under 10 minutes. Don’t walk away from the grill.
Pro Tips: Resting, Carryover Cooking, and Thermometer Use
Knowing the target temperature is only half the battle. Mastering these three fundamental principles is what will separate you from the average griller and guarantee restaurant-quality results every single time.
The Resting Rule: The Non-Negotiable Step for Juicy Meat
What it is: Resting is the process of removing meat from the heat source and letting it sit for a period of time before slicing.
Why it’s non-negotiable:
-
Juice Redistribution: During cooking, heat forces the juices in the muscle fibers toward the center of the cut. Slicing immediately forces all those precious juices onto the cutting board. Resting allows the muscles to relax and reabsorb the juices throughout the entire cut, ensuring every bite is moist.
-
Finish Cooking Gently: The meat continues to cook gently and evenly from residual heat (carryover cooking) without the risk of overcooking the outer layers.
Resting Guidelines:
-
Steaks & Chops: Rest for 5-10 minutes, loosely tented with foil.
-
Whole Chickens & Large Roasts: Rest for 15-20 minutes.
-
Large BBQ Cuts (Brisket, Pork Shoulder): Rest for at least 1 hour, and up to 4+ hours for competition-level results. Hold it in a pre-warmed cooler (aka “faux cambro”) to keep it hot.
Carryover Cooking Explained: Your Secret Weapon
What it is: The phenomenon where the internal temperature of meat continues to rise after it has been removed from the heat source.
Why it happens: The intense heat on the outside of the meat continues to conduct inward towards the cooler center.
How much to expect:
-
Small/Thin Cuts (Steaks, Chops, Chicken Breast): 3-5°F (2-3°C) rise. This is why you pull a steak at 130°F for medium-rare.
-
Large/Thick Cuts (Prime Rib, Whole Chicken, Pork Loin): 5-10°F (3-5°C) rise. The larger thermal mass holds more heat.
-
Very Large/Dense Cuts (Brisket, Pork Butt): 10-15°F (5-8°C) rise. This is significant and must be accounted for.
The Rule: Always remove your meat from the heat 5-10°F (3-5°C) below your final target temperature and let carryover cooking do the rest.
How to Use a Thermometer Correctly: Finding the True Temperature
A thermometer is useless if used incorrectly. Follow these rules for an accurate reading:
-
Find the Thickest Part: Always insert the probe into the absolute thickest part of the meat.
-
Avoid Bone and Fat: Do not let the probe touch bone, gristle, or a large pocket of fat, as this will give a false reading.
-
Go for the Center: For large, irregular cuts like brisket or chicken thigh, aim for the geometric center of the mass of meat.
-
Check Multiple Spots: For very large cuts like a whole turkey or prime rib, check the temperature in two or three different places to ensure it’s cooked evenly throughout.
-
Don’t Peek! Insert the probe at an angle if needed, but avoid making multiple holes, especially with thin cuts, as the juices will escape.
Final Thermometer Tip: For whole birds, insert the probe into the thickest part of the thigh, making sure not to touch the bone. The breast meat will almost always be at a higher temperature.
Download Your FREE Printable Meat Temperature Charts
You’ve just absorbed a masterclass in grilling science. But we know you’re not going to memorize every number while you’re managing the fire.
That’s why we’ve done the work for you.
Get our FREE, professionally designed PDF cheat sheets. Print them out, stick them on your fridge, or take them right to your grill. This is your ultimate quick-reference guide to ensure perfect results every time, with no more guessing.
Here’s what you’ll get:
-
Grilling Chart (Hot & Fast): Steak, chops, chicken, burgers, and seafood—all on one page.
-
Smoking Chart (Low & Slow): Target temps and probe-tenderness tests for brisket, pork shoulder, ribs, and more.
-
Crisp, Clear, and Laminated-Ready: Designed in a clean, easy-to-read format. Print and laminate it to keep it safe from grease splatters!
👉 [Embed Your Email Opt-In Form Here] 👈
“These charts are genius. I laminated mine and it’s the most used tool in my outdoor kitchen. No more dry chicken!” – Mark T., Subscriber
Meat Temperature FAQ: Your Questions Answered
Got a burning question? We’ve got the answer. Here are the solutions to the most common grilling dilemmas.
Q: What is the best thermometer?
A: For instant-read accuracy, a Thermapen (or the more budget-friendly ThermoPop) from ThermoWorks is the industry gold standard. For monitoring long smokes remotely, a leave-in probe thermometer like the Meater or ThermoWorks Smoke is essential. The best thermometer is the one you’ll actually use consistently.
Q: How long should I rest meat?
A: It depends on the size of the cut. A good rule of thumb is to rest for at least 5-10 minutes for steaks and chops. For a whole chicken or a large roast, aim for 15-20 minutes. For large smoked meats like brisket or pork shoulder, rest for at least 1 hour (and up to 4) in a pre-warmed cooler to keep it hot. The larger the cut, the longer the rest.
Q: Is it safe to eat pork at 145°F?
A: Yes, absolutely. This is the most important modern grilling fact to know. Thanks to changes in pork production, trichinosis is effectively eliminated in commercially raised pork. The USDA recommends cooking whole cuts of pork (chops, loin, tenderloin) to 145°F (63°C) followed by a 3-minute rest. This will result in juicy, slightly pink meat that is perfectly safe to eat.
Q: Why does my chicken dry out even at 165°F?
A: This usually happens for one of two reasons:
-
Overshooting the Target: If you pull the chicken at 165°F, carryover cooking will push it to 170°F+ while it rests, which is the well-done zone and where white meat rapidly dries out. The fix: Pull white meat at 160-162°F (71-72°C) and let carryover bring it to the safe 165°F.
-
Lack of Brining: Lean cuts like breast have very little fat to keep them moist. Brining (soaking in a saltwater solution) is the best insurance policy against dryness, as it helps the meat retain significantly more moisture during cooking.
Q: Can I really trust the “feel” test for brisket?
A: Yes, but only after it hits ~195°F. Temperature is a guide for when to start checking. A brisket is done when a thermometer probe or a skewer slides into the thickest part of the flat with little to no resistance, like pushing into a jar of peanut butter. If it feels tight or tough, it needs more time. Temp tells you “when to look,” feel tells you “when it’s done.”
Conclusion: You’ve Just Unlocked the Grill Master’s Greatest Secret
Grilling is an art, but achieving the perfect doneness is a science. And now, you hold the key.
Forget fancy gadgets or secret rubs. The single most important skill you can master is understanding internal temperature. It is the fundamental difference between guesswork and guarantee, between hope and certainty. It’s what separates a disappointing meal from a legendary one.
This knowledge empowers you to cook with unshakable confidence. No more second-guessing, no more cutting into steaks to check, no more serving dry chicken. You have the science-backed facts and the precise tools to succeed every time.
You’ve learned the rules. You know the numbers. Now, it’s time to make it effortless.
👉 [Download Your FREE Printable Charts Here] 👈
Print them. Laminate them. Take them to your grill. Let them be your quick-reference guide to countless perfect meals ahead.
Now, get out there, light the fire, and cook with confidence. You are now the master of your grill.
What’s the first thing you’re going to cook with your new knowledge? Let me know in the comments below!
Resources & Further Reading
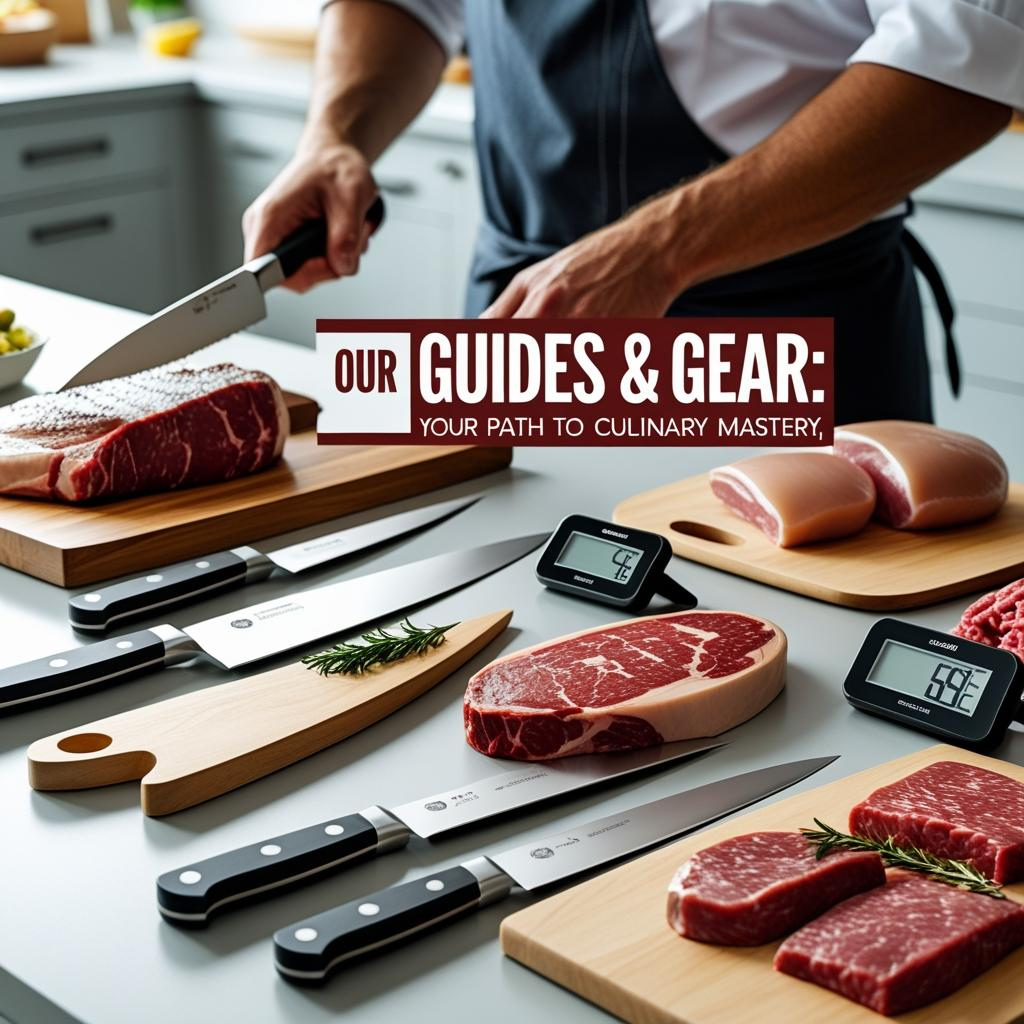
Mastering temperatures is your foundation. Now, build upon it with these essential guides from The Meat Master USA.
-
The Best BBQ Thermometers of 2025: An Unbiased Review
A good thermometer is your most important tool. We tested the top models to help you invest wisely. -
Why Resting Meat is Non-Negotiable (And How Long to Do It)
You know the temperatures, now master the final, crucial step. This article explains the science behind resting and gives precise rest times for every cut. -
The 7 Most Common BBQ Mistakes and How to Fix Them
Avoid these pitfalls that trip up every griller, from flare-ups to over-smoking. Level up your skills and ensure every cook is a success.
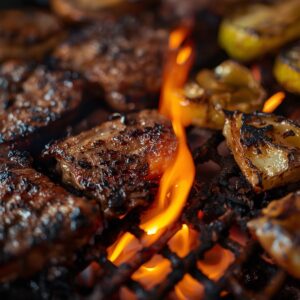
Common BBQ Mistakes and How to Avoid Them
Learn how to avoid common BBQ mistakes in our guide.
Pingback: Dry Rub or Wet Rub: Which Brings Out More Flavor?
Pingback: Pork Done Temp: The Ultimate Guide to Safe, Juicy Perfection - 2025
Pingback: Smoking Chicken Wings: Flavor Bombs for Game Day
Pingback: Best Grilling & Smoking Tools in 2025
Pingback: Grilling Sausages: How to Avoid Dryness and Bursting
Pingback: Low and Slow Cooking: Why Patience Creates Flavor
Pingback: Grilling vs Broiling: Key Differences Explained
Pingback: Brazilian Steak: A Guide to Churrasco and Picanha
Pingback: Pork Cuts for Smoking: The Ultimate Guide to Low and Slow Perfection
Pingback: How to Prepare Meat to Make Sausage: A Complete Guide
Pingback: Cuts of Beef: Your Complete Guide to the Butcher's Chart
Pingback: BBQ Gadgets You Need: The Ultimate Guide for Beginners and Pros
Pingback: BBQ Techniques Explained: A Master Guide
Pingback: BBQ Sauces That Make a Difference: Your Guide to Flavor Perfection
Pingback: Ribeye vs Sirloin: Which Delivers Better Flavor? A Complete Steak Guide
Pingback: Meat Temperature Chart: Safe Internal Temps for Every Cut - The Meat Master USA