
Expert’s Note: This guide is part of our comprehensive BBQ Methods & Techniques Encyclopedia. Explore our complete master guide to become a true grilling expert.
Table of Contents Hide ContentsSunday Experiment: Try This Reverse Sear Method This Weekend
A perfect steak is a simple pleasure, but for many home cooks, it’s a difficult thing to get right. A thick steak often ends up with a beautiful crust but a cold, raw center, or worse—a tough, overcooked interior with a sad, gray band. But what if there was a simple, foolproof technique that could guarantee a perfectly cooked steak from edge to edge, every single time? The secret is a culinary trend that’s been embraced by professional chefs for years: the reverse sear.
Sunday Experiment: Try This Reverse Sear Method This Weekend
Sunday Experiment: Try This Reverse Sear Method This Weekend
This weekend, we’re inviting you to take on a new challenge. Consider this your Sunday Experiment—a low-stress, high-reward project that will change the way you cook steak forever. We’ll walk you through a step-by-step guide on the reverse sear method that will give you a juicy, tender interior and a flawless, crispy crust.
New to reverse searing? Start with these essential guides:
Step 1: The Prep – Your Steak’s Best Friend
The reverse sear journey begins before you even turn on the heat. The first step is crucial for both flavor and texture.
Choose a Thick Cut
This method is best for steaks that are 1.5 inches thick or more. Thin steaks cook too quickly for the low-and-slow portion of the reverse sear to work its magic. Ribeye, New York Strip, and a thick sirloin are all excellent choices. For more on what to look for, check out our guide on 10 Meat Cuts You’re Overpaying For.
The Dry Brine
A dry brine is one of the most important cooking secrets you can learn. It’s a fundamental part of the reverse sear method. Instead of a wet marinade, you simply apply a generous amount of coarse kosher salt to all sides of the steak and refrigerate it, uncovered, for at least 12 hours. The salt will draw out moisture, create a concentrated brine, and then be reabsorbed, seasoning the steak from the inside out. This also helps dry the surface, which is essential for a good sear. This is a key step from our Weekend Chef Secrets guide.
Pro Tip: Don’t be afraid of using too much salt. The meat will only absorb what it needs.
Step 2: The Slow Cook – The Secret to Even Doneness
This is where the magic happens. The slow cook is what separates the reverse sear from a traditional cook. It’s the most critical part of this reverse sear guide.
How It Works
Cooking a steak at a low temperature for an extended period ensures that the entire steak comes to a perfectly even temperature. Instead of a thick, overcooked gray band, you get a beautiful, consistent pink from edge to edge.
On the Grill
Set Up: Use a two-zone fire setup. For a charcoal grill, pile the coals on one side. For a gas grill, turn on the burners on one side and leave the other side off.
Cook: Place the steak on the indirect, unheated side of the grill. Close the lid and maintain a temperature of around 250°F.
Monitor: Use a remote digital thermometer to monitor the internal temperature. Cook until the steak reaches 115-120°F for a medium-rare finish. This will take about 20-40 minutes, depending on the thickness.
In the Oven
Prep: Place a wire rack on a baking sheet.
Cook: Preheat your oven to a low temperature of 250°F. Place the steak on the wire rack and cook until the internal temperature reaches 115-120°F.
Suggested Image Alt Text: A thick steak on a wire rack in the oven, part of the reverse sear method for a perfect result.
Essential Equipment: Get the right tools for perfect results:
Step 3: The Rest – Don’t Skip This Crucial Step
You’ve come this far, don’t ruin it now! The rest is just as important as the cook itself, a key grilling tip that even pros swear by.
How It Works
When meat cooks, its muscle fibers tense up and push the juices to the center. If you were to slice the steak now, all that delicious moisture would spill out onto your cutting board. Resting allows the muscle fibers to relax and reabsorb those juices, ensuring a juicy, tender result.
The Process
Remove from Heat: Once your steak reaches the target internal temperature, remove it from the grill or oven.
The Wait: Place it on a cutting board and let it rest for a minimum of 10-15 minutes. This is a non-negotiable step for any successful weekend cooking project. For more on this, check out our Saturday Skill Builder.
Step 4: The Sear – Creating That Perfect Crust
This is the final, exhilarating step of the reverse sear method. It takes just a few minutes, but it’s what gives your steak its signature, deep-brown crust.
On the Grill
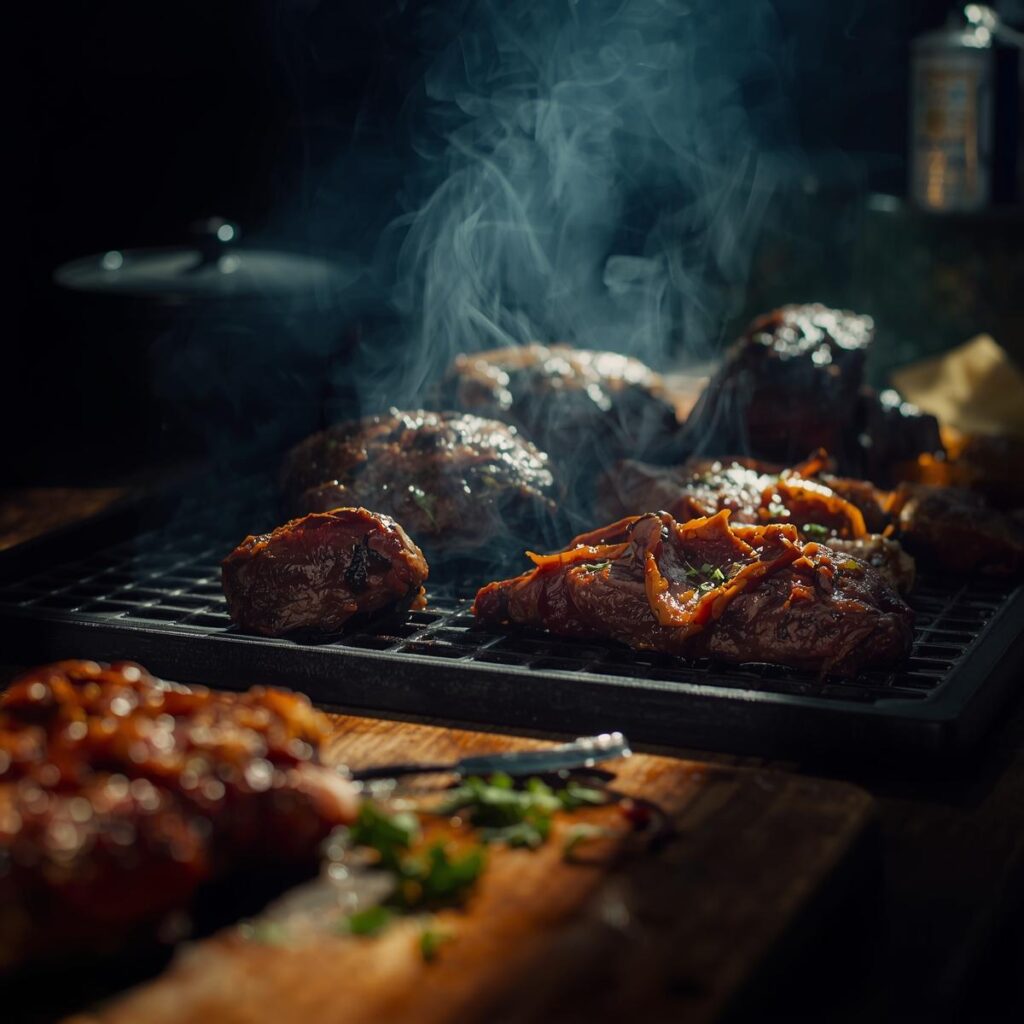
Prep: While the steak is resting, crank up the direct-heat side of your grill to its highest temperature.
Sear: Place the steak directly over the high heat. Sear for 60-90 seconds per side, or until a deep, dark crust has formed. A good sear is the key to all perfect steak results.
In a Skillet
Prep: Place a cast-iron skillet on your stovetop over high heat. Add a high-smoke-point oil (like avocado oil) or a pat of butter.
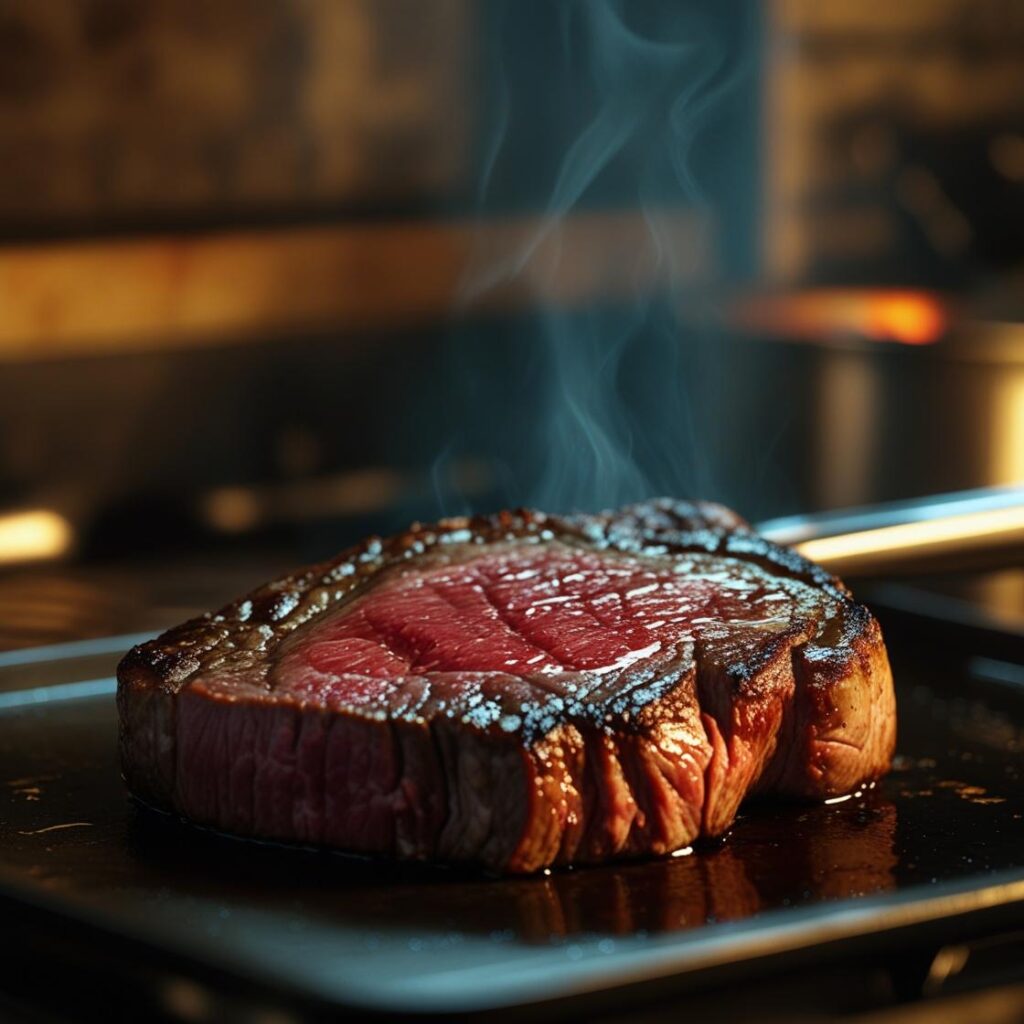
Sear: When the skillet is smoking, add the steak. Sear for 60-90 seconds per side, spooning the hot butter over the top to enhance flavor.
Suggested Image Alt Text: A sizzling steak in a cast-iron skillet, creating the perfect crust for a great Sunday Experiment.
Weekend Success Tips: Avoid common mistakes:
FAQ: SUNDAY EXPERIMENT
1. What is the biggest advantage of the reverse sear?
The biggest advantage is the ability to achieve perfect, edge-to-edge doneness. You avoid the gray, overcooked ring that is common in traditional searing methods, leading to a much juicier and more tender steak.
2. Can I use this reverse sear guide on a gas grill?
Yes. The reverse sear is perfect for a gas grill. You simply set up a two-zone fire by turning on some burners and leaving others off.
3. What’s the best internal temperature for a medium-rare steak?
For the reverse sear, you should take the steak off the heat at 115-120°F. The temperature will continue to rise during the rest and the sear, landing you at a perfect 130-135°F for medium-rare.
4. Is a remote thermometer really necessary?
A remote thermometer is highly recommended for this Sunday Experiment. It allows you to monitor the internal temperature of the steak and the grill without having to open the lid, which is crucial for maintaining a consistent cooking environment.
5. Can I reverse sear other meats?
Yes. The principle of cooking low and slow before searing at high heat can be applied to other meats as well, such as thick pork chops, duck breasts, and even roasts. It’s a versatile steak cooking technique.
6. What’s the science behind the rest?
The long rest allows the muscle fibers to relax and reabsorb all the juices that have been pushed to the center during cooking. This is a key secret from our 15 BBQ Secrets Professional Chefs Won’t Tell You guide.
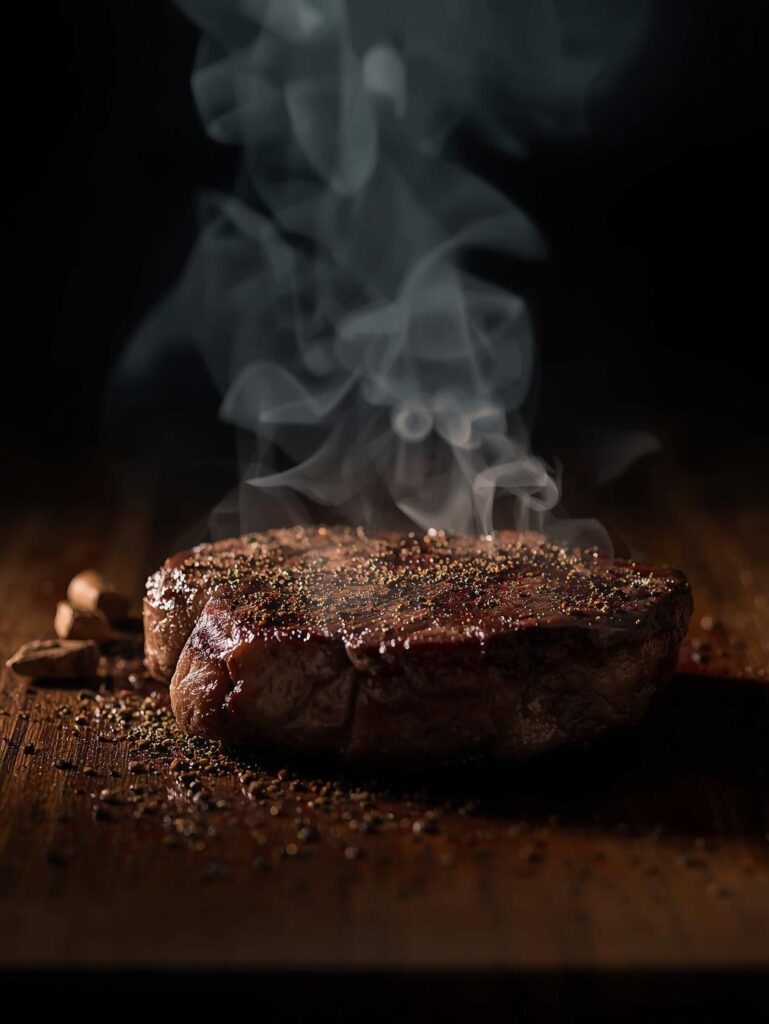
7. How do I get a good crust on my steak?
To get a good crust, the surface of your steak must be completely dry. This is why the overnight dry brine is so important. A dry surface allows the Maillard reaction (the browning reaction) to occur quickly, leading to a perfect crust without overcooking the inside.
Official Food Safety Resources
For official food safety guidelines and cooking standards, consult these authoritative sources:
- USDA Safe Cooking Temperatures Official government temperature guidelines for meat safety
- FoodSafety.gov Food Safety Guide Federal food safety standards and procedures
- FDA Safe Food Handling Food and Drug Administration safety guidelines
These external resources provide additional authoritative information on food safety standards and cooking guidelines.
Conclusion: From Experiment to Perfection
The reverse sear method may seem like a lot of steps, but it’s actually one of the simplest steak cooking techniques to master. By separating the cooking and searing processes, you gain total control, ensuring a perfectly cooked steak every single time. So, this weekend, take on this Sunday Experiment. You’ll not only get a better steak but also gain a valuable skill that will change your grilling game forever.
Ready for Your Sunday Experiment?
Join thousands of home chefs who are mastering the reverse sear method and achieving perfect steaks every weekend.
Continue Your Weekend Cooking Journey: Explore more weekend-friendly techniques: