
Grill Master’s Note: This guide is your official welcome to the fire. Forget the intimidation—grilling is one of humanity’s oldest and most rewarding skills. This isn’t about becoming a pitmaster overnight; it’s about mastering the basics to create delicious, memorable meals for yourself, your family, and your friends. We’ll cut through the complexity and give you the confidence to light that fire for the first time.
Absolute Beginner’s Guide to Grilling: Your First Steps to Fire Mastery
“Your first grill isn’t just a piece of equipment; it’s a portal to better weekends, impromptu gatherings, and food that simply tastes happier. That initial sizzle when your steak hits the grates? That’s the sound of fear turning into confidence. This guide is your friendly nudge into the flames, proving that you don’t need years of experience—you just need to know where to start.”

Absolute Beginner’s Guide to Grilling: Your First Steps to Fire Mastery
Download Your Free Beginner's Grilling Checklist & Temperature Guide
So, you’ve got a grill (or you’re about to get one). The box is open, the tank is full, and you’re staring at this metal beast wondering where to even begin. Welcome! This guide will walk you through everything from assembling your gear to serving your first perfectly grilled meal. We’ll demystify the jargon, simplify the process, and set you on the path from grilling novice to backyard hero.
🎯 THE BEGINNER’S MINDSET: KEEP IT SIMPLE
Your goal for the first month isn’t perfection—it’s progress.
⚙️ The Three Golden Rules for Beginners
The Foundation of Fearless Grilling
- Heat Management is 90% of the Game: It’s not about fancy recipes; it’s about controlling your fire. Once you learn the difference between high heat for searing and medium heat for cooking through, you’ve won half the battle.
- Your Thermometer is Your Best Friend: Guesswork leads to dry chicken and raw burgers. An instant-read thermometer is the single most important tool for a beginner. It removes the anxiety of “is it done?”
- Patience, Padawan: Don’t rush the preheat. Don’t constantly flip your food. And for the love of good steak, let your meat rest after cooking. Good grilling requires a calm, patient approach.
🎯 Grilling vs. Broiling: What’s Actually Happening?
👨🍳 Kitchen Broiling
- Heat comes from above
- Closed, dry environment
- Quick, intense cooking
- Less smoky flavor
- Good for melting cheese
🔥 Backyard Grilling
- Heat comes from below
- Open, smoky environment
- Creates a flavorful sear
- Adds smokiness & char
- Great for most meats & veggies
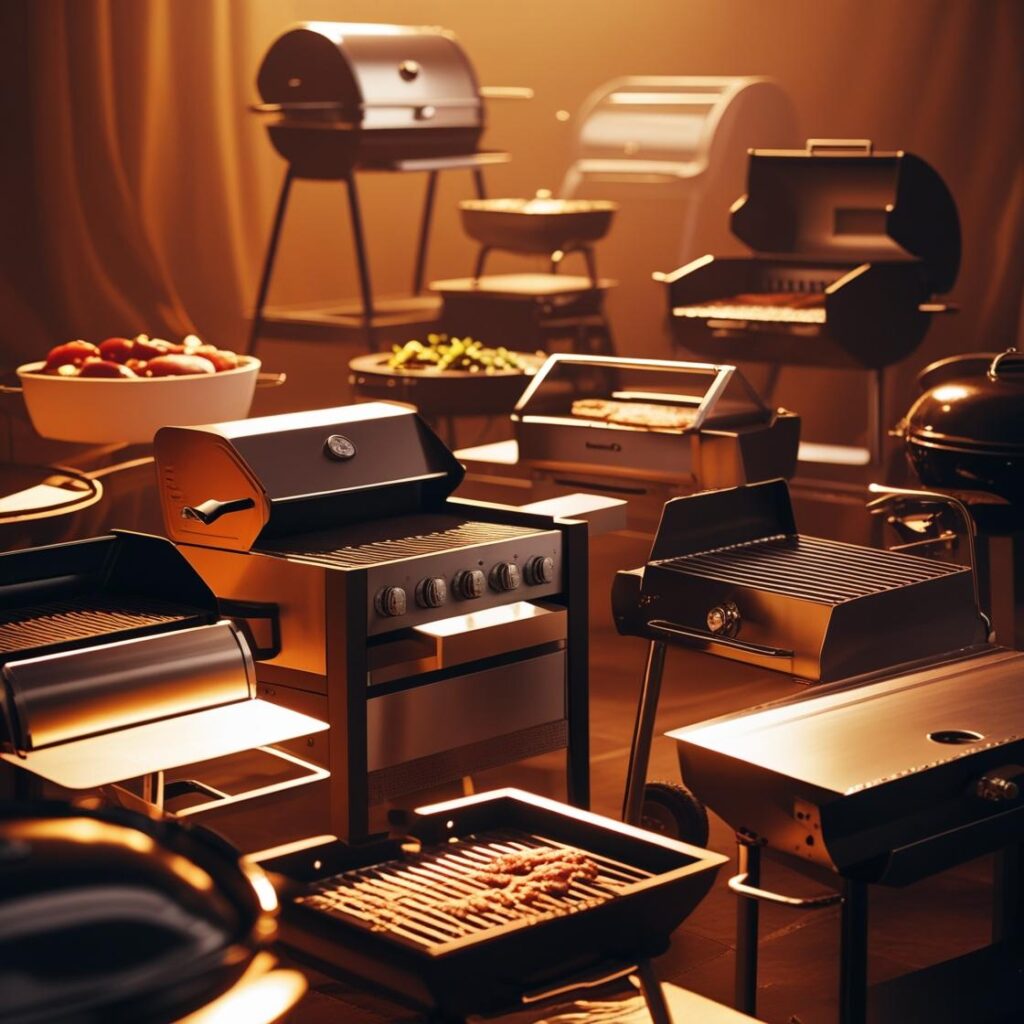
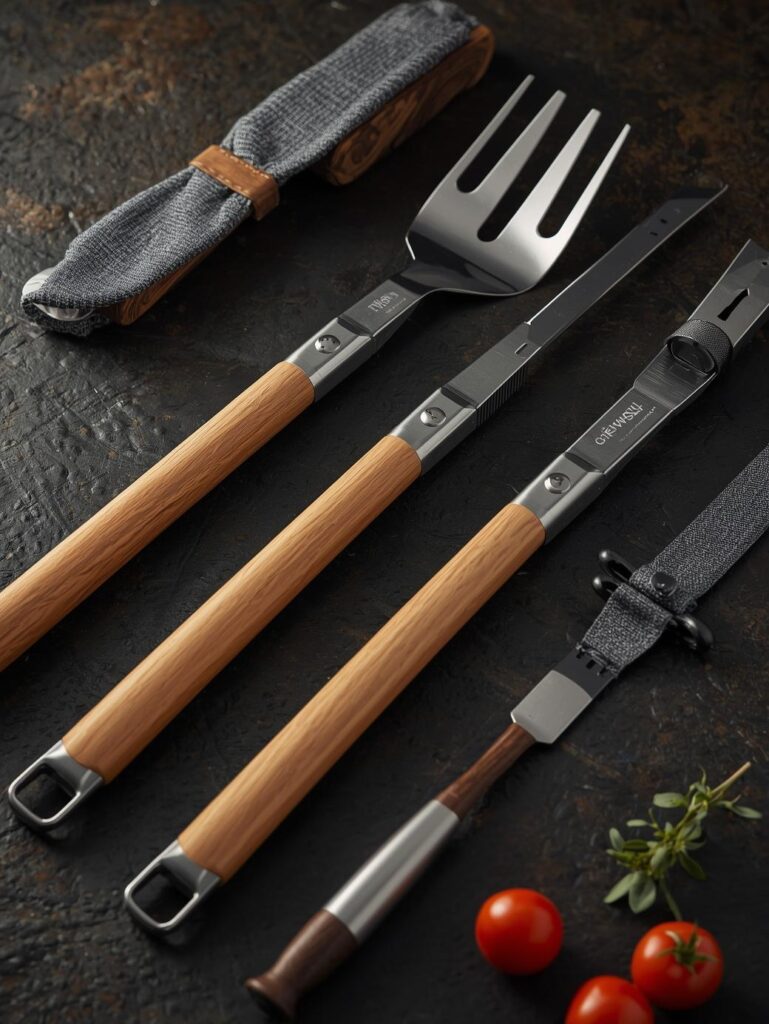
🔧 GEAR UP: THE ESSENTIAL STARTER KIT
You don’t need a pro-level setup. You just need these fundamentals.
🗣️ The Non-Negotiable Tool List
The Only 6 Tools You *Really* Need to Start
- Long-Handled Tongs: Your primary cooking utensil. Never use a fork—it punctures the meat and lets precious juices escape.
- Sturdy Spatula: For flipping burgers and fish without them falling apart.
- Grill Brush: For cleaning the grates while they’re hot, right after cooking. A clean grill means no stuck-on food and better flavor.
- Instant-Read Thermometer: This is your get-out-of-jail-free card. No more guessing. Check out our guide to the best thermometers.
- Heat-Resistant Gloves: Protect your hands from burns when adjusting vents, moving grates, or handling hot tools.
- Sheet Pan or Tray: One for bringing raw food out, one for bringing cooked food in. This is critical for food safety.
📊 The Absolute Beginner’s First Grill Shopping List
🎯 Your First Trip to the Store, Simplified
| Category | What to Buy | Why It’s Beginner-Friendly | Pro Tip |
|---|---|---|---|
| The Grill | Basic 2-Burner Gas Grill | Easiest to control, quick to start, no fire-building | Look for one with a built-in thermometer in the lid. See our Beginner Grill Guide. |
| First Proteins | Burgers, Hot Dogs, Boneless Chicken Thighs | Forgiving, hard to mess up, cook quickly and evenly | Choose 80/20 ground beef for juicy burgers. Thighs stay moist better than breasts. |
| First Veggies | Asparagus, Zucchini, Bell Peppers, Corn | Hard to overcook, delicious with just oil, salt, and pepper | Toss in a bowl with olive oil before grilling to prevent sticking. |
| Fuel & Fire | Propane Tank, Lighter | Gas is the most straightforward fuel source for a first-timer | Always have a backup propane tank so you never run out mid-cook. |
| Seasoning | Kosher Salt, Black Pepper, Garlic Powder | Simple, versatile, and makes everything taste great | Season meat generously 30 minutes before grilling. Learn how the pros do it. |
🔥 FIRE IT UP: YOUR FIRST LIGHT & PREHEAT
This is the moment of truth. Follow these steps exactly.
🎪 The Step-by-Step Startup
From Cold to Cooking-Ready in 15 Minutes
- Safety First: Ensure your grill is outdoors, on a level, non-flammable surface, and away from your house, deck railings, and overhanging branches.
- Open the Lid: Always open the lid before turning on the gas. This prevents a dangerous buildup of gas.
- Turn On the Gas: Slowly open the valve on your propane tank all the way.
- Ignite: Turn one burner knob to the “High/Start” position and press the igniter button. You should hear the *click-click-boom*.
- Preheat: Turn all burners to high, close the lid, and let the grill heat up for 10-15 minutes. It’s ready when it’s screaming hot (400-450°F / 200-230°C).
- Clean the Grates: Use your grill brush to scrub the hot grates clean. This prevents sticking and removes any residue.
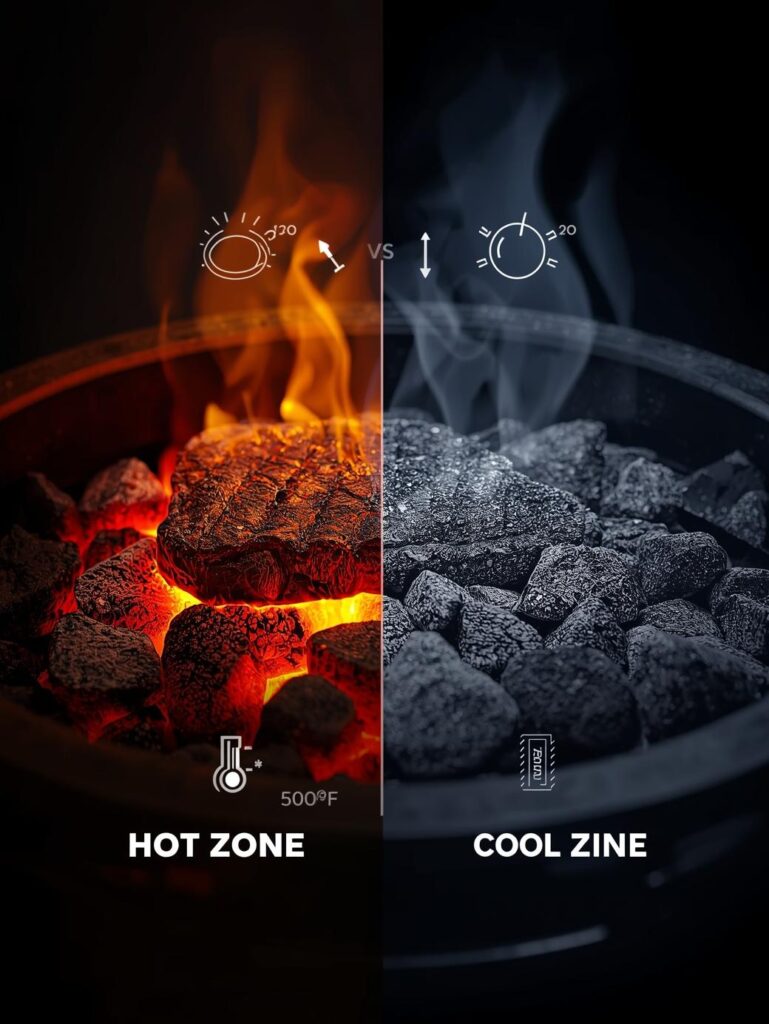
🛠️ Mastering The Two-Zone Fire (Your Secret Weapon)
How to Avoid Burnt-Outside, Raw-Inside Syndrome
- The Concept: You create two cooking areas: a Direct Heat Zone (for searing) and an Indirect Heat Zone (for gentle cooking).
- On a Gas Grill: Turn the burner(s) on one side to High (Direct Zone), and leave the burner(s) on the other side OFF (Indirect Zone).
- Why It Matters: You can sear a steak over high direct heat to get a crust, then move it to the indirect side to finish cooking without burning. It gives you total control. Master this in our Two-Zone Grilling Mastery guide.
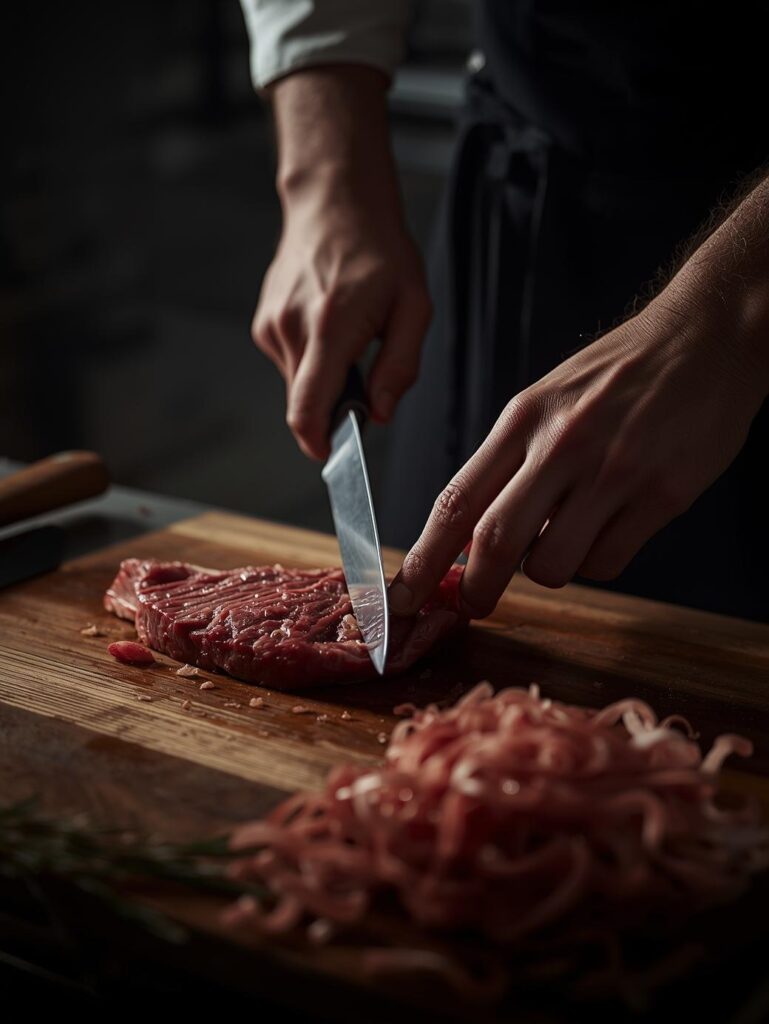
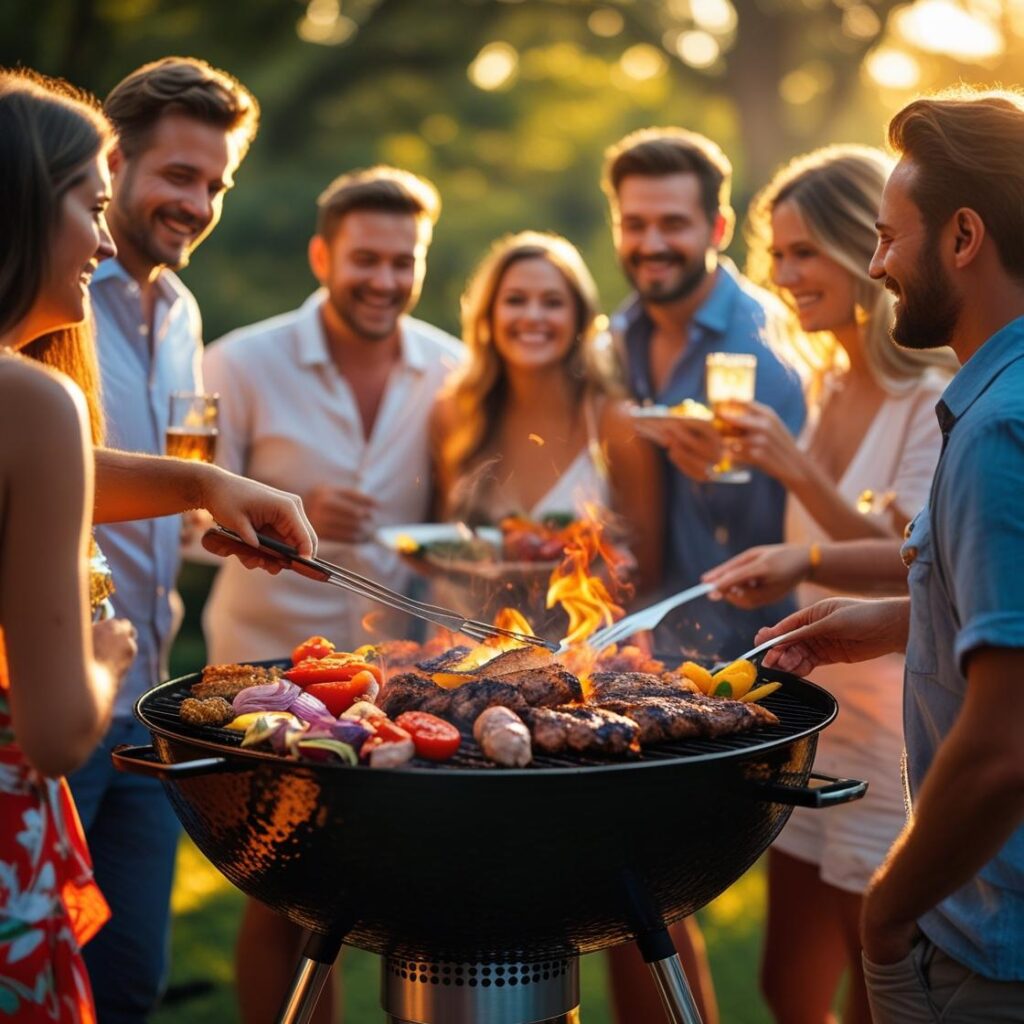
🍖 YOUR FIRST COOK: A FOOLPROOF BURGER & VEGGIES
Let’s put it all together with a simple, guaranteed-success menu.
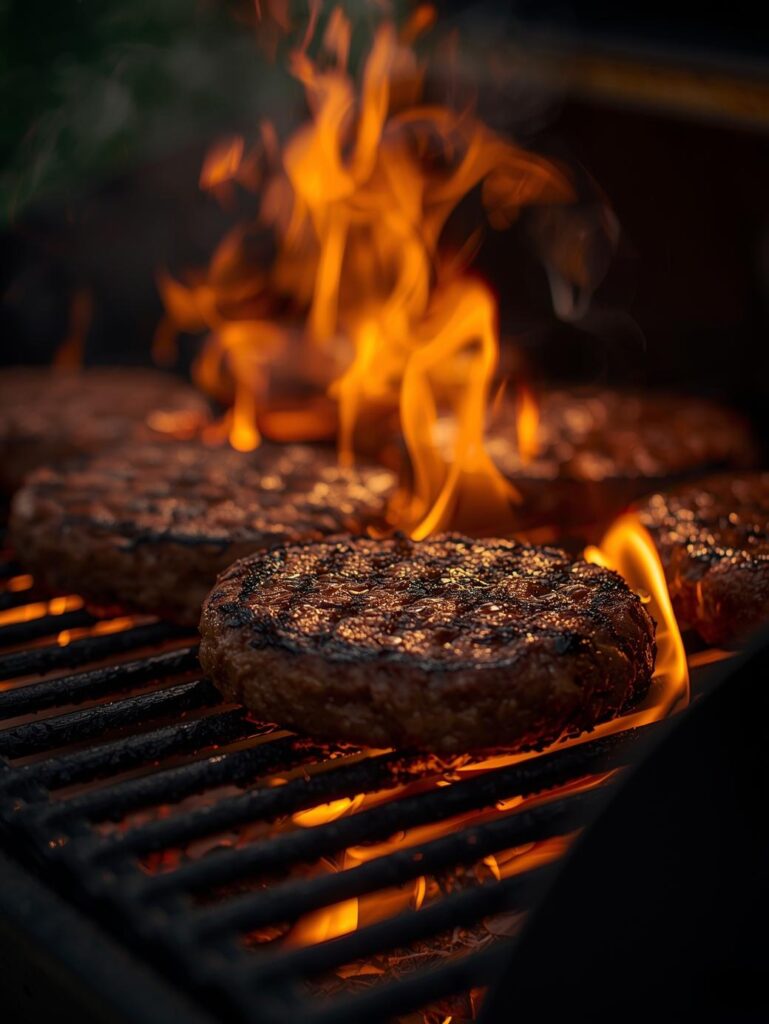
🍔 The Perfect Beginner Burger
Step-by-Step to Juicy Success
- Form Patties: Gently form ¾-inch thick patties. Make a slight dimple in the center with your thumb—this prevents them from puffing up into a ball.
- Season: Generously season both sides with salt and pepper.
- Sear: Place patties on the Direct High Heat zone. Close the lid and cook for 3-4 minutes. Don’t press down!
- Flip & Finish: Flip the burgers. If adding cheese, do it now. Move to the Indirect Heat zone, close lid, and cook for another 4-5 minutes.
- Check Temp: Use your thermometer. Aim for 155°F for medium. Check our Meat Temperature Chart.
- Rest: Let burgers rest for 5 minutes before serving. This keeps them juicy.
🌽 Simple Grilled Veggies
The Easiest Side Dish Ever
- Prep: Chop zucchini and bell peppers into large chunks. Toss in a bowl with olive oil, salt, and pepper.
- Grill: Place veggies directly on the Direct Medium Heat zone (turn one burner to medium).
- Turn: Grill for 5-7 minutes, turning occasionally, until they have nice grill marks and are tender-crisp.
- For Corn: Leave husks on, soak in water for 15 minutes, then place on direct medium heat for 15-20 mins, turning often.
📋 THE ABSOLUTE BEGINNER’S TIMELINE
A Stress-Free Game Plan for Your First Cookout
60 Minutes Before
Take meat out of the fridge. Form burger patties. Chop veggies. Set the table. This “mise en place” is key to a calm cook.
15 Minutes Before
Light the grill and preheat. Season the meat. This is when the magic starts.
Cook Time (20 Min)
Start veggies first (they can hold). Then cook burgers. Use your thermometer. No guessing!
Serve & Enjoy
Let burgers rest for 5 minutes. Pile everything on a platter. You did it!
🚨 BEGINNER TROUBLESHOOTING: FIXING COMMON MISTAKES
🎯 Every Problem Has a Simple Solution
| Problem | What Went Wrong | The Beginner-Friendly Fix |
|---|---|---|
| Burnt Outside, Raw Inside | Heat was too high and direct the whole time. | Use the two-zone method! Sear over direct heat, then move to indirect to finish cooking. |
| Everything is Sticking | Grates weren’t hot/clean enough, or food wasn’t oiled. | Preheat longer and scrub grates when hot. Lightly oil the food, not the grates. |
| My Burgers are Dry | Overcooked, or you pressed down with the spatula. | Use a thermometer. Never press—you’re squeezing out the juice! Let them rest. |
| Grill Won’t Get Hot Enough | Low on propane, or burners are clogged. | Check propane tank. With grill OFF and COOL, check burner tubes for spider webs/debris. |
🏁 YOUR JOURNEY BEGINS NOW
You are no longer a beginner—you are a griller. You have the knowledge to safely light your grill, the technique to cook a delicious meal, and the wisdom to troubleshoot common problems. The path to mastery is just repetition. Cook burgers this weekend. Try chicken thighs next. Then maybe a steak. Each time, you’ll learn something new and your confidence will grow.
Remember your three new rules: manage your heat, trust your thermometer, and be patient. Now go make some fire.
Dive deeper into the art of the perfect backyard burger with our dedicated guide
Your Next Steps on the Path to Mastery: Keep building your skills with these essential guides.