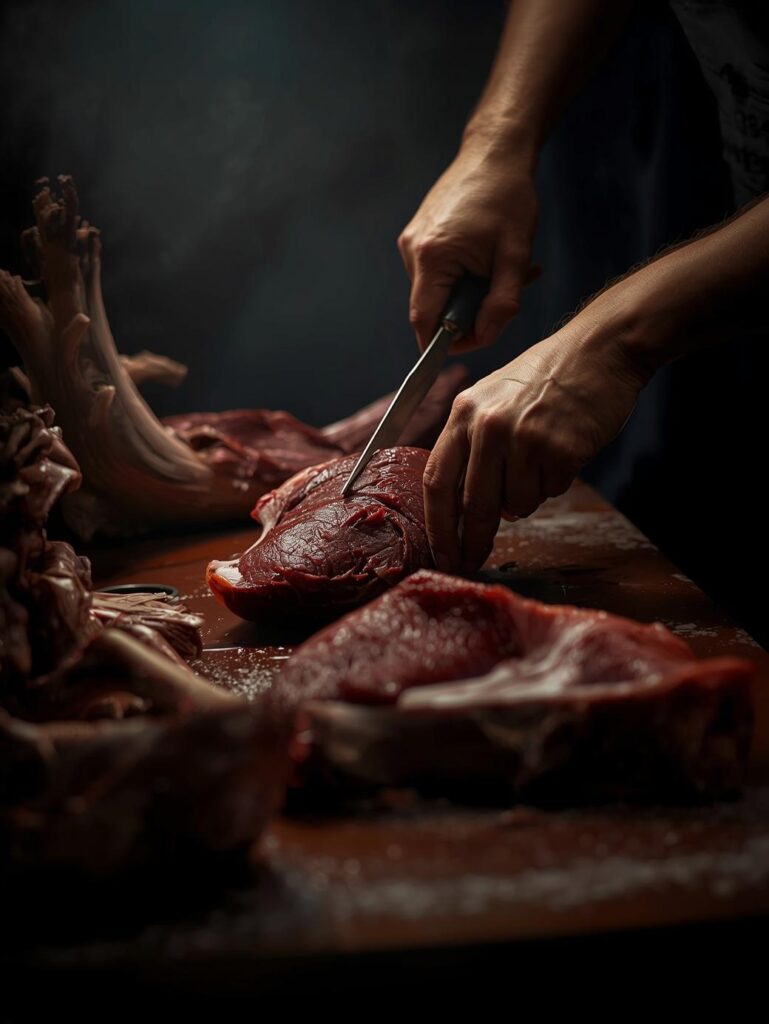

From Field to Freezer: Processing your own deer isn’t just about saving money—it’s about honoring the animal and understanding meat from the inside out. Where commercial butchers see standard cuts, the hunter-butcher sees individual muscle groups and personal preferences. This guide transforms the intimidating task of breaking down a whole deer into a logical, step-by-step process that yields superior results to any processor. Forget the mystery meat—you’re about to become master of your own freezer.
Venison Butchering: How to Process Your Own Deer
“Butchering your own deer isn’t a chore—it’s the final chapter of the hunt. Where commercial processors grind everything into anonymity, the hunter-butcher preserves the unique character of each muscle. The backstrap isn’t just ‘deer steak’—it’s a masterpiece of lean protein. The shanks aren’t just grinding meat—they’re braising gold. When you process your own deer, you’re not just cutting meat; you’re continuing the respect you showed in the field.”
Venison Butchering: How to Process Your Own Deer
Download Our Venison Butchering Quick-Reference - Cuts, Tools & Timing Guide
The gap between hanging deer and neatly wrapped freezer packages seems vast until you understand the simple logic of animal anatomy. Deer aren’t mysterious creatures—they’re built with the same muscle groups as the beef and pork you already understand. This guide will transform you from apprehensive novice to confident butcher, capable of turning a whole deer into restaurant-quality cuts that cost you nothing but time and respect the animal completely.
🎯 THE BUTCHER’S MINDSET: SEEING THE ANIMAL DIFFERENTLY
Success begins before you make the first cut.
✅ HUNTER-BUTCHER APPROACH
- Follows natural muscle seams
- Maximizes premium steak cuts
- Respects the animal’s anatomy
- Customizes cuts to cooking methods
- Yields 35-45% of live weight
❌ PROCESSOR APPROACH
- Often grinds premium muscles
- Standardized, one-size-fits-all
- Adds beef/pork fat to venison
- You lose track of your meat
- Long wait times, high costs
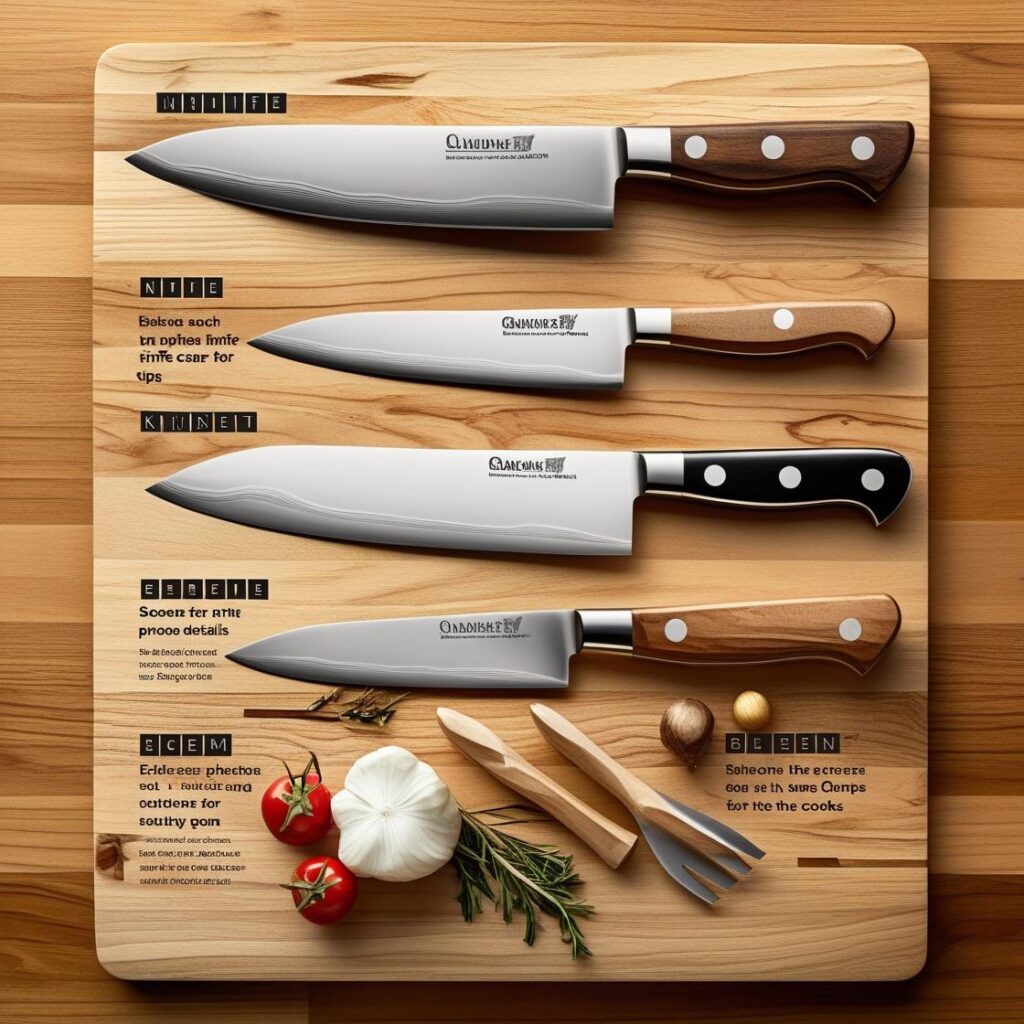
🛠️ THE BUTCHER’S TOOLKIT: ESSENTIAL GEAR
The right tools make the difference between struggle and success.
⚡ The 8 Essential Butchering Tools
Don’t Start Without These – They’re Non-Negotiable
- 6-inch Boning Knife: Flexible blade for following contours and seams. The workhorse of deer processing. Knife selection guide here.
- 10-inch Breaking Knife: Stiff blade for separating major muscle groups and joints.
- Game Shears: For cutting through rib bones and other small bones quickly.
- Bone Saw or Reciprocating Saw: For splitting the pelvis and cutting through the spine.
- Sharpening Steel: Honing your knife every 10-15 minutes maintains the edge.
- Cutting Boards: Multiple large boards prevent cross-contamination.
- Vacuum Sealer or Freezer Paper: Proper packaging prevents freezer burn. Storage guide here.
- Clean Workspace: Sanitary, organized area with good lighting.
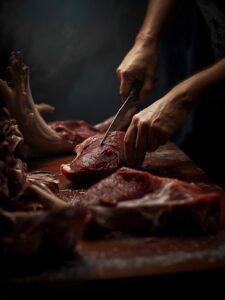
🔪 THE SEVEN-STEP BREAKDOWN: WHOLE DEER TO PRIMAL CUTS
The logical progression from hanging carcass to manageable sections.
🎯 Venison Breakdown Sequence
🎯 The Systematic Approach: Follow This Order Every Time
| Step | Action | Time | Key Tip | Tools Needed |
|---|---|---|---|---|
| Step 1 | Remove Front Shoulders | 5-10 minutes | Follow natural seam – no cutting bone | Boning knife |
| Step 2 | Remove Backstraps | 10-15 minutes | Stay tight against spine, don’t waste meat | Boning knife |
| Step 3 | Remove Tenderloins | 5 minutes | Inside body cavity – precious meat | Boning knife |
| Step 4 | Separate Hindquarters | 5 minutes | Cut through pelvis, not around it | Bone saw |
| Step 5 | Remove Neck Meat | 5 minutes | Great for grinding or slow cooking | Boning knife |
| Step 6 | Remove Rib Meat | 10 minutes | Boneless for grinding, bone-in for broth | Boning knife, shears |
| Step 7 | Break Down Hindquarters | 20-30 minutes | Follow natural seams for best cuts | Boning & breaking knives |
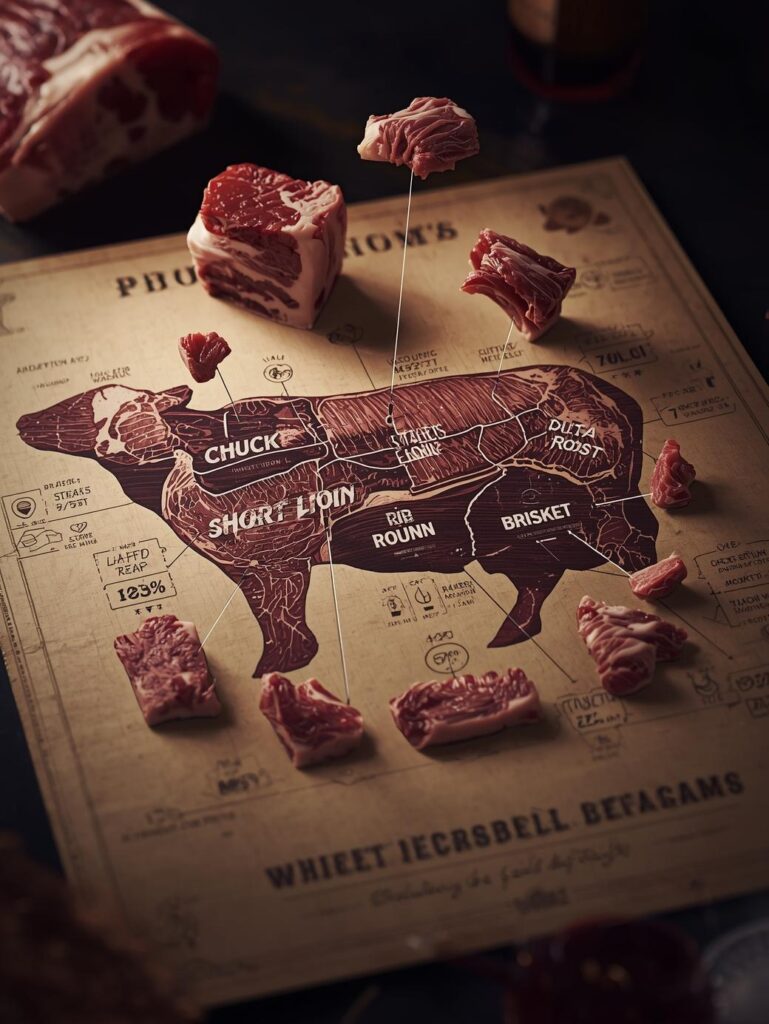
🥩 THE CUTS: VENISON ANATOMY DECODED
Every muscle has a purpose and perfect cooking method.
🎯 PREMIUM STEAK CUTS
Treat these like filet mignon and ribeye
- Backstrap (Loin): The venison equivalent of beef strip loin. Cut into 1-1.5″ steaks for grilling. Grilling guide here.
- Tenderloin: Inside the body cavity—the most tender cut. Whole roasts or medallions.
- Top Round: From hindquarter—excellent for London broil or butterflied steaks.
- Sirloin Tip: Great for steaks or roasts—moderately tender with good flavor.
🔥 SLOW COOKING CUTS
Low and slow transforms these
- Neck: Rich with connective tissue—perfect for pot roast or barbacoa.
- Shanks: Osso buco style—braising gold. Braising guide here.
- Bottom Round: Tougher but flavorful—ideal for jerky or slow roasts.
- Shoulder/Chuck: Ground or cubed for stews and chili.
📊 VENISON YIELD GUIDE: WHAT TO EXPECT
🎯 Realistic Yields from a Typical Whitetail Deer (120-150 lbs live weight)
| Cut Type | Weight Range | % of Live Weight | Best Uses | Freezer Life |
|---|---|---|---|---|
| Steaks (Backstrap, Tenderloin) | 8-12 lbs | 8-10% | Grilling, pan-searing | 9-12 months |
| Roasts | 6-10 lbs | 5-8% | Slow cooking, braising | 9-12 months |
| Ground Venison | 15-25 lbs | 15-20% | Burgers, chili, sausage | 6-9 months |
| Stew Meat | 4-6 lbs | 3-5% | Stews, kabobs | 6-9 months |
| Trim & Scrap | 2-4 lbs | 2-3% | Broth, pet food | 3-6 months |
🔪 HINDQUARTER BREAKDOWN MASTERCLASS
The hindquarters contain the most valuable cuts—don’t waste them.
🎯 Breaking Down the Hindquarter
Follow the Natural Seams
- Identify the Round: The large rear muscle group contains top round, bottom round, and eye of round.
- Separate Top Round: Follow the natural seam along the bone—this becomes London broil or steaks.
- Remove Bottom Round: The tougher underside—perfect for jerky or slow roasting.
- Extract Sirloin Tip: The front section—excellent for roasts or butterflied steaks.
- Don’t Forget the Sirloin: Near the hip—good steaks or grind, depending on size.
- Shank for Braising: The lower leg—osso buco gold or ground if small.
🚨 VENISON BUTCHERING TROUBLESHOOTING
🎯 Common Problems and Solutions
| Problem | Cause | Immediate Fix | Prevention |
|---|---|---|---|
| Hair Contamination | Poor skinning or handling | Trim affected areas, use vinegar wash | Better skinning technique, keep clean |
| Gamey Flavor | Poor field care, stress | Soak in buttermilk or vinegar solution | Quick field dressing, proper aging |
| Tough Silver Skin | Not removed before cooking | Remove with sharp knife before cooking | Remove during butchering when possible |
| Freezer Burn | Poor packaging | Trim affected areas before cooking | Vacuum seal or double-wrap in freezer paper |
| Dry, Tough Meat | Overcooking lean meat | Use in stews or grind with fat | Cook to medium-rare, don’t overcook |
📦 PACKAGING & FREEZING FOR LONG-TERM QUALITY
Proper packaging honors the work you’ve done.
🎯 The Professional Freezer Approach
Maximize Freezer Life and Quality
- Vacuum Sealing is King: Removes air completely—prevents freezer burn for 12+ months.
- Freezer Paper Alternative: Double-wrap tightly, label clearly with date and cut.
- Portion Control: Package in meal-sized portions—thaw only what you need.
- Quick Freezing: Spread packages in single layer until frozen, then stack.
- Temperature Matters: Keep freezer at 0°F or below for longest shelf life.
- Label Everything: Date, cut, and weight on every package. Storage mistakes to avoid.
🏁 THE HUNTER-BUTCHER’S JOURNEY
Processing your own deer transforms you from someone who simply hunts to someone who truly understands game meat. The connection between field and table becomes tangible when your hands have guided every step from hanging carcass to neatly wrapped packages. More than saving money, you gain control over quality, cut selection, and the deep satisfaction of self-reliance.
Remember: butchering isn’t about speed—it’s about respect. Respect for the animal, respect for the meat, and respect for the craft. Your first deer might take an afternoon, but your tenth will take half the time with twice the quality. Each deer makes you better, and each package in your freezer represents not just meals, but mastery.
The gap between hunter and butcher disappears when you realize they’re the same person—someone who respects the animal enough to see the process through from beginning to end.
Start with the right tools – our complete knife guide for meat preparation
Continue Your Butchery Mastery: Deepen your knowledge with these essential guides.
Pingback: Wild Boar Mastery: Complete Guide to Hunting, Butchering & BBQ 2025