Pitmaster’s Note: This is your graduation from grilling to true BBQ. Smoking a large cut is a marathon, not a sprint—a test of patience, fire management, and trust in the process. That intimidating piece of meat isn’t just dinner; it’s your teacher. This guide will walk you through every step, transforming anxiety into anticipation and delivering a result that will make you feel like a true pitmaster.
Smoking Your First Large Cut: Your Step-by-Step Guide to Low & Slow Mastery
“Smoking your first brisket or pork shoulder is a rite of passage. It’s the day you learn that BBQ isn’t about cooking—it’s about transformation. You’re not just applying heat; you’re using time and smoke to break down tough connective tissues into unbelievably tender, juicy perfection. The fire is your partner, patience is your ingredient, and the glorious result is your reward.”
Smoking Your First Large Cut: Your Step-by-Step Guide to Low & Slow Mastery
Download Your Free First Smoke Checklist & Timeline
You’ve mastered steaks and burgers. You’re comfortable with your grill. Now, you’re staring at a massive packer brisket or a hefty pork butt, wondering how on earth to turn it into the fall-apart tender masterpiece of your dreams. Take a deep breath. This step-by-step guide will be your co-pilot, walking you through the entire 12+ hour journey from fridge to feast.
🎯 THE FIRST SMOKE MINDSET: EMBRACE THE JOURNEY
Forget everything you know about fast cooking. This is a different world.
⚙️ The Three Pillars of Low & Slow
The Philosophy of Patience
- Pillar 1: Time is Your Tool: Rushing a large cut is impossible. The collagen and fat need hours at low temperature to slowly render and transform into gelatin, which is what creates that legendary tenderness.
- Pillar 2: Stability Over Perfection: Your smoker temperature will fluctuate. Don’t panic. The goal is to keep it within a range (e.g., 225-250°F), not locked to a single number. Consistent, steady heat is the key.
- Pillar 3: Trust the Process, Not the Clock: Every piece of meat is different. Cooking is done when the meat is probe-tender, not when a timer goes off. Your thermometer and your senses are your guides.
🎯 Grilling vs. Smoking: The Fundamental Shift
🔥 The Griller
- Hot & Fast (300°F+)
- Minutes to an hour
- Direct Heat
- Goal: Searing, quick cooking
- Tender Cuts (Steaks, Chops)
- Mindset: “I’m cooking dinner.”
🪵 The Smoker
- Low & Slow (225-250°F)
- 6 to 18+ hours
- Indirect Heat & Smoke
- Goal: Tenderizing, flavor penetration
- Tough Cuts (Brisket, Pork Shoulder)
- Mindset: “I’m managing a transformation.”
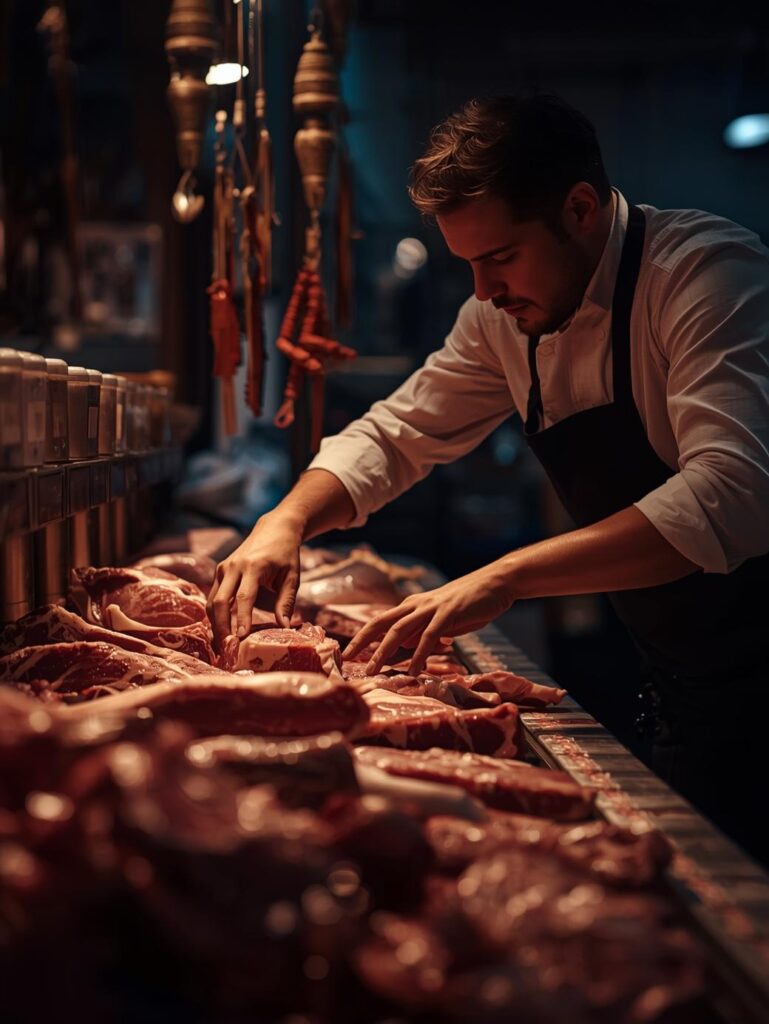
🔪 STEP 1: SELECTION & PREP – THE FOUNDATION
Your success is determined before the fire is even lit.
🎯 Choosing Your First Large Cut
Start with a Forgiving Cut
- Pork Butt (Boston Butt) – THE RECOMMENDED START:
- Why: Incredibly forgiving due to high fat content. Hard to mess up. Delivers pulled pork, a crowd-pleasing result.
- Size: 6-8 lbs (bone-in or boneless)
- Target Internal Temp: 200-205°F for pulling
- Beef Brisket – THE CHALLENGE:
- Why: The holy grail, but less forgiving. Prone to drying out if not managed perfectly. Save this for your second smoke.
- Size: 10-14 lbs (whole “packer” cut)
- Target Internal Temp: 200-205°F, but tenderness is the true test.
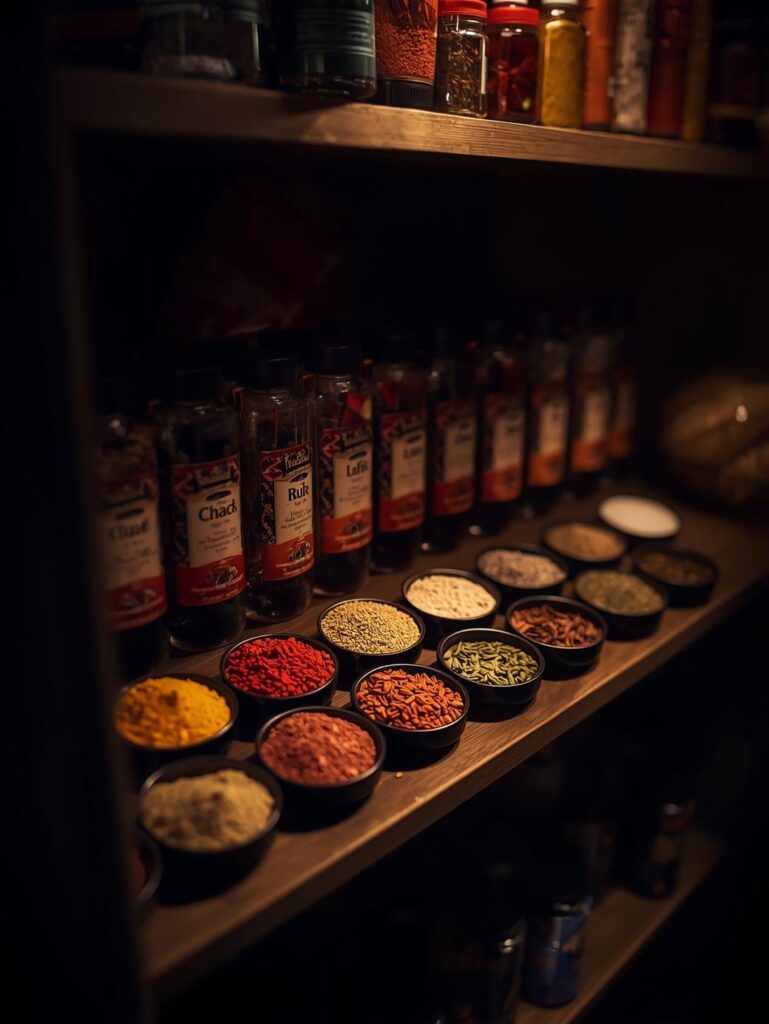
🛠️ The Pre-Smoke Ritual (The Night Before)
Trim, Season, Rest
- Trim (Pork Butt): Remove any large, hard fat caps over ¼-inch thick. Leave a good layer for basting. For a brisket, trimming is more involved.
- Season Generously: Apply a binder (mustard or hot sauce) if desired. Apply your rub heavily on all sides. Don’t be shy. For a classic, use our Basic BBQ Rub recipe.
- Rest Overnight: Place the seasoned meat on a rack over a baking sheet, uncovered, in the refrigerator. This allows the seasoning to penetrate and dries the surface for better bark formation.
📊 The First Smoke Decision Matrix
🎯 Choose Your Adventure
| Cut | Difficulty | Cook Time | Final Result | Verdict |
|---|---|---|---|---|
| Pork Butt (6-8 lbs) | Beginner-Friendly | 8-10 hours | Pulled Pork | 🇺🇸 START HERE |
| Beef Short Ribs (3-bone plate) | Intermediate | 6-8 hours | Burnt Ends / Braising Ribs | 🇺🇸 Great Second Project |
| Whole Chicken (Spatchcocked) | Beginner | 2-3 hours | Smoked Chicken | 🇺🇸 Quick Confidence Builder |
| Beef Brisket (12 lbs) | Advanced | 12-16 hours | Sliced Texas Brisket | 🇺🇸 Save for Later |
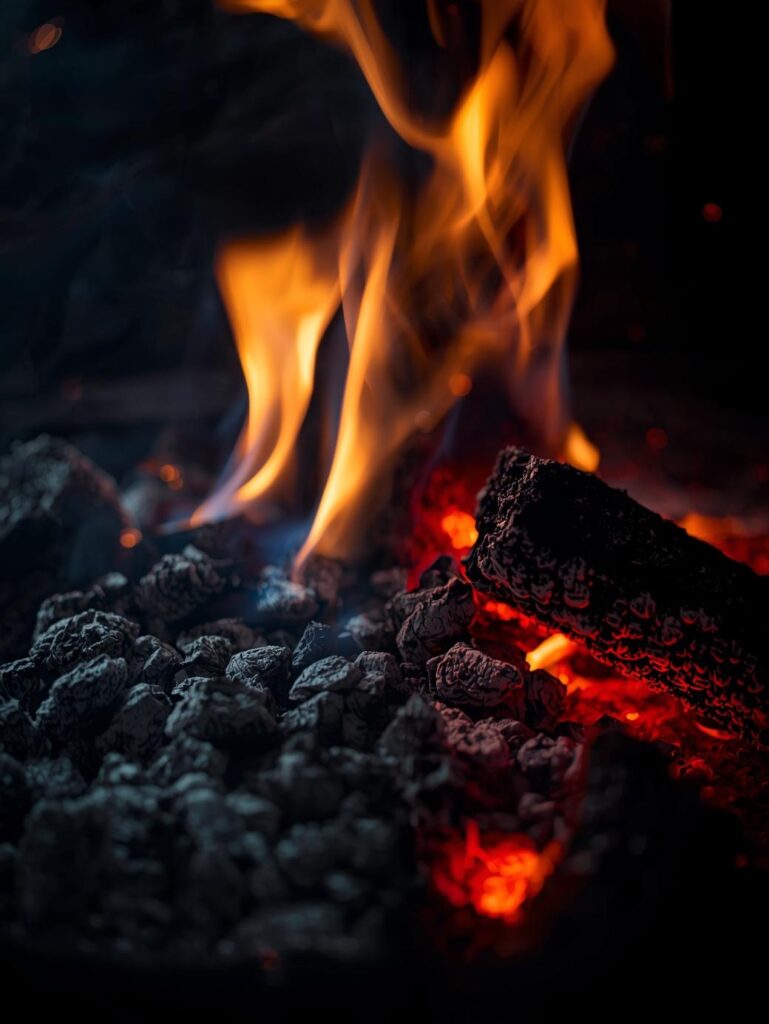
🔥 STEP 2: FIRE & SMOKE – LIGHTING THE FUSE
This is where the magic begins. Set up for stability.
🎪 Setting Up Your Smoker for Success
The “Set-and-Forget” Foundation
- Target Temperature: 225-250°F (107-121°C). This is the sweet spot for rendering fat without burning the exterior.
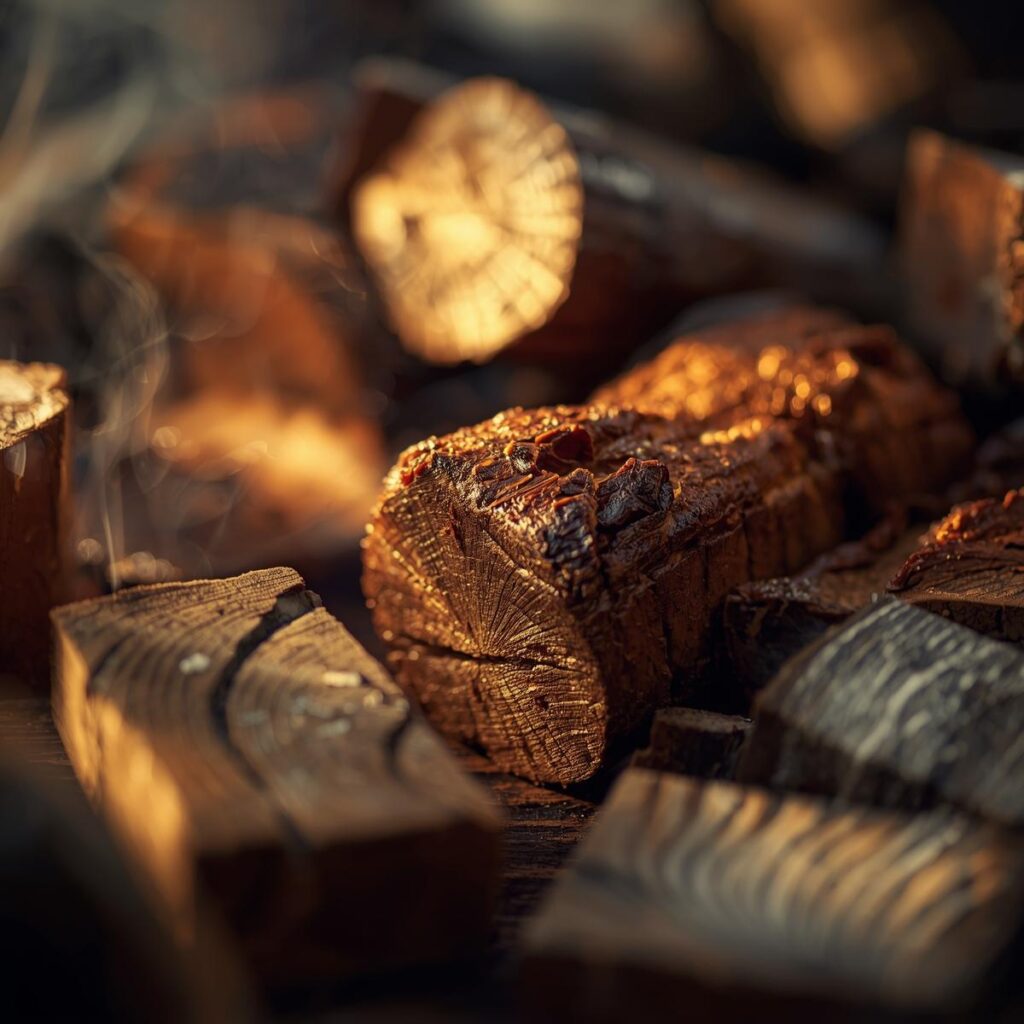
- Fuel: Use a combination of charcoal (for steady heat) and wood chunks (for smoke flavor). Soak wood chunks in water for 30 minutes before use. For a guide, see Best Woods for Smoking Meat.
- Smoke Color: You want thin, blue, almost invisible smoke. Thick, white billowy smoke will make the meat bitter. If you see white smoke, open the vents to increase airflow.
- Water Pan: Place a pan of hot water in your smoker. This helps stabilize temperature and adds humidity, preventing the meat surface from drying out.
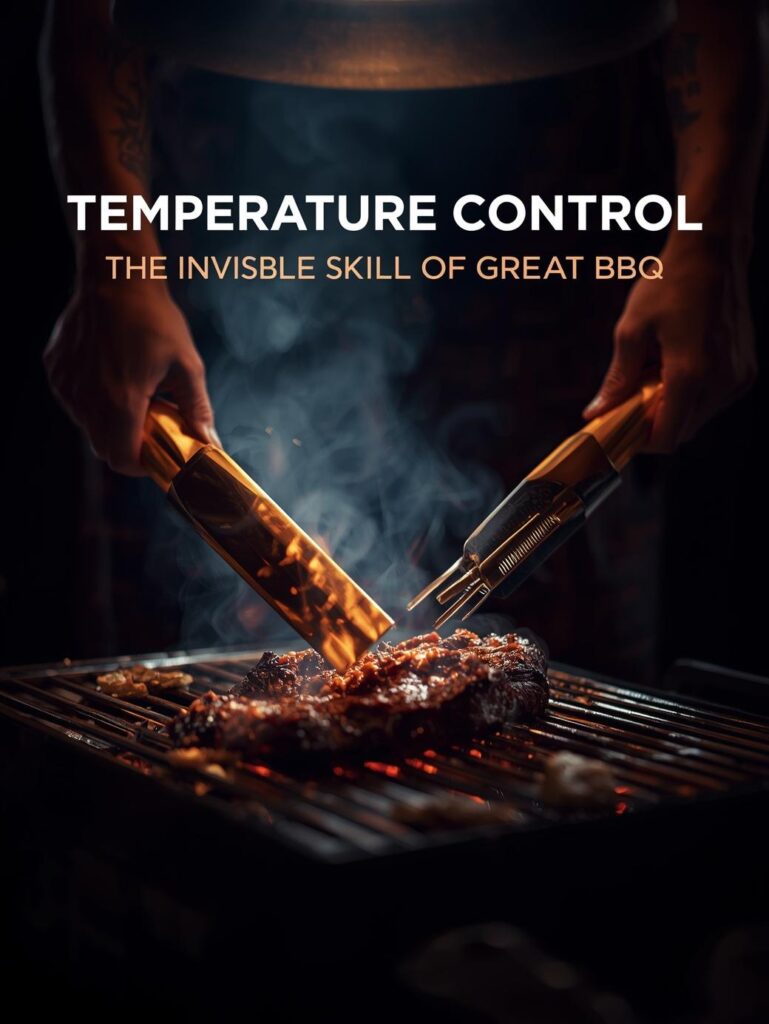
⏱️ STEP 3: THE COOK – PATIENCE & MONITORING
Now, you wait. But you wait *actively*.
🌡️ The Two Thermometer Rule
Your Eyes Inside the Cooker
- Thermometer 1: Ambient/Grill Temp: A leave-in probe placed near the meat (not touching it) to monitor the smoker’s temperature. This is your guide for vent adjustments.
- Thermometer 2: Meat Temp: A probe inserted into the thickest part of the meat, avoiding bone or large fat pockets. This tells you the meat’s progress.
- The Stall (This is Normal!): Around 150-170°F, the meat’s temperature will stop rising, sometimes for hours. This is the “stall,” caused by evaporative cooling. Do not panic. Do not turn up the heat. Let it power through.
🔄 The “Texas Crutch” (Optional)
Power Through the Stall
- What it is: Wrapping the meat in butcher paper or aluminum foil when it hits the stall (around 160-170°F).
- Why: It traps steam and braises the meat, powering through the stall much faster and preserving juiciness.
- Trade-off: You get a softer bark (the crust). For your first time, it’s a great insurance policy against drying out.
- Beginner Verdict: Use it. Wrap in double-layer heavy-duty foil when the bark looks good and the temp stalls.
📋 THE FIRST SMOKE TIMELINE (8-10 lb Pork Butt)
Your Hour-by-Hour Game Plan
The Night Before (Day -1)
Trim, season, and rest your pork butt in the fridge. Mix your rub. Gather all gear.
Fire Up! (Day of, 6:00 AM)
Light smoker. Target 250°F. Put meat on by 7:00 AM. Relax, have coffee.
The Stall & Wrap (~12:00 PM)
Temp stalls around 160°F. Wrap in foil. Spritz if bark looks dry. Add fuel if needed.
The Finish & Rest (~4:00 PM)
Meat hits 200-205°F and is probe-tender. Rest in a cooler for 1-2 hours. Serve at 6:00 PM!
✋ STEP 4: THE FINISH – REST & SERVE
You’re almost there! Don’t ruin it now.
🗣️ The Grand Finale
Rest, Pull, and Devour
- The Doneness Test: The meat is done when it’s “probe-tender.” Insert a thermometer probe or a skewer into several spots. It should slide in with little to no resistance, like pushing into a jar of peanut butter. This usually happens between 200-205°F.
- The Rest (Non-Negotiable): Remove the meat from the smoker. Keep it wrapped in its foil. Wrap the whole package in an old towel and place it in an empty cooler (a “faux cambro”) for at least 1 hour, ideally 2. This allows the juices to redistribute, resulting in incredibly moist meat. Learn why this is critical in our guide on The Secret to Juicy Steaks.
- The Pull: Unwrap the pork butt. Wearing heat-resistant gloves, simply pull the bone out—it should come out clean. Use your hands or bear claws to shred the meat. Discard any large, unrendered fat chunks.
- Serve: Toss with your favorite BBQ sauce or serve it on the side. Enjoy the glory.
🚨 FIRST SMOKE TROUBLESHOOTING: DON’T PANIC!
🎯 Every Problem Has a Solution
| Problem | What’s Happening | The First-Timer’s Fix |
|---|---|---|
| Temperature is Stuck (The Stall) | Evaporative cooling. This is 100% normal. | Wait it out. Or, wrap in foil (“Texas Crutch”) to power through it faster. |
| Smoker Running Too Hot/Cold | Airflow or fuel issue. | Close vents to cool down, open to heat up. Add more hot charcoal if temp is dropping consistently. |
| Bark is Too Dark/Burnt | Temperature spiked or sugar in rub burned. | Wrap in foil. Spritz with apple juice/water. Next time, use less sugar in your rub. |
| Meat is “Done” Too Early | It cooked faster than expected. | A fully wrapped rest in a cooler will keep it hot and moist for 4+ hours. This is a good problem to have! |
🏁 YOU ARE NOW A SMOKER
You have just completed one of the most rewarding journeys in all of cooking. You’ve managed a fire for hours, trusted the process, and transformed a tough cut into a tender, smoky masterpiece. The sense of accomplishment when you pull that bone out clean or slice into a perfect brisket is unparalleled. You are no longer just a griller; you are a pitmaster.
Remember the three rules: Patience during the stall, trust in your thermometer, and never, ever skip the rest.
🐖 SMOKE YOUR FIRST PORK BUTT →
Follow our definitive step-by-step pulled pork recipe for guaranteed success

Your Smoking Journey Continues: Deepen your low-and-slow knowledge.