
Butcher’s Note: The difference between a good cook and a great one often comes down to knife skills. It’s not about speed or fancy tricks—it’s about control, safety, and respecting the ingredient. Proper cutting affects everything from cooking time to final tenderness. This guide will transform your relationship with your knife, turning prep work from a chore into a satisfying, foundational skill.
Basic Knife Skills for Meat Prep: Your Guide to Cutting with Confidence
“A sharp knife is a safe knife. A skilled hand is a confident one. Watching a butcher break down a primal cut looks like magic, but it’s just a series of simple, repeatable motions. Mastering these basic skills won’t just make you faster—it will make your meat cook more evenly, look more professional, and taste infinitely better. This is where true craftsmanship begins.”

Basic Knife Skills for Meat Prep: Your Guide to Cutting with Confidence
Download Your Free Knife Skills & Safety Checklist
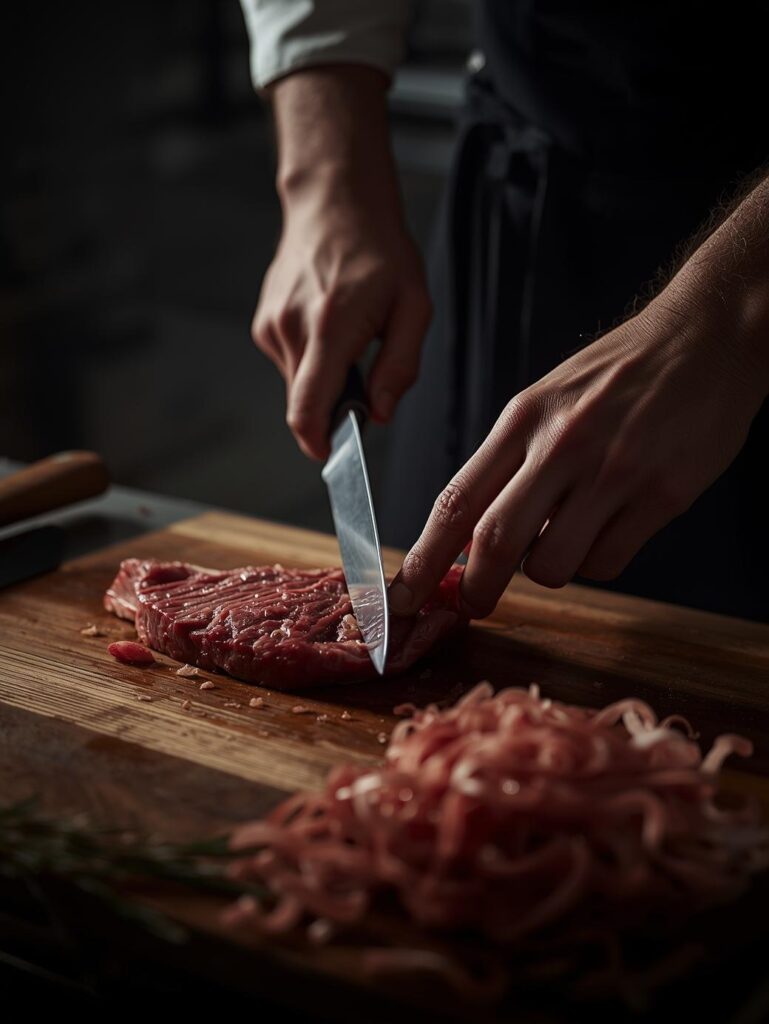
Welcome to the foundation of all great meat cooking. Before the fire is lit, before the seasoning is applied, the knife does its work. Whether you’re trimming a steak, cubing stew meat, or slicing a roast, how you handle your blade determines your final result. This guide will walk you through the essential grips, cuts, and safety principles that will elevate your prep game instantly.
🎯 THE KNIFE SKILL MINDSET: CONTROL OVER SPEED
Precision and safety are your goals. Speed is a byproduct of practice.
⚙️ The Three Golden Rules of Meat Cutting
The Foundation of Safe, Effective Cutting
- Rule 1: A Sharp Knife is a Safe Knife: A dull blade requires more force, slips easily, and causes accidents. A sharp knife glides through meat, following your intended path with minimal pressure.
- Rule 2: The Knife Moves, The Meat Doesn’t: Always use a stable cutting board on a non-slip surface. Secure the meat with your guiding hand, and let the knife do the traveling.
- Rule 3: Find the Grain and Respect It: Slicing against the grain is the single most important factor in determining the tenderness of your final bite. It’s non-negotiable.
🎯 The Novice vs. The Skilled Cutter
🔪 The Anxious Novice
- Uses a dull, generic “kitchen knife”
- Saws back and forth with force
- Cuts towards their body or hand
- Slices with the grain, creating chewy meat
- Uses an unstable, small cutting board
✅ The Confident Skilled Cutter
- Uses a sharp, purpose-specific knife
- Makes clean, decisive slicing motions
- Always cuts away from their body
- Always slices against the grain for tenderness
- Uses a large, stable, non-slip cutting board
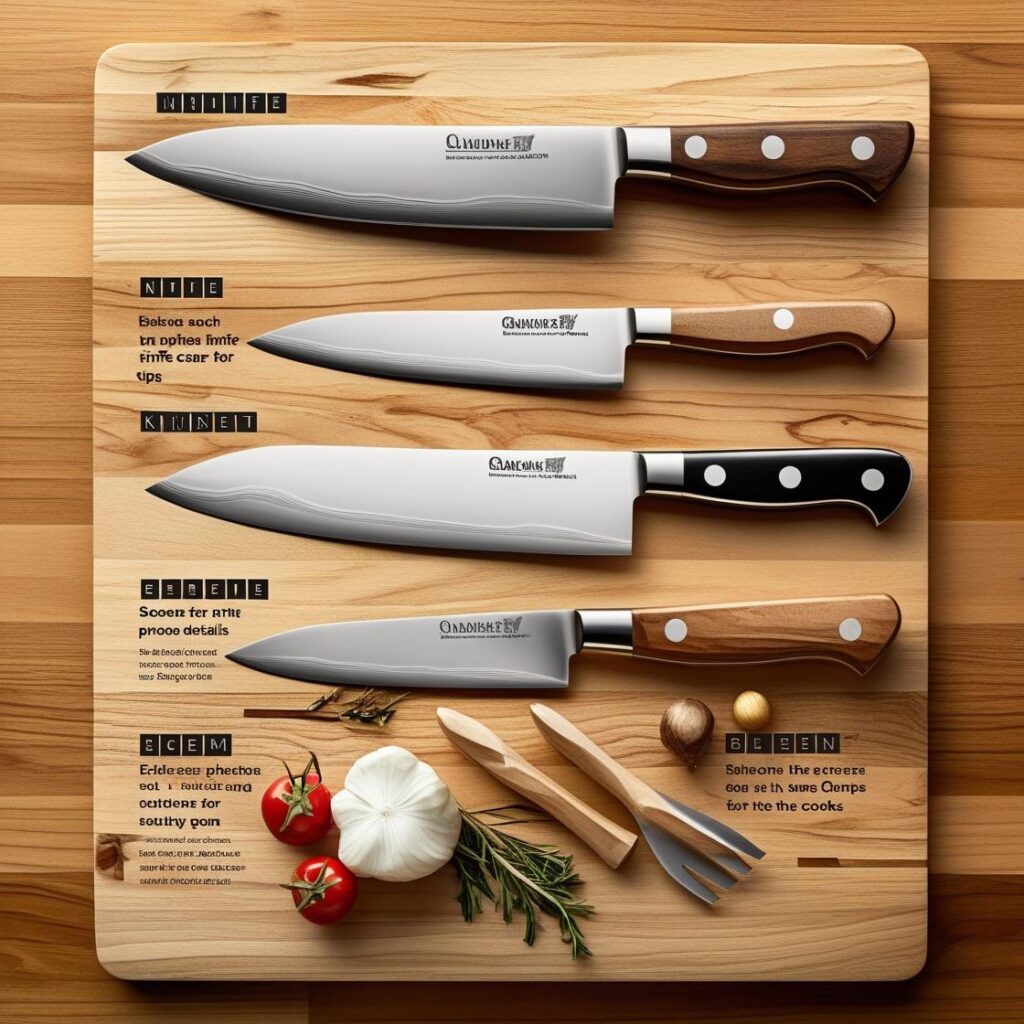
🔪 THE ESSENTIAL KNIFE & TOOL KIT
You don’t need a full set. You need the right knife for the job.
🎪 The Only 3 Knives You Need for Meat
Build Your Foundation
- Chef’s Knife (8-inch):
- Purpose: Your workhorse. Used for 90% of tasks: slicing, dicing, chopping vegetables, and disjointing large cuts.
- How to Use It: Use a rocking motion for herbs and vegetables. Use a straight, downward slicing motion for meat.
- Beginner Tip: This is your most important investment. Get one that feels balanced in your hand.
- Boning Knife (5-6 inch, Flexible):
- Purpose: Removing meat from bone, trimming silver skin, and butterflying. The flexibility allows it to follow contours.
- How to Use It: Use the tip to navigate around joints and bones. Let the sharp edge glide to separate meat from bone.
- Beginner Tip: Essential for dealing with poultry and ribs. A stiff blade is better for beef and pork.
- Slicing/Carving Knife (10-12 inch, Long & Thin):
- Purpose: Creating thin, even slices from cooked roasts, brisket, and ham. The long blade allows for a single, smooth stroke.
- How to Use It: Use a gentle back-and-forth sawing motion with minimal downward pressure. Let the sharp blade do the work.
- Beginner Tip: Don’t use a chef’s knife to slice a roast—you’ll crush and shred the beautiful meat you worked so hard to cook.
📊 The Essential Meat Prep Cut Guide
🎯 Master These 4 Fundamental Cuts
| Cut Type | Purpose & Use | Knife to Use | Pro Technique Tip |
|---|---|---|---|
| Trimming | Removing excess fat and silver skin. | Boning Knife | Slide the blade under the silver skin, angled slightly up. Pull the skin taut with your other hand and slice it off in one piece. |
| Cubing / Dicing | Making stew meat, kebabs, stir-fry. | Chef’s Knife | Cut meat into uniform planks, then sticks, then cubes. Uniform size = uniform cooking. Learn more in our Meat Cutting Tips guide. |
| Slicing (Raw) | For stir-fries, carpaccio, or thin cutlets. | Chef’s Knife | Partially freeze the meat for 30-60 minutes until firm but not solid. This makes thin slicing infinitely easier. |
| Slicing (Cooked) | Carving roasts, brisket, steaks. | Slicing Knife | ALWAYS slice against the grain. Identify the muscle fibers and cut perpendicular to them. This is the secret to tender meat. |
✋ THE GRIP: HOW TO HOLD YOUR KNIFE & GUIDE YOUR CUT
Mastering your grip is the first step to control and safety.
👊 The “Pinch Grip”
Your Primary Knife Hold
- Pinch the Blade: Place your thumb and the side of your bent index finger on the heel of the blade, just in front of the handle. This is your pivot point.
- Wrap the Handle: Curl your remaining three fingers around the handle comfortably. Don’t squeeze too tightly.
- Why It Works: This grip gives you maximum control over the blade, preventing wobble and allowing for precise, fluid motion. The knife becomes an extension of your hand.
🦅 The “Claw Grip”
Your Guiding Hand Safety Hold
- Curl Your Fingertips: On your non-knife hand, curl your fingertips inward, tucking your nails behind your knuckles.
- Use Your Knuckles: The flat sides of your middle knuckles become the guide for the blade. The knife rests against them as you slide it up and down.
- Why It Works: This creates a protective barrier for your fingertips. Your curled fingers are safely out of the blade’s path, while your knuckles control the thickness of the cut.
🎯 THE MOST IMPORTANT SKILL: SLICING AGAINST THE GRAIN
This one technique will do more for tenderness than any marinade.
🗣️ How to Find and Slice Against the Grain
A Step-by-Step Guide
- Identify the Grain: Look at the uncooked or cooked meat. You’ll see long, parallel lines of muscle fibers running in one direction. This is the “grain.” On a steak, it’s often obvious. On a roast, you may need to look closely.
- Plan Your Cut: Position the meat so these lines are running left to right in front of you (like a bundle of straws).
- Slice Perpendicular: Make your cuts straight down, at a 90-degree angle to the direction of the grain. You are cutting those long muscle fibers into short segments.
- Why It Works: Imagine a bundle of 20 straws. If you serve it whole, it’s tough to bite through. If you cut the bundle into short pieces, each piece is easy to chew. That’s what slicing against the grain does. For a perfect example, see our Skirt Steak Guide.
📋 THE BASIC KNIFE SKILLS MASTERY TIMELINE
Your Path from Novice to Pro
Week 1: Foundation
Practice the Pinch Grip and Claw Grip with soft vegetables (like carrots). Focus on control, not speed.
Week 2: Application
Cube a chuck roast for stew. Focus on uniform pieces and safe trimming.
Week 3: Mastery
Buy a flank or skirt steak. Identify the grain and practice slicing it thinly against the grain.
Week 4: Confidence
Carve a whole roasted chicken or a pork loin roast, identifying different grain directions in different muscles.
🚨 KNIFE SKILLS TROUBLESHOOTING: FIXING COMMON ERRORS
🎯 Solving Your Cutting Problems
| Problem | Likely Cause | The Pro Fix |
|---|---|---|
| Knife is Slipping/Sliding | Dull blade, greasy handle, or poor grip. | Sharpen your knife. Use the Pinch Grip for control. Keep your hands and handle dry. |
| Meat is Shredding, Not Slicing | Dull knife or slicing with the grain. | Use a sharper knife (especially a slicing knife for cooked meat). Always find and cut against the grain. |
| Uneven, Ragged Cuts | Sawing motion or not using the Claw Grip. | Use a single, decisive slicing motion. Let the sharp edge do the work. Use your knuckles as a guide for consistent thickness. |
| Can’t Remove Silver Skin | Wrong knife or wrong angle. | Use a sharp, flexible boning knife. Slide the tip under the membrane and angle the blade slightly upward as you pull the skin taut. |
🏁 YOU ARE NOW A SKILLED CUTTER
You have just learned the foundational skills that separate home cooks from culinary artists. Your knife is no longer just a tool—it’s an instrument of precision. With the Pinch Grip, the Claw Grip, and the unwavering rule of slicing against the grain, you are equipped to handle any meat prep task with confidence, safety, and skill.
Remember, practice builds muscle memory. Start slow, focus on technique, and speed will follow naturally. Now, go sharpen your blade and respect the craft.
Learn which specific knives you need for your kitchen in our essential guide
Your Essential Next Reads: Deepen your butchery knowledge with these guides.