

Expert’s Note: This collection of pro-tips is the culmination of years spent by the fire, in the butcher shop, and at the dinner table. It bridges the gap between our deep-dive guides like the Ultimate Meat Cuts Bible and the 25 Pro BBQ Secrets. Consider this your essential handbook of the small, often-overlooked details that separate good meat from legendary meals.
Meat Lover’s Tips: 35 Pro Secrets for Buying, Prepping, and Cooking
“Mastering meat isn’t about a single perfect recipe. It’s a collection of a hundred small victories—the perfectly timed flip, the insightful question to your butcher, the patience to let it rest. These tips are the hidden leverage points in your culinary arsenal. Implement just a few, and you’ll notice the difference. Master them all, and you’ll transform your cooking forever.”

Meat Lover’s Tips: 35 Pro Secrets for Buying, Prepping & Cooking 2025
Download the Meat Lover's Ultimate Tip Sheet - A Printable Guide
Welcome, meat lover! You’ve moved beyond the basics and you’re ready to elevate every aspect of your carnivorous journey. This guide is not about one specific cut or technique. It’s about the wisdom—the countless little tricks, hacks, and insights that professional chefs and pitmasters use instinctively. From the moment you step into the butcher shop to the final slice on the cutting board, these 35 tips will make you smarter, faster, and more confident with meat.
🛒 THE BUTCHER SHOP: BUYING LIKE A PRO
The journey to a perfect meal begins with the choices you make before you even light the fire.
🎯 Selection & Sourcing Secrets
How to Choose the Best Every Time
- Befriend Your Butcher: This is the #1 tip. Ask questions: “What’s the best value today?” “What cut would you use for [your recipe]?” Their knowledge is a free resource. A good relationship can lead to access to better cuts and better prices.
- Color is Key for Red Meat: Look for a bright, cherry-red color. Avoid meat that is brownish or has a rainbow-like sheen (iridescence is normal in vacuum-packed meat after opening, but not in a fresh display case). For deeper insights, see our guide on How to Choose the Perfect Steak.
- Press Test for Freshness: Gently press the meat (through the packaging). It should feel firm and spring back. If the indentation remains, it’s a sign the meat is old and has lost its structural integrity.
- Fat Should Be White, Not Yellow: Creamy white fat is a sign of a young, well-fed animal. Yellowish fat can indicate an older animal or different feed and may have a stronger flavor.
- Buy Whole, Cut Yourself: Save significant money by buying a whole pork shoulder or chicken thighs and breaking them down yourself. It’s easier than you think and a great skill to learn.
- Understand “Sell By” vs. “Use By”: “Sell by” is for the store’s inventory. “Use by” is a better guideline for home consumption. Trust your senses—if it smells sour or off, don’t use it.
🧊 PREPARATION PERFECTION: THE CRITICAL PRE-GAME
What you do in the hours and minutes before cooking is often more important than the cooking itself.
❄️ Thawing & Temperature Tips
The Foundation of Even Cooking
- The Only Safe Thawing Methods: 1) In the refrigerator (slow, best). 2) In a cold water bath (change water every 30 minutes, faster). 3) In the microwave (only if you’re cooking immediately after). Never thaw on the counter. For a full guide, read From Freezer to Grill.
- Pat Dry, Always: Perhaps the simplest and most impactful tip. A dry surface is non-negotiable for a proper sear and crispy skin. Moisture creates steam, which prevents browning. Pat your meat aggressively with paper towels before it touches heat.
- Take the Chill Off (Most of the Time): For steaks and chops you plan to sear, let them sit on the counter for 30-45 minutes before cooking. A room-temperature piece of meat will cook more evenly than one straight from the fridge. The exception is for reverse searing or sous vide, where you start with cold meat.
- Score the Fat, Not the Meat: On cuts like a picanha or a skin-on duck breast, score through the fat cap in a crosshatch pattern, but stop before you hit the muscle. This helps the fat render efficiently and prevents curling.
🧂 Seasoning & Flavor Boosts
Building Layers of Taste
- Dry Brining is a Superpower: Salting your meat (especially steaks, roasts, and poultry) 1-24 hours before cooking and leaving it uncovered on a rack in the fridge is a game-changer. It seasons deeply, improves juiciness, and dries the surface for a better crust. Learn the science in our Dry Brine Chicken Guide.
- Salt Early or Salt Right Before: If you can’t dry brine, then salt immediately before cooking. Salting just 5-20 minutes before can draw out moisture that won’t have time to reabsorb, resulting in a steamed, gray steak.
- Add Pepper After Searing: Black pepper burns at high temperatures and can turn bitter. For the best flavor, add freshly cracked black pepper after the meat is seared and rested, or in the final few minutes of cooking.
- Use a Mortar and Pestle for Spices: Toasting whole spices (cumin, coriander) and then grinding them yourself releases volatile oils and creates a flavor that pre-ground powder can’t match.
- Add Umami Bombs: Mix a little mushroom powder, soy sauce powder, or even a dash of fish sauce into your dry rubs. They add a deep, savory background that makes meat taste “meatier.”
🔥 FIRE & HEAT: COOKING WITH CONFIDENCE
Command the flame; don’t let it command you.
🎪 Grill & Smoker Mastery
Controlling Your Environment
- Two-Zone Fire is Non-Negotiable: Always set up your grill with a hot zone (direct heat) and a cool zone (indirect heat). This gives you a searing station and a safety zone to prevent flare-ups and control cooking speed. Master this with our Two-Zone Grilling Guide.
- The Hand Test for Grill Temp: No thermometer? Hold your hand 5 inches above the grill grates. Count “one Mississippi, two Mississippi…”
- 2-3 seconds: High Heat (450°F+) – Searing
- 4-5 seconds: Medium-High (375-450°F) – Grilling
- 6-7 seconds: Medium (325-375°F) – Slow Grilling
- 8-10 seconds: Low (under 325°F) – Indirect/Smoking
- Oil the Meat, Not the Grate: Brushing oil on the grates just burns it off and causes flare-ups. Instead, brush a thin layer of high-smoke-point oil (avocado, grapeseed) directly onto the meat before it goes on.
- Don’t Play T-Ball with Your Meat: Let it sear! Constant flipping prevents a good crust from forming. For most steaks, flip only once or twice. Use a spatula or tongs; never pierce the meat with a fork, as it releases precious juices.
- Embrace the Thermometer, Abandon the Clock: Cooking time is a liar. Thickness, starting temp, and grill temperature vary wildly. The only truth is internal temperature. A digital instant-read thermometer is your most important tool.
🍳 Pan & Oin Secrets
Indoor Carnivore Excellence
- Pre-Heating is Everything: Your pan should be hot before adding oil, and the oil should be shimmering (almost smoking) before adding meat. A cold start is the enemy of a good sear.
- Use a Heavy-Bottomed Pan: Cast iron, carbon steel, or thick stainless steel provide even, consistent heat. Thin pans create hot spots that burn your food.
- The Butter Bastte: For steaks and chops, sear with a high-heat oil, then add butter, garlic, and herbs to the pan. Tilt the pan and spoon the foaming butter continuously over the meat for the last minute of cooking. This is how steakhouses do it. Learn the art of Pan-Searing Like a Pro.
- Don’t Crowd the Pan: Overcrowding creates steam, which drops the pan’s temperature and steams your meat instead of searing it. Cook in batches if necessary.
📊 The Meat Lover’s Quick-Reference Matrix
🎯 At-a-Glance Guide for Common Dilemmas
| Situation | The Problem | The Pro Tip Solution |
|---|---|---|
| Tough, Chewy Steak | Overcooked or wrong cut | Use a thermometer; always slice against the grain; choose tender cuts like ribeye or filet for high-heat. |
| Meat Sticks to the Pan/Grill | Surface not hot enough or not clean | Pre-heat thoroughly; clean grates; pat meat dry; oil the meat, not the surface. See the science here. |
| Burnt, Bitter Exterior | Sugar in rub burned or flare-ups | Add sugary sauces only at the end; manage flare-ups with a two-zone fire. |
| Dry, Flavorless Chicken | Overcooked and underseasoned | Cook dark meat to 175°F, white meat to 160°F (carryover to 165°F); dry brine for 4-24 hours. |
| Smoke Ring Didn’t Form | Meat surface was too hot/cold or wrong wood | Start with cold, moist meat; use wood, not charcoal, for smoke; maintain low temps. It’s purely cosmetic, but our Smoke Ring Science Guide explains it. |
🍽️ THE FINISHING TOUCHES: REST, SLICE, & SERVE
The work isn’t over when the meat comes off the heat.
⏳ Resting & Carving Wisdom
Preserving Your Hard Work
- Rest, Don’t Rush: When meat comes off the heat, its juices are concentrated in the center. Resting allows the muscle fibers to relax and reabsorb those juices throughout the entire cut. If you slice immediately, the juice ends up on your cutting board, not in your mouth. Understand why in The Secret to Juicy Steaks.
- Steaks/Chops: Rest for 5-10 minutes, loosely tented with foil.
- Roasts & Large Cuts: Rest for 15-30 minutes, tented with foil.
- Find the Grain and Slice Against It: This is the single most important carving tip. The “grain” is the direction the muscle fibers run. Look for the long, parallel lines on the meat’s surface. Slicing perpendicular to these fibers (against the grain) shortens them, making the meat much more tender to chew. This is critical for tougher cuts like skirt steak and brisket.
- Use a Sharp, Long Slicing Knife: A dull knife tears meat; a sharp knife glides through it cleanly. A long blade allows you to slice in one smooth motion. See our picks for the Only 4 Knives You Need.
- Finish with Flaky Salt: After slicing, finish your steak or roast with a sprinkle of flaky sea salt (like Maldon). The delicate crystals provide a delightful crunch and a burst of salinity that elevates the final bite.
🚨 TROUBLESHOOTING: FIXES FOR COMMON HEADACHES
🎯 Quick Solutions for When Things Go Wrong
| Problem | Immediate Fix | Long-Term Solution |
|---|---|---|
| Overcooked Meat | Slice it thin and serve with a sauce, gravy, or in a sandwich. | Invest in a digital thermometer and practice the reverse sear for foolproof doneness. |
| Underseasoned & Bland | Finish with flaky salt and a squeeze of lemon or a drizzle of flavored oil. | Adopt the dry brining method for deep, thorough seasoning. |
| Rub Won’t Stick | Pat the meat dry and lightly coat with olive oil or mustard as a “binder.” | Apply the rub to a dry-brined surface; the slightly tacky surface is perfect for adhesion. |
| Grill Flare-Ups | Move the meat to the cool side of the grill until flames subside. | Trim excess fat; use a two-zone fire; keep a spray bottle of water handy for emergencies. |
🏁 THE MEAT LOVER’S MINDSET
Becoming a true master of meat is a journey of continuous, incremental improvement. It’s not about one perfect cook; it’s about building a repertoire of skills and knowledge that make every cook better than the last.
Start by implementing just three tips from this guide. Maybe it’s patting your steak dry, setting up a two-zone fire, and finally buying that thermometer. Notice the difference. Then, add three more. The compound effect of these small changes is profound.
Remember, the goal is not just to cook meat, but to understand it—to respect the ingredient enough to treat it with the care and technique it deserves. Your journey is just beginning. Now, go forth and cook with confidence.
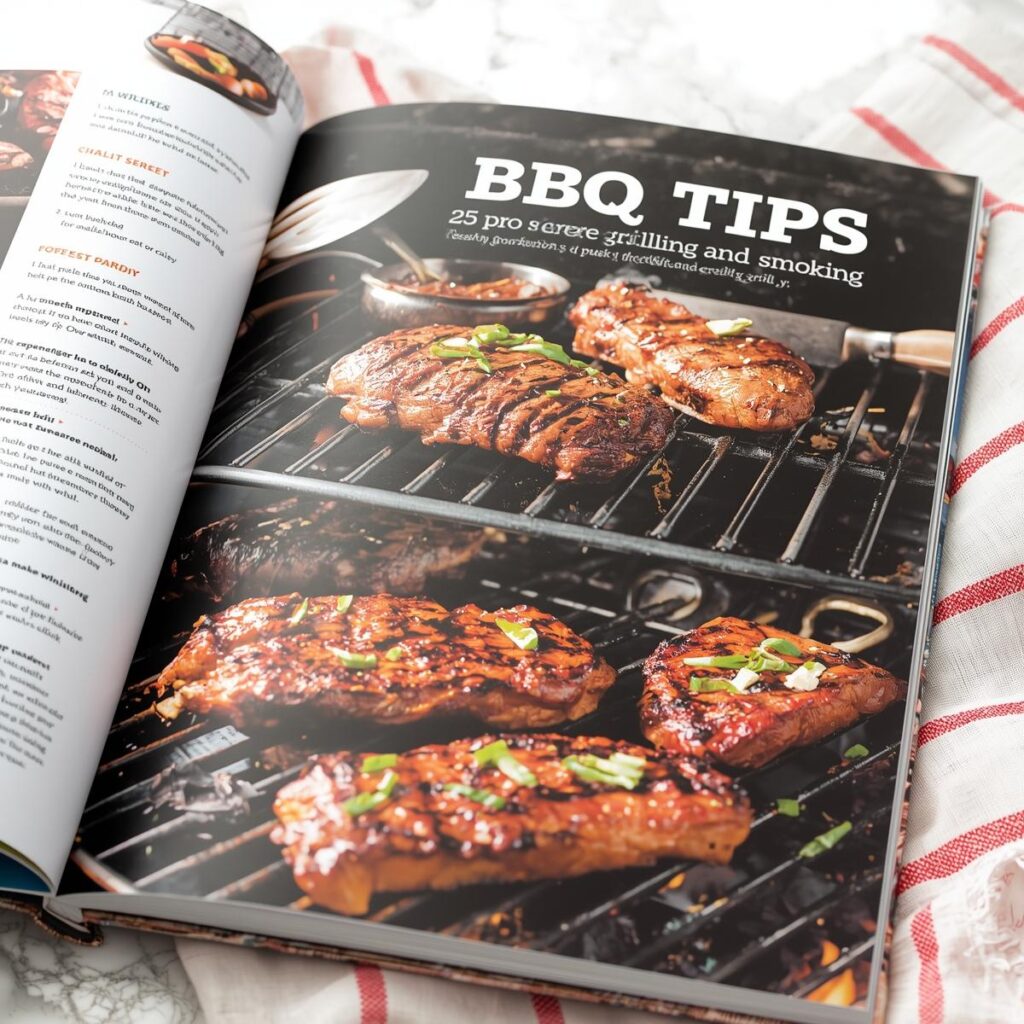
🔧 EXPLORE 25 MORE PRO BBQ SECRETS →
Level up your grilling and smoking game with our dedicated pro-tips guide


Continue Building Your Skills: Dive deeper into specific areas of meat mastery.