
Expert’s Note: This professional guide expands on our Master the Cuts Encyclopedia. Cutting meat isn’t just about dividing portions—it’s the final, crucial step that can elevate tender meat to sublime or ruin hours of perfect cooking with one wrong slice. Master these techniques, and you’ll unlock the full potential of every piece of meat you cook.
MEAT CUTTING TIPS: A BUTCHER’S GUIDE TO PERFECT SLICES
“Cutting meat is the final conversation between cook and ingredient. The knife isn’t just a tool—it’s the translator that reveals the meat’s hidden language of grain, texture, and structure. A perfect cut respects the muscle’s history, honors the cooking process, and delivers the promise of perfect tenderness. Master this final step, and you transform good meat into extraordinary experiences.”

Meat Cutting Tips: A Butcher’s Guide to Perfect Slices
Download our free Meat Cutting Guide - your quick-reference for grain direction, knife angles, and slicing techniques for every cut.
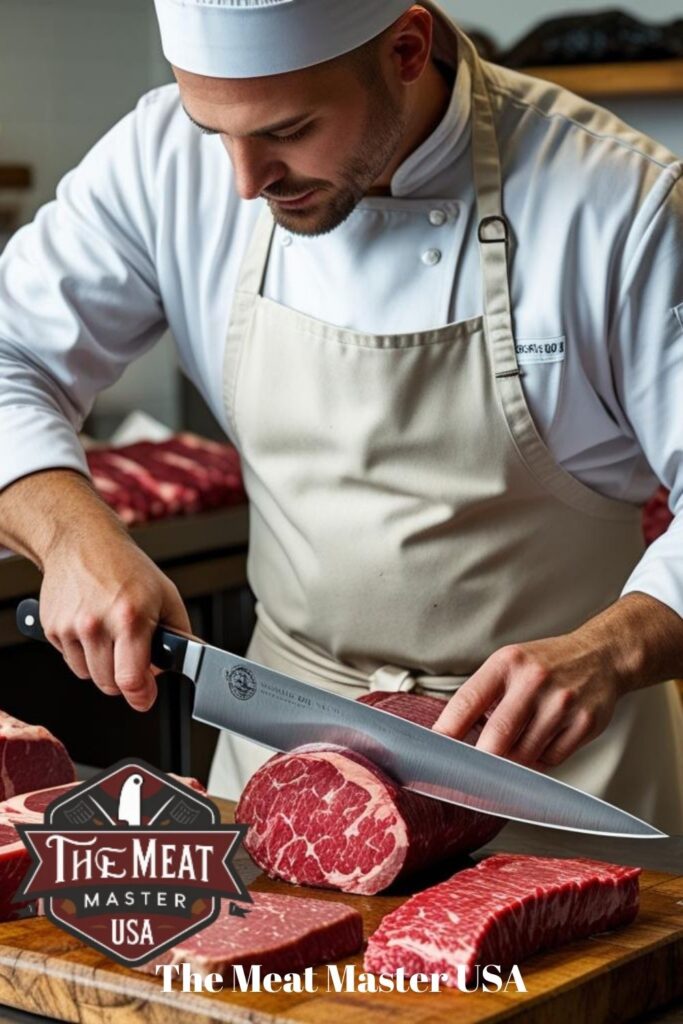
The difference between good barbecue and legendary barbecue often comes down to one final, critical step: how you cut the meat. You can spend 16 hours perfectly smoking a brisket, achieve the ideal internal temperature, and create incredible bark, only to ruin it all with poor slicing technique. This guide takes you behind the butcher’s counter to learn the professional secrets that transform how you approach every piece of meat, from steaks and roasts to the most challenging barbecue cuts.
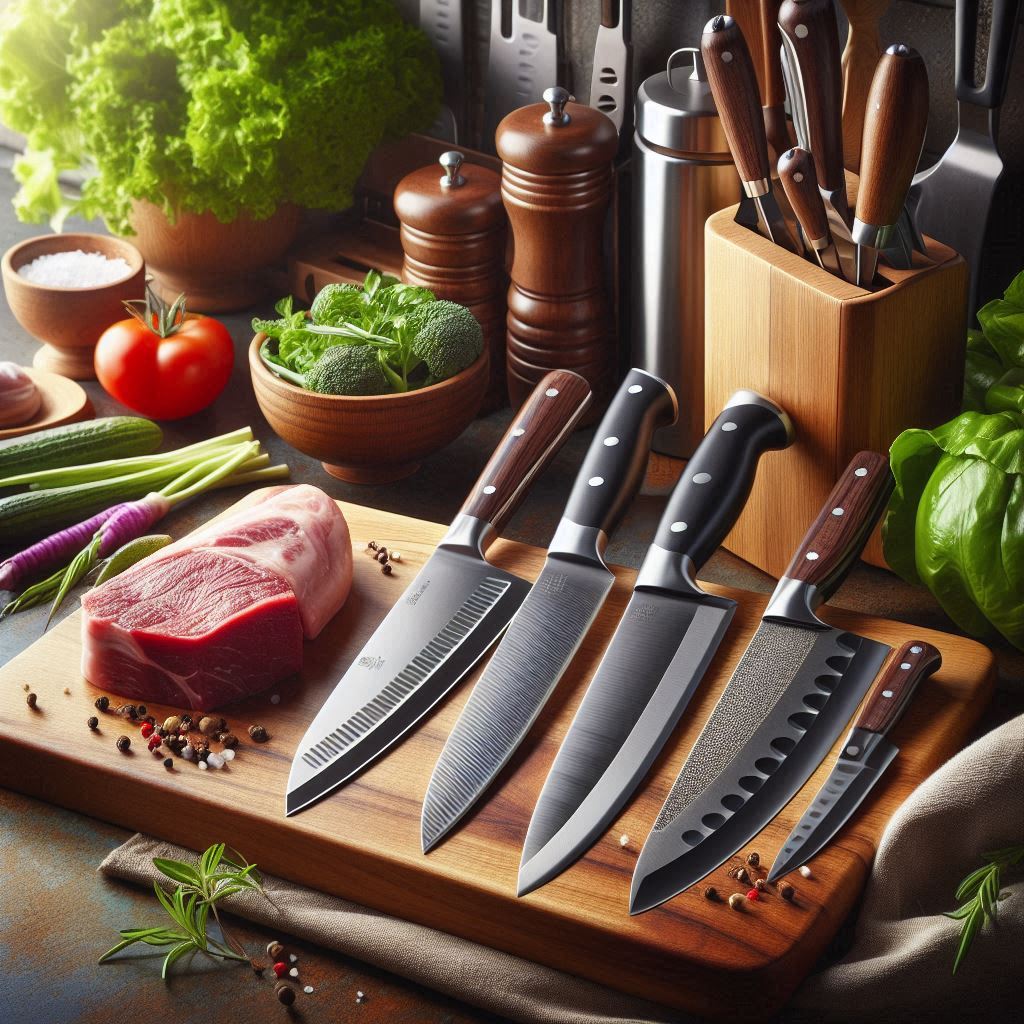
🔪 THE FOUNDATION: TOOLS & SETUP FOR PERFECT CUTS
Professional results begin with the right tools and proper preparation.
⚙️ The Essential Cutting Toolkit
Building Your Professional Setup
- Chef’s Knife (8-10 inch): Your workhorse for most slicing tasks. Look for a full tang, comfortable handle, and high-carbon steel that holds an edge.
- Slicing/Carving Knife (12-14 inch): Long, thin, flexible blade specifically designed for clean, even slices of roasts and large cuts. The length prevents sawing motion.
- Boning Knife (5-6 inch): Stiff, narrow blade for navigating around bones and separating muscles. Essential for breaking down primal cuts.
- Cutting Board Stability: Use a heavy wooden or composite board with damp towel underneath to prevent slipping. Size matters—you need space to work.
- Sharpening System: A dull knife is dangerous and destructive. Invest in a quality sharpening stone or guided system and learn proper sharpening technique.
🎯 The Professional Cutting Mindset
❌ Common Amateur Mistakes
- Sawing back and forth aggressively
- Using a dull or wrong-type knife
- Cutting with the grain instead of against
- Rushing the slicing process
- Not letting meat rest before cutting
✅ Professional Approach
- Confident, single-stroke slicing
- Sharp, appropriate knife selection
- Always identifying grain direction first
- Patient, deliberate movements
- Proper resting before any cutting
🎯 GRAIN DIRECTION MASTERY: THE SECRET TO TENDERNESS
Understanding and respecting grain direction is the most important concept in meat cutting.
🔍 How to Read Grain Direction
Seeing the Muscle’s Blueprint
- Visual Identification: Look for parallel lines running through the meat—these are the muscle fibers. They appear as subtle stripes or lines in the meat’s surface.
- The Poke Test: Gently separate the meat with your fingers or knife tip. The fibers will naturally separate along the grain direction, revealing the parallel structure.
- Pre-Cut Marking: Before cooking, make a small shallow cut across the grain at one end. This reference mark will guide your slicing after cooking.
- Muscle Group Awareness: Understand that large cuts often contain multiple muscle groups running in different directions. Identify each muscle’s individual grain.
⚡ The Golden Rule: Always Cut Against the Grain
Why This Makes All the Difference
- Fiber Length Matters: Cutting with the grain leaves long, tough muscle fibers that require extensive chewing. Cutting against the grain creates short, easy-to-chew segments.
- The Science: Muscle fibers are like bundles of straws. Cutting across them shortens the “straws” dramatically, making them much easier to bite through.
- Visual Confirmation: Properly cut meat will show cross-sections of the muscle fibers on the slice surface, rather than long parallel lines.
- Tenderness Test: Compare two pieces—one cut with grain, one against. The difference in tenderness is dramatic and immediate.
Butcher’s Secret: For particularly tough cuts like flank or skirt steak, slice at a slight bias (45-degree angle) against the grain. This maximizes the surface area of each slice while still shortening the muscle fibers, creating incredibly tender results from traditionally tough cuts.
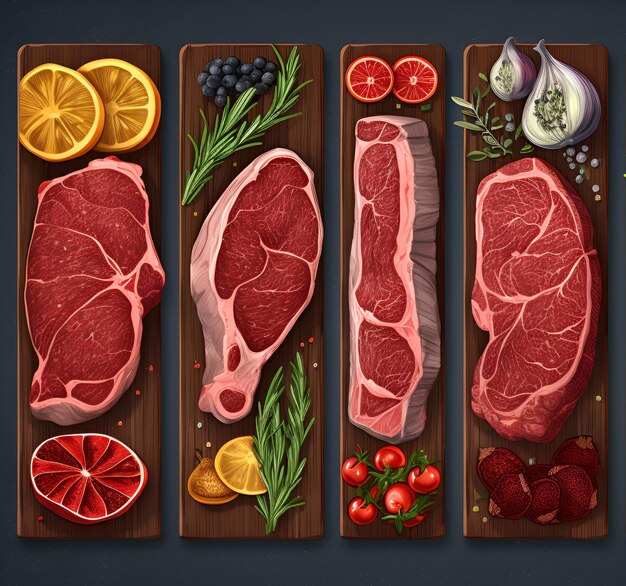
🥩 CUT-SPECIFIC SLICING TECHNIQUES
Different cuts demand different approaches. Master each one’s unique requirements.
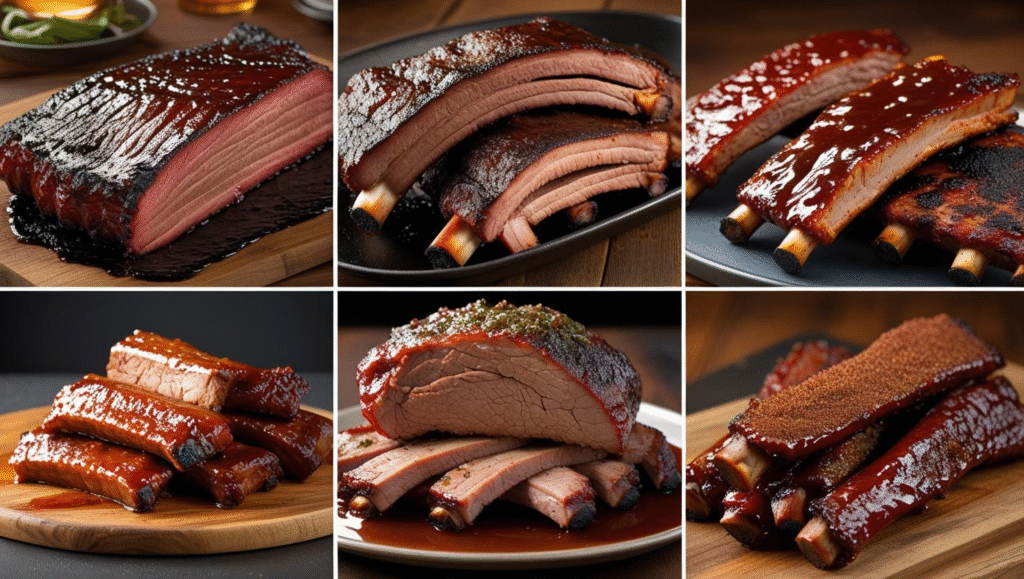
🔥 Brisket: The Ultimate Slicing Challenge
The Two-Muscle Protocol
- Separate Point from Flat: Locate the fat layer between the two muscles. Slide your knife through this natural seam to separate them completely.
- Flat Slicing: Identify the grain direction (typically running lengthwise). Slice against the grain into pencil-width slices (¼-½ inch). Use a long slicing knife for single-stroke cuts.
- Point Slicing: Rotate the point 90 degrees—the grain runs perpendicular to the flat. Slice against the grain, or cube for burnt ends.
- Pro Tip: Look for the “money muscle” in the point—the most marbled section. Slice this separately and serve as the premium offering.
🍖 Pork Shoulder: Pulled vs. Sliced
Muscle Separation Technique
- For Pulled Pork: Use meat claws or your hands (with gloves) to separate the muscle groups along natural seams. The meat should offer little resistance when properly cooked.
- For Sliced Pork: Identify the individual muscles within the shoulder. Separate them, then slice each one against its specific grain direction.
- Blade Bone Removal: Locate the blade bone and cleanly remove it by cutting along the bone structure. This reveals clean muscle sections for perfect slicing.
- Bark Distribution: Ensure each portion gets some of the prized bark. Slice or pull to distribute this flavorful crust throughout.
🥩 Steak Slicing: Presentation & Tenderness
Individual Steaks
- Resting First: Always rest 5-10 minutes before slicing
- Grain Identification: Find direction before any cutting
- Slice Thickness: ½ inch for most steaks, thinner for tougher cuts
- Angle: Straight down or slight bias for presentation
- Tool: Sharp chef’s knife or slicing knife
Large Roasts
- Resting: 15-30 minutes depending on size
- Tool: Long slicing knife essential
- Technique: Single-stroke slices, no sawing
- Thickness: ¼ inch for most roasts
- Presentation: Fan slices on platter
🎯 MEAT CUTTING ANGLES & THICKNESS GUIDE
Different situations call for different slicing strategies.
🎯 Professional Slicing Matrix
| Cut Type | Ideal Thickness | Cutting Angle | Knife Type | Special Technique |
|---|---|---|---|---|
| Brisket Flat | ¼ inch | 90° perpendicular | Slicing knife | Single-stroke slices |
| Skirt/Flank | ¼ inch | 45° bias | Chef’s knife | Maximize surface area |
| Prime Rib | ½ inch | 90° perpendicular | Slicing knife | Follow rib bones as guide |
| Pork Shoulder | ¼-½ inch | Muscle-specific | Chef’s knife | Separate muscles first |
| Tri-Tip | ¼ inch | 45° bias | Slicing knife | Two grain directions |
| Picanha | ½-1 inch | With grain initially | Chef’s knife | Steaks then slice against |
🚀 ADVANCED BUTCHER TECHNIQUES
Take your cutting skills to professional level with these advanced methods.
🎪 Muscle Separation & Seam Butchering
Working With Nature’s Blueprint
- Finding the Seams: Look for the thin, silvery connective tissue that separates muscle groups. These natural divisions are your cutting guides.
- Finger Technique: Use your fingers to gently separate muscles before using the knife. You’ll feel where they naturally want to divide.
- Knife Guidance: Let the knife follow these natural separations rather than forcing it through muscle tissue. The knife should do the work, not your muscle.
- Respect the Structure: Each muscle has its own grain direction. Separating them allows you to slice each one perfectly against its individual grain.
⚡ Slicing for Different Applications
Sandwiches & Tacos
- Thinner Slices: ⅛ inch thickness
- Bias Cutting: 45-degree angle
- Small Pieces: Bite-sized for easy eating
- Moisture Retention: Cut just before serving
- Examples: Skirt steak, brisket, pork shoulder
Platter Presentation
- Uniform Thickness: Consistent ¼-½ inch
- Clean Edges: Single-stroke slicing
- Arrangement: Fan or overlapping pattern
- Garnish Integration: Cut around herbs/sauce
- Examples: Prime rib, tri-tip, pork loin
🚨 TROUBLESHOOTING COMMON CUTTING PROBLEMS
🎯 Meat Cutting Problem Solver
| Problem | Symptoms | Solution |
|---|---|---|
| Tough, Chewy Slices | Meat requires heavy chewing | Cut against the grain, thinner slices |
| Ragged, Torn Edges | Uneven, messy slices | Sharpen knife, use slicing not sawing |
| Juices Running Out | Pooling liquids on board | Let meat rest longer before cutting |
| Inconsistent Thickness | Uneven slice sizes | Use guide hand, practice rhythm |
| Difficulty Slicing | Knife won’t move smoothly | Check knife sharpness, wrong knife type |
| Meat Falling Apart | Slices don’t hold shape | Overcooked, use sharper knife, chill slightly |
🏆 THE PROFESSIONAL CUTTING WORKFLOW
Follow this systematic approach for perfect results every time.
Professional Meat Cutting Protocol
- Resting Phase: Allow meat to rest appropriately (5 min/lb for roasts, 5-10 min for steaks)
- Tool Preparation: Select appropriate knife, ensure sharpness, set up stable cutting station
- Grain Analysis: Identify grain direction in all muscle groups, mark if necessary
- Muscle Separation: Separate individual muscles along natural seams when applicable
- Slicing Execution: Cut against the grain with confident, single-stroke slices
- Thickness Control: Maintain consistent thickness using guide hand and visual reference
- Immediate Service: Arrange on warm platter and serve immediately
🏁 MASTERING THE FINAL STEP
Meat cutting mastery represents the culmination of all your cooking efforts—the final transformation that determines whether your carefully cooked meat becomes tender and sublime or tough and disappointing. This skill bridges the gap between good cooking and exceptional dining experiences, turning the simple act of slicing into an art form that respects both the ingredient and the eater.
The journey to cutting mastery begins with understanding that every piece of meat has a story written in its muscle structure. Learning to read this story—to identify grain direction, recognize muscle groups, and understand how different cuts want to be treated—transforms you from someone who simply divides meat into someone who reveals its full potential.
Remember that proper cutting is an act of respect for the animal, the cook, and the diner. It honors the hours of careful cooking by ensuring each bite delivers the intended texture and flavor. It turns family meals into memorable experiences and barbecue feasts into legendary gatherings.
Your mission: Practice these techniques with intentionality. Start with easier cuts like tri-tip or pork loin, then progress to more challenging cuts like brisket. Document your results, pay attention to how different slicing approaches affect tenderness, and gradually develop the intuition that lets you look at any piece of meat and know exactly how it wants to be cut.
Welcome to the inner circle of meat masters—where the final cut makes all the difference.

Continue Your Meat Mastery Journey: Deepen your knowledge with our complete resource collection:


Pingback: How to Make Crispy Pork Belly at Home - The Meat Master USA
Pingback: Korean BBQ at Home: Complete Setup Guide for Authentic Tabletop Grilling
Pingback: Basic Knife Skills for Meat Prep: A Step-by-Step Guide for Beginners