

Master’s Note: This is your 30-day passport from kitchen anxiety to confident cook. We’re throwing out the complicated chef techniques and focusing on the four foundational pillars that will transform how you cook meat forever. This isn’t about a single recipe—it’s about building the unshakable skills that make every piece of meat you touch more tender, juicy, and flavorful.
Meat Cooking 101: Your First Month Mastery
“Cooking great meat isn’t about secret recipes; it’s about mastering four simple truths: how to choose it, how to heat it, how to know it’s done, and how to let it rest. Get these right, and you’ll consistently create restaurant-quality results in your own kitchen. This 30-day plan is your bootcamp for these essentials, turning overwhelming theory into simple, repeatable practice.”
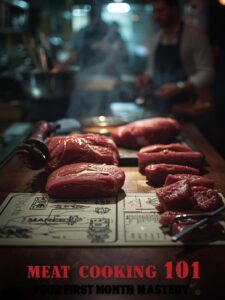
Meat Cooking 101: Your First Month Mastery
Download Your 30-Day Meat Mastery Checklist & Temperature Chart
Welcome to Meat Cooking 101, the only course you need to go from confused to confident in just one month. Whether you’re facing a pack of chicken breasts or a beautiful steak, the same fundamental principles apply. We’ve distilled decades of culinary knowledge into a simple, actionable 30-day plan that will build your skills one week at a time. Let’s begin your transformation.
🎯 THE FIRST MONTH MINDSET: SKILLS, NOT JUST RECIPES
Your goal is to internalize these core principles so they become second nature.
⚙️ The Four Pillars of Meat Mastery
The Foundation of Everything
- Pillar 1: Selection & Prep: Choosing the right cut and preparing it properly is 50% of the battle. A great cook can’t fix a poor-quality or poorly prepared piece of meat.
- Pillar 2: Heat Management: Understanding the difference between high, direct heat (for searing) and low, indirect heat (for gentle cooking) is the single biggest factor in nailing doneness.
- Pillar 3: The Temperature Truth: Time is a liar. Only a good thermometer tells the truth about doneness. This is your most important tool.
- Pillar 4: The Rest & Serve: Cutting into meat right off the heat drains its juices onto the cutting board, not your plate. Patience here is non-negotiable.
🎯 The Home Cook vs. The Confident Cook
👨🍳 The Anxious Home Cook
- Guesses doneness by time/poking
- Uses one heat level for everything
- Cuts meat immediately after cooking
- Struggles with dry, tough results
- Follows recipes exactly, afraid to adapt
🔥 The Confident Cook
- Trusts a digital thermometer
- Controls searing vs. gentle heat
- Always rests meat before slicing
- Achieves juicy, tender results consistently
- Understands principles, can improvise
📊 Your 30-Day Meat Mastery Roadmap
🎯 A Week-by-Week Plan to Build Unshakeable Skill
| Week | Focus Pillar | Your Mission | Key Skill to Master |
|---|---|---|---|
| Week 1 | Selection & Prep | Learn to buy and prepare foundational cuts. | Patting meat dry and seasoning early. |
| Week 2 | Heat Management | Master searing on the stovetop and in the oven. | The “Sear & Slide” method in a pan. |
| Week 3 | Temperature Truth | Cook to perfect doneness, not time. | Using a thermometer without fear. |
| Week 4 | Rest & Serve | Bring it all together with confidence. | Letting meat rest and slicing against the grain. |
🔪 WEEK 1: SELECTION & PREP – THE FOUNDATION
Great results start at the store and in your kitchen before the heat is even on.
🗣️ Your Week 1 Missions
Master the Basics of Buying and Prepping
- Mission 1: Buy Your Thermometer: This is your homework for Day 1. Get a digital instant-read thermometer. It’s non-negotiable. Here’s our list of the top meat thermometers.
- Mission 2: The Chicken Breast Practice: Buy two boneless, skinless chicken breasts. Practice patting them completely dry with paper towels. This is the secret to a good sear.
- Mission 3: Season with Confidence: Season those chicken breasts generously with salt and pepper 30 minutes before you plan to cook them. Let them sit on a rack in the fridge. This air-dries the surface and seasons the interior.
- Mission 4: Learn Your Cuts: Read our Beef Cuts Explained guide. Understand that tough cuts (like chuck) need slow cooking, while tender cuts (like sirloin) need fast cooking.
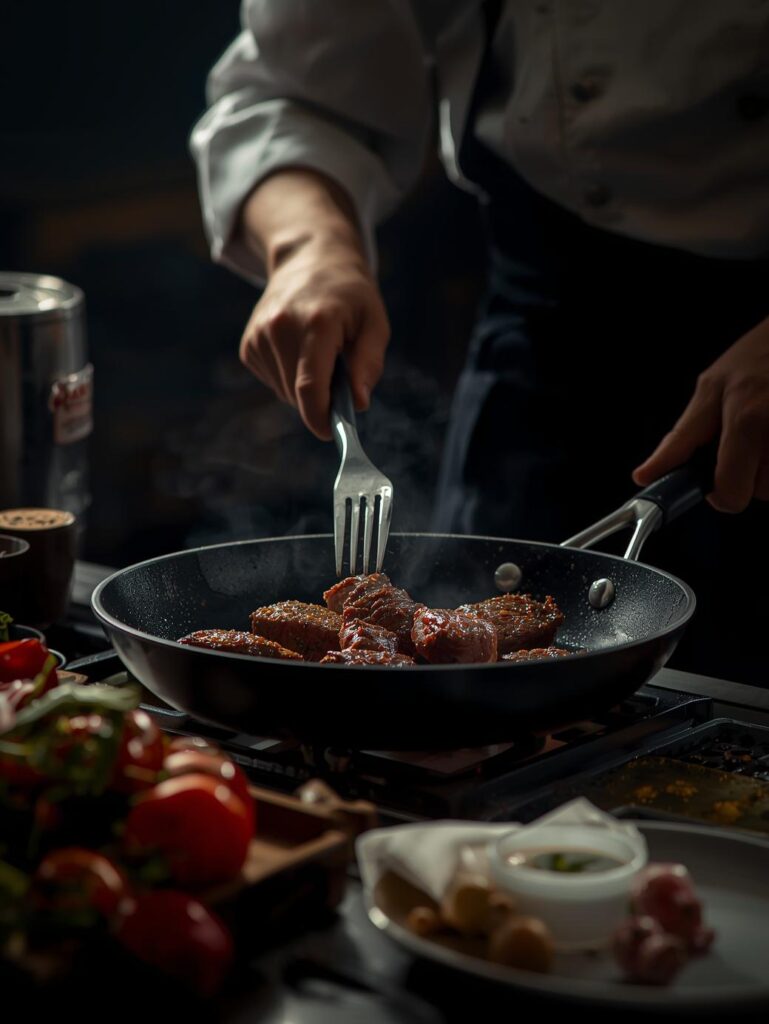
🔥 WEEK 2: HEAT MANAGEMENT – SEAR & SLIDE
This week, you’ll learn to control fire and create a beautiful crust.
🍳 The “Sear & Slide” Pan Method
Your Stovetop Power Move
- Heat the Pan: Get a heavy-bottomed skillet (cast iron is perfect) screaming hot over medium-high heat. Add a high-smoke-point oil (like avocado or canola).
- Sear: Lay your dry, seasoned chicken breast or steak in the pan. Don’t move it! Let it sear for 2-3 minutes until a golden-brown crust forms.
- Slide & Add Butter: Reduce heat to medium. Slide the pan off the hot burner if needed. Add a few tablespoons of butter, garlic, and herbs like thyme.
- Baste & Finish: Tilt the pan and spoon the foaming butter over the meat continuously for 1-2 minutes. This finishes cooking and adds incredible flavor.
🎯 Your Week 2 Missions
Practice Makes Perfect
- Mission 1: Perfect Pan-Seared Chicken: Use the “Sear & Slide” method on your prepped chicken breasts. Focus on getting a crisp, golden crust without burning.
- Mission 2: Reverse Sear a Steak: Try the ultimate beginner-friendly steak method. Learn how in our Reverse Searing 101 guide.
- Mission 3: Identify Direct vs. Indirect Heat: Understand that searing = direct high heat, and gentle cooking = indirect lower heat. This applies to your oven and grill.
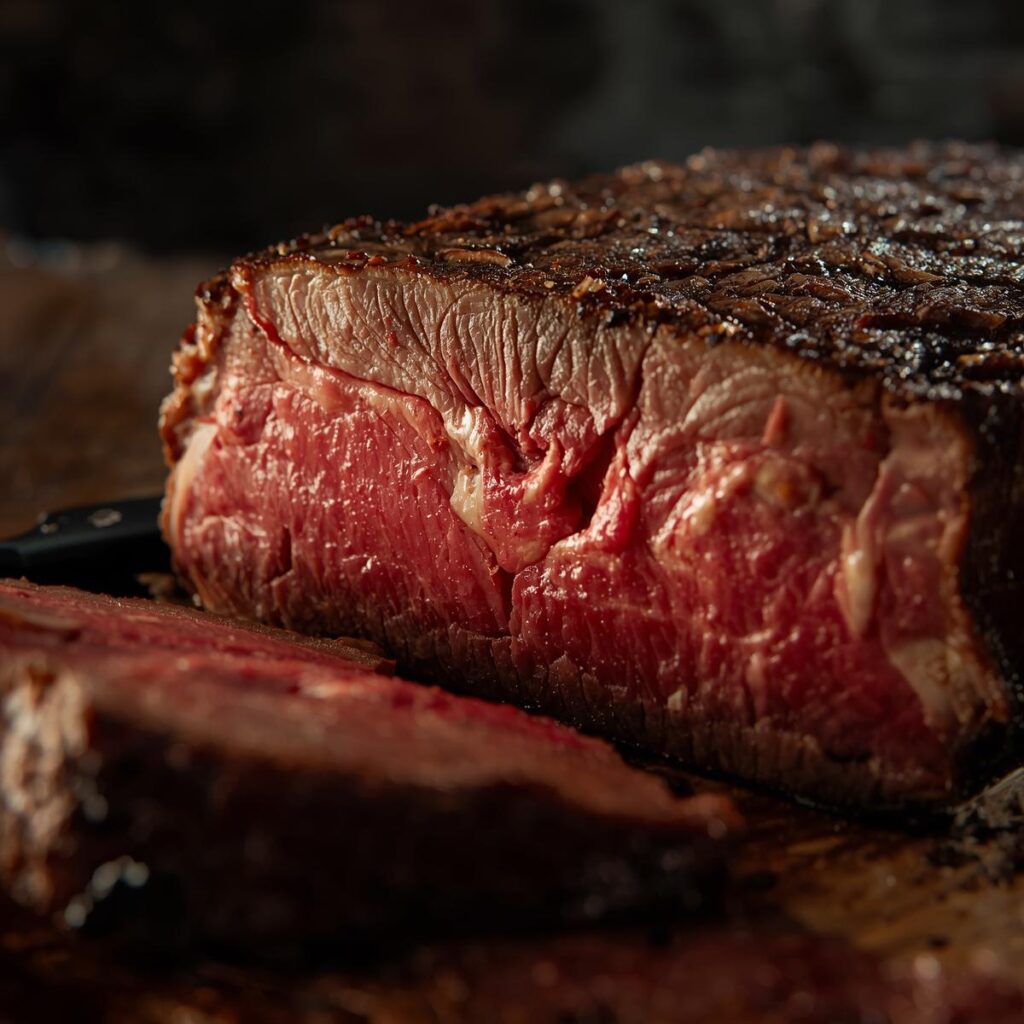
🌡️ WEEK 3: THE TEMPERATURE TRUTH – YOUR THERMOMETER IS KING
This week, you’ll banish the fear of undercooking and overcooking forever.
🗣️ Your Week 3 Missions
Cook to Temp, Not to Time
- Mission 1: Memorize Key Temperatures: Stop guessing. Internalize these core temps from our Meat Temperature Chart:
- Chicken Breast: 155°F (68°C) – will carry over to 165°F
- Steak (Medium-Rare): 130-135°F (54-57°C)
- Pork Chops: 140-145°F (60-63°C)
- Ground Beef: 160°F (71°C)
- Mission 2: Practice Probing: Cook a pork chop. Start checking its temperature early and often. Watch how the number climbs. Understand that the temp will rise 5-10 degrees after it’s off the heat (carryover cooking).
- Mission 3: Cook a Perfect Burger: Use your thermometer to cook a burger to a safe 160°F without turning it into a dry hockey puck. This builds confidence with ground meat.
⏳ WEEK 4: REST & SERVE – THE GRAND FINALE
You’ve done the hard work. Now, don’t ruin it in the last 10 minutes.
🗣️ Your Week 4 Missions
Patience and Precision
- Mission 1: The Resting Rule: For every inch of thickness, let your meat rest for 5 minutes. For a standard steak or chicken breast, that’s 5-10 minutes. Place it on a warm plate or cutting board, tented loosely with foil.
- Mission 2: Find the Grain & Slice Against It: This is the secret to tender bites, especially for chewier cuts like flank steak or brisket. See the lines of muscle fibers? That’s the grain. Slice perpendicular (across) those lines. Learn more in our Meat Cutting Tips guide.
- Mission 3: The Capstone Meal: Cook a meal that uses all four pillars. Pan-seared steak or roasted chicken thighs are perfect. You’ll select, prep, manage heat, check temp, rest, and slice like a pro.
📋 THE FIRST MONTH MEAL PLAN
Your Practical Training Schedule
Week 1: Prep Focus
Meals: Oven-Baked Chicken, Sautéed Pork Chops.
Goal: Perfect drying and seasoning.
Week 2: Searing Focus
Meals: Pan-Seared Chicken, Butter-Basted Steak.
Goal: Master the “Sear & Slide” method.
Week 3: Temp Focus
Meals: Perfect Burgers, Reverse Sear Steak.
Goal: Trust the thermometer, not the clock.
Week 4: Final Focus
Meals: Flank Steak, Whole Roast Chicken.
Goal: Execute the full process with confidence.
🚨 FIRST MONTH TROUBLESHOOTING: FIXING COMMON MISTAKES
🎯 Hurdles Are Part of the Learning Process
| Problem | Likely Cause | The Mastery Fix |
|---|---|---|
| Meat Steams, Doesn’t Brown | Surface wasn’t dry enough, or pan wasn’t hot enough. | Pat aggressively with paper towels. Wait for the oil to shimmer in the pan before adding meat. |
| Burnt Outside, Raw Inside | Heat was too high for the thickness of the cut. | After searing, lower heat or finish in a 400°F (200°C) oven. Use your thermometer to track progress. |
| Meat is Tough & Chewy | Overcooked, or sliced with the grain. | Pull meat 5°F early (it will carry over). Always identify and slice against the grain. |
| Juices Pool on Plate | You didn’t let the meat rest before cutting. | Follow the 5-minutes-per-inch rule. Those juices will stay in the meat where they belong. |
🏁 YOUR JOURNEY TO LIFELONG MASTERY
In just one month, you will have built a foundation that most home cooks take years to piece together. You’ll no longer look at a piece of meat with anxiety, but with the confident knowledge of how to transform it into a delicious meal. The principles of Selection, Heat, Temperature, and Rest apply to everything from a quick weeknight pork chop to a Sunday prime rib.
Remember, mastery is a journey, not a destination. Keep practicing these four pillars, and soon, they’ll be as natural as breathing.
🌡️ MASTER TEMPERATURES FIRST →
Your thermometer is your #1 tool. Download our free temperature chart to get started.

Your Essential Next Reads: Deepen your knowledge with these core guides.