
Charcoal Convert’s Note: You’ve mastered the convenience of gas, but something is calling you—the primal scent of burning wood, the deeper flavor, the satisfying ritual. Moving to charcoal isn’t just changing fuels; it’s upgrading your entire BBQ experience. This guide is your bridge, translating your gas grill knowledge into charcoal mastery. Welcome to the next level.
Moving from Gas to Charcoal: Your Definitive Transition Guide
“Going from gas to charcoal is like trading an automatic transmission for a manual. You give up a little convenience for total control, a deeper connection to the process, and a much more rewarding drive. It’s not about which is ‘better’—it’s about embracing fire in its purest form. The learning curve is real, but the flavor on the other side is worth every minute of the journey.”
Moving from Gas to Charcoal: Your Definitive Transition Guide
Download Your Free Gas-to-Charcoal Transition Checklist
So, you’re ready to answer the call of the charcoal. You’ve tasted the difference and you want that smoky, authentic flavor for yourself. But moving from the simple push-button world of gas to the ancient art of live-fire cooking can feel daunting. This guide will be your translator, taking everything you know about gas grilling and showing you the charcoal equivalent. Let’s light your first real fire.
🎯 THE TRANSITION MINDSET: EMBRACE THE RITUAL
You’re not just cooking; you’re building and managing a fire. Patience is your new best friend.
⚙️ The Three Mindset Shifts for Gas Grillers
Forget Convenience, Seek Control
- Shift 1: Time is an Ingredient: On gas, dinner is 15 minutes after preheat. On charcoal, the fire itself is part of the recipe. Building, managing, and waiting for the right embers takes 20-30 minutes. This isn’t a delay; it’s part of the experience.
- Shift 2: You Control the Heat, Not a Knob: There is no “Medium” setting. Heat is controlled by the amount of charcoal, its arrangement, and the airflow through the vents. You are the thermostat.
- Shift 3: Embrace the Imperfections: Not every briquette will be the same. Flare-ups happen. Temperatures will fluctuate. This isn’t a flaw; it’s the character of live-fire cooking. Your skill is in managing it.
🎯 Gas vs. Charcoal: The Fundamental Translation
🔥 The Gas Griller
- Turn knob → Instant heat
- Preheat: 10-15 minutes
- Cleanup: Turn off, brush grates
- Heat Source: Convenient, consistent
- Flavor: Clean, neutral
- Mindset: “I need to cook dinner.”
🪵 The Charcoal Griller
- Build fire → Manage embers
- Preheat: 20-30 minutes
- Cleanup: Dispose of ash, scrub grates
- Heat Source: Hands-on, variable
- Flavor: Smoky, complex, authentic
- Mindset: “I’m building a fire to cook dinner.”
🔧 YOUR NEW ESSENTIAL GEAR
You have the tongs and spatula. Now you need fire-starters.
🎪 The Charcoal-Specific Toolkit
The Non-Negotiable Additions
- Chimney Starter (The Game Changer):
- Purpose: Lights charcoal quickly, evenly, and without lighter fluid. This is the single most important piece of gear for a convert.
- How to Use: Fill with charcoal, stuff newspaper in the bottom, light it. Coals are ready in 15-20 minutes when ashed over.
- Pro Tip: Get a large one (6-quart+). You can always use less charcoal, but you can’t fit more in a small one.
- Heavy-Duty Grill Gloves:
- Purpose: Handling the hot chimney starter, arranging hot coals, and adjusting grates.
- How to Use: Wear them anytime you’re dealing with the fire itself, not just the food.
- Pro Tip: Welding gloves from a hardware store are inexpensive and incredibly effective.
- Long-Handled Tongs (for Coals):
- Purpose: Moving individual hot coals to fine-tune your fire.
- How to Use: Dedicate an old pair of tongs or buy a cheap, long-handled set specifically for coal duty.
- Pro Tip: Never use your food tongs for coal management.
- Charcoal Basket(s) (Optional but Recommended):
- Purpose: Keeps your charcoal contained in a tight, hot pile for superior two-zone cooking.
- How to Use: Place one or two baskets on one side of the grill for a perfect direct/indirect setup.
📊 The Gas-to-Charcoal Translation Dictionary
🎯 Speak the Language of Fire
| On a Gas Grill… | On a Charcoal Grill… | Pro Translation Tip |
|---|---|---|
| “Turn all burners to High” | “Fill a chimney starter with charcoal” | A full chimney is your “High” setting. A half-chimney is your “Medium.” |
| “Create a two-zone fire” | “Bank coals to one side” | Dump all hot coals on one side of the grill. The empty side is your indirect zone. Master this in our Two-Zone Grilling Mastery guide. |
| “Adjust the burner knobs” | “Manage the top and bottom vents” | Open vents = hotter fire. Close them to lower the temp. The bottom vent controls oxygen inflow, the top controls outflow. |
| “Preheat for 15 minutes” | “Wait for coals to ash over” | Coals are ready when they’re covered in gray ash and glowing red. This is your “preheated” indicator. |
| “Turn off the grill” | “Close all vents to extinguish” | Closing the vents starves the fire of oxygen. Never use water! Let the coals cool completely before disposal. |
🔥 YOUR FIRST CHARCOAL FIRE: A STEP-BY-STEP LIGHTING GUIDE
Forget lighter fluid. This is the clean, professional way to start.
🎯 The Foolproof Chimney Starter Method
From Match to Meal in 25 Minutes
- Set Up: Place the chimney starter on your charcoal grill’s lower grate. Crumple 2-3 sheets of newspaper and stuff them into the bottom chamber.
- Fill ‘Er Up: Fill the top chamber with charcoal. For a hot fire, fill it completely. For a medium fire, fill it halfway.
- Light It: Light the newspaper in several places through the holes in the bottom of the chimney. Flames will immediately roar upwards.
- Wait for the Magic: Let it burn for 15-20 minutes. You’ll see flames at the top and the coals on top will start to turn gray. When the top coals are mostly covered in gray ash, they’re ready.
- Dump and Arrange: Wearing your gloves, carefully pour the hot coals onto your charcoal grate. Arrange them for your desired setup (e.g., piled on one side for two-zone).
- Preheat the Grate: Put your cooking grate back on, close the lid, and let the grates get hot for 5 minutes. You’re ready to cook!
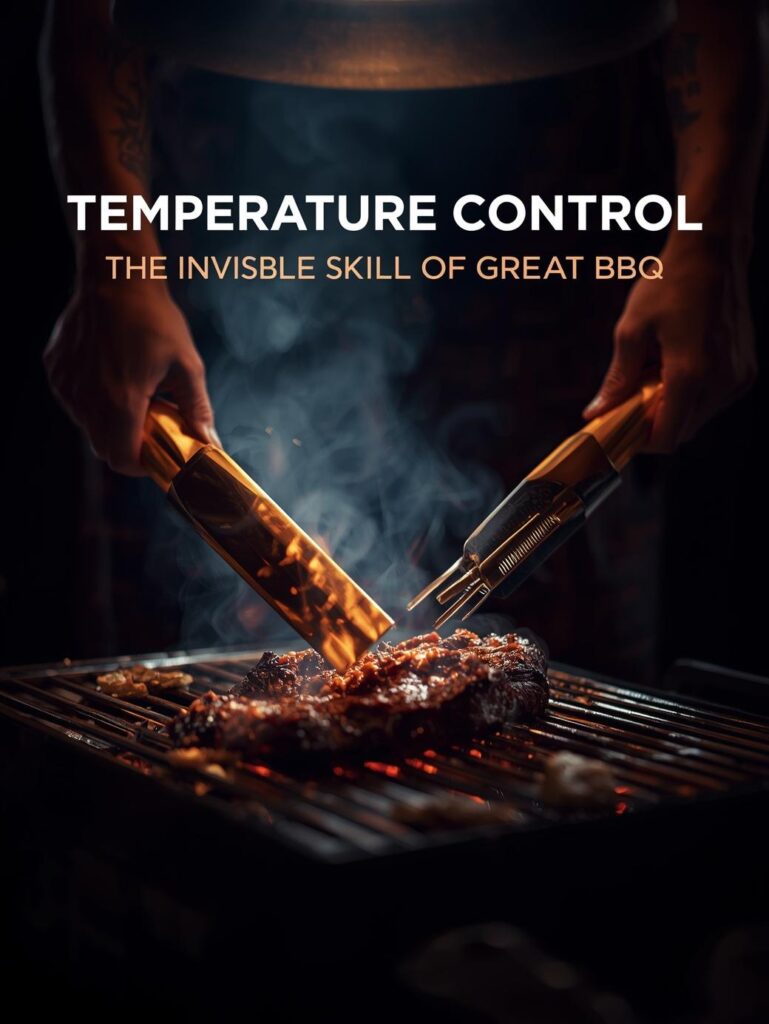
🎪 MASTERING HEAT CONTROL: YOUR NEW SUPERPOWER
This is the core skill that separates novices from masters.
🌡️ The “Vents are Your Knobs” Method
Fine-Tuning Your Fire
- Need More Heat? Open the bottom and top vents all the way. More oxygen = hotter, faster burn.
- Need Less Heat? Start by closing the bottom vent about halfway. Wait 5-10 minutes to see the effect. If you need to go lower, close it more. Never close all vents completely while cooking—this can smother the fire and impart acrid smoke.
- The Lid is Your Oven Door: Cooking with the lid on traps heat and creates an oven-like environment for indirect cooking. Cooking with the lid off is for direct searing and quick-cooking items.
- Probe Placement: For long cooks, a leave-in thermometer is essential. Place the probe in the cool side of the grill to monitor your ambient cooking temperature.
🔄 Managing a Multi-Hour Cook
Adding Fuel & Maintaining Temp
- Reading the Coals: After about 45-60 minutes, your initial batch of charcoal will start to lose heat. You’ll see more white ash and less red glow.
- Adding New Coals: Light a half-chimney of new charcoal. When it’s ready, use tongs to carefully add the fresh, hot coals to your existing firebed.
- Minimize Temp Swings: Add new coals before your temperature drops significantly. This keeps your cook stable and consistent.
- Wood for Smoke: Soak wood chunks in water for 30 minutes, then place them directly on the hot coals for smoke flavor. Learn more in our Best Woods for Smoking guide.
📋 YOUR FIRST 4 CHARCOAL COOKS: A CONFIDENCE-BUILDING PLAN
A Staged Approach to Mastery
Cook 1: Hot Dogs & Sausages
Goal: Master lighting and basic direct heat. These are forgiving and cook quickly. Focus on fire management, not the food.
Cook 2: Burgers & Steaks
Goal: Master the two-zone fire. Sear over direct heat, finish over indirect. Practice vent control to maintain searing temp.
Cook 3: Beer Can Chicken
Goal: Master indirect heat and lid-down cooking. Learn to maintain a steady 350-375°F for over an hour.
Cook 4: Pork Ribs
Goal: Master low-and-slow. Practice adding charcoal and wood chunks. Hold 225-250°F for 3-4 hours. You are now a charcoal pilot.
🚨 TROUBLESHOOTING: SOLVING COMMON CHARCOAL PROBLEMS
🎯 Every Problem Has a Fire-Based Solution
| Problem | Charcoal Description | The Convert’s Fix |
|---|---|---|
| Grill Won’t Get Hot Enough | “My coals are weak and ashy.” | Use more charcoal. Ensure all vents are fully open. Make sure you’re waiting until coals are fully ashed over before cooking. |
| Grill is Too Hot & Scorching Food | “It’s an inferno in there!” | Spread coals out to lower intensity. Close the bottom vent halfway. Raise the cooking grate if possible. Use the indirect zone more. |
| Food Tastes Like Lighter Fluid | “My steak tastes like a chemical fire.” | Stop using lighter fluid! Switch to a chimney starter. The flavor difference is night and day. |
| Temperature is Unstable | “It swings from 250°F to 400°F.” | Make smaller vent adjustments. Wait 10-15 minutes between adjustments for the temp to stabilize. Add new coals before the old ones die. |
🏁 WELCOME TO THE FIRE
You have officially crossed over. The convenience of gas is behind you, and the rewarding world of live-fire cooking is ahead. You now possess the knowledge to build a fire, translate your gas grill skills, and control heat like a true pitmaster. The first few cooks might feel clumsy, but soon, managing the vents and reading the coals will become second nature.
Remember the three pillars of charcoal: Patience to build the fire, awareness to manage the heat, and courage to embrace the flame. Now, go get that chimney starter dirty.
Dive deeper into the pros and cons of every grill type in our ultimate guide
Your Essential Charcoal Library: Deepen your fire knowledge with these guides.