
Thermometer Master’s Note: This single skill is the line between amateur and pro. A meat thermometer isn’t a magic wand—it’s a compass. But a compass is useless if you don’t know how to read it. This guide will demystify every beep, number, and type of thermometer, transforming it from a confusing gadget into your most trusted kitchen companion. Stop guessing and start knowing.
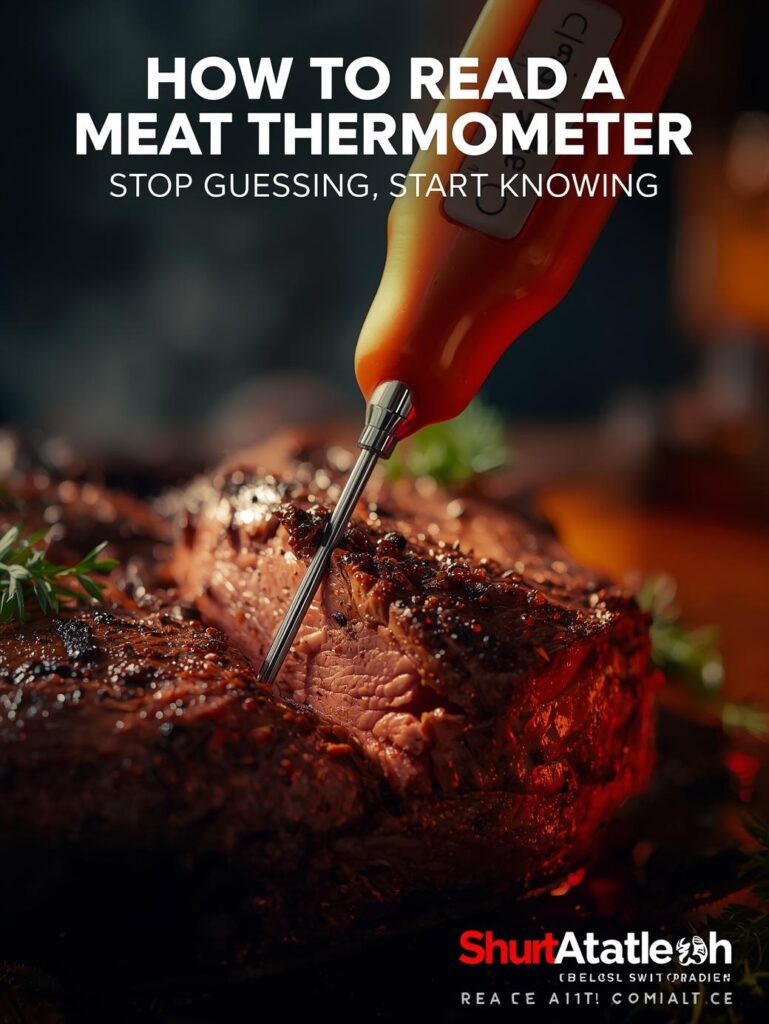
How to Read a Meat Thermometer: Stop Guessing, Start Knowing
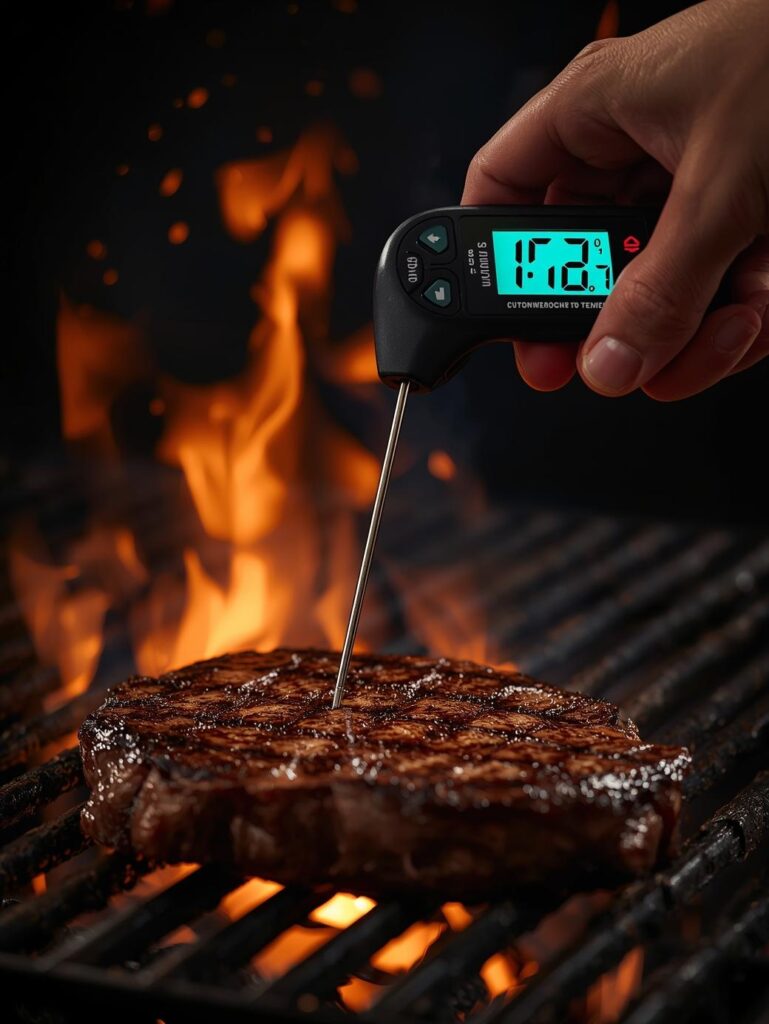
“A thermometer reading isn’t just a number; it’s a story. 125°F tells a tale of a rare, cool-red center. 160°F whispers of a safely cooked, juicy burger. Learning to read this story is the moment you transition from hoping your food is done to knowing it’s perfect. This isn’t gadgetry—it’s the ultimate form of respect for your ingredients and your guests.”
How to Read a Meat Thermometer: Stop Guessing, Start Knowing
Download Your Free Thermometer Guide & Temperature Chart
You bought the thermometer. You’ve been told it’s essential. But now you’re holding it, staring at the numbers, and wondering: “Where do I stick this thing? What number am I looking for? And what’s the difference between all these types?” Welcome to the club. This guide will walk you through the entire process, from probe placement to final interpretation, making you a thermometer wizard in minutes.
🎯 THE THERMOMETER MINDSET: IT’S YOUR TRUTH-TELLER
Your eyes and fingers lie. Time is a cheat. Temperature is the only truth.
⚙️ The Three Golden Rules of Thermometer Reading
How to Think Like a Pro
- Rule 1: Target the Coldest Spot: The goal is to find the lowest internal temperature, which is usually the geometric center of the thickest part. This ensures the entire piece of meat is at least that hot.
- Rule 2: Avoid False Highs: Hitting bone, fat, or gristle gives a misleadingly high reading. You’re measuring the muscle tissue, not its surroundings.
- Rule 3: It’s a Snapshot, Not a Movie: For instant-read thermometers, you’re taking a quick reading. For leave-in probes, you’re watching a trend. Understand the difference.
🎯 The Cook’s Dilemma: Guesswork vs. Certainty
👎 The Guesswork Cook
- “Pokes and peeks” to check doneness
- Relies on cooking time alone
- Cuts meat open to see color
- Results: Inconsistent, often over/under-cooked
- Constant anxiety: “Is it done yet?”
✅ The Thermometer Cook
- Probes for the true internal temperature
- Uses time as a guide, not a rule
- Knows color is a poor indicator of safety
- Results: Consistently perfect, juicy meat
- Total confidence: “I know it’s perfect.”
🔧 KNOW YOUR THERMOMETER: A FIELD GUIDE
First, identify what type of thermometer you’re holding. They all tell the truth, but in different ways.
🎪 The Three Main Types of Meat Thermometers
Digital Instant-Read, Leave-in Probe, and Dial
- Digital Instant-Read Thermometer:
- How it Works: You insert the probe, wait a few seconds for the reading to stabilize, and remove it.
- How to Read It: The number on the screen is the current internal temperature at that exact spot. Look for our recommended models here.
- Best For: Everything. Steaks, chops, burgers, chicken breasts. This is the most versatile tool.
- Leave-in Probe / Digital Oven-Safe Thermometer:
- How it Works: You insert the probe at the start of cooking. A wire connects to a base unit outside the oven/grill, showing the live temperature.
- How to Read It: You watch the number climb in real-time. You set an alarm for your target temperature.
- Best For: Large roasts, whole chickens, turkey, brisket—anything that cooks for a long time.
- Analog Dial Thermometer:
- How it Works: An old-school dial that moves a needle as the temperature changes.
- How to Read It: Look at where the needle points on the dial. They are slow and often less accurate.
- Best For: A backup. Not recommended as your primary tool.
📊 The Ultimate Meat Thermometer Reading Guide
🎯 Where to Probe & What Number to See
| Meat Type | Where to Place the Probe | Target Temp (Doneness) | Pro Tip |
|---|---|---|---|
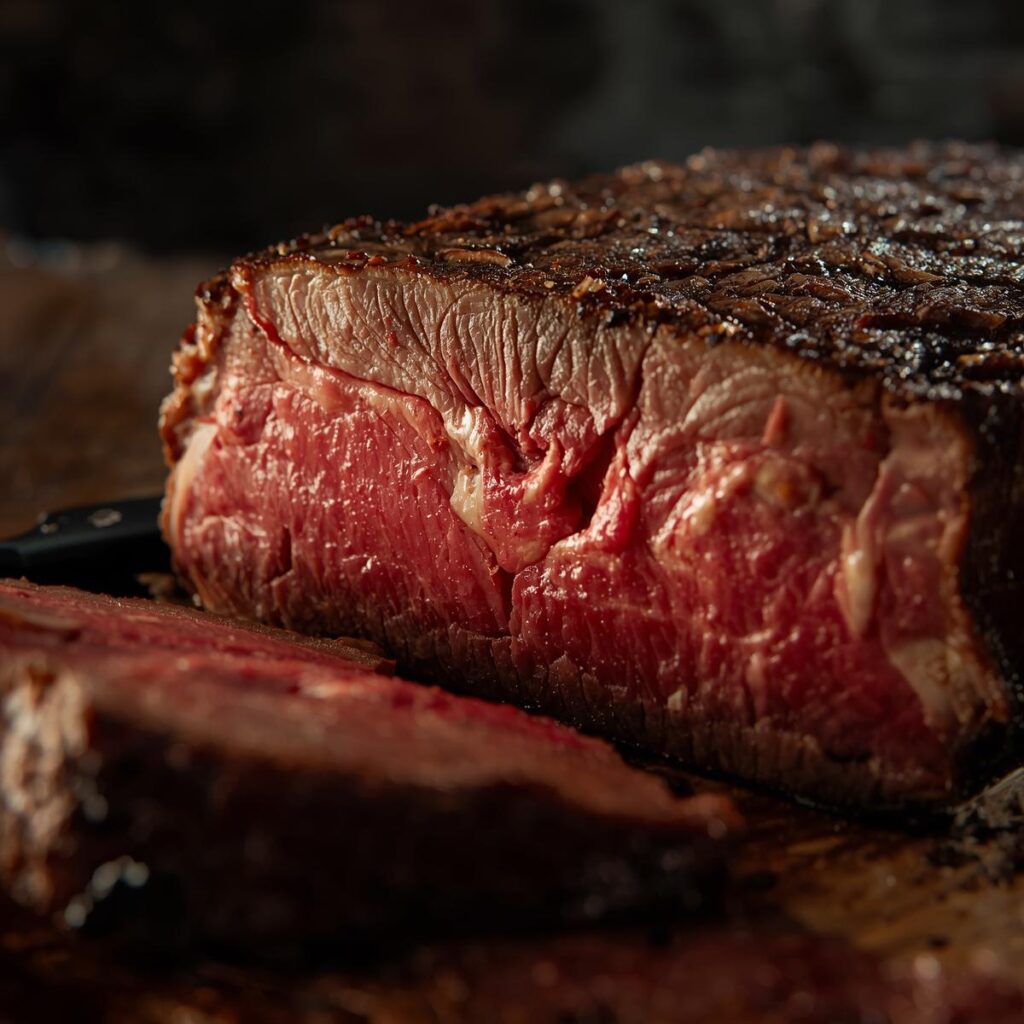
| Steak & Roasts | Center of the thickest part, away from bone or fat. | Rare: 125°F | Med-Rare: 135°F | Medium: 145°F | Insert from the side for thin steaks. Meat will rise 5-10°F after resting (carryover cooking). |
| Chicken & Turkey | Thickest part of the breast and innermost part of the thigh, not touching bone. | Breast: 160-165°F | Thigh: 175°F | For a whole bird, check both breast and thigh. The thigh takes longer. |
| Ground Meat | Center of the patty or loaf, sideways through the edge if thin. | Beef/Pork: 160°F | Poultry: 165°F | Safety first with ground meat. No “rare” burgers. |
| Pork Chops & Tenderloin | Center of the thickest part. | 145°F (Juicy and slightly pink) | Modern pork is safe at 145°F. Don’t overcook to 160°F+! |
| Large Roasts (Brisket, Pork Shoulder) | Multiple spots in the thickest part, avoiding fat pockets. | 195-205°F (For shredding tenderness) | Use a leave-in probe. It’s “probe tender” when it slides in like butter. |
🔍 THE STEP-BY-STEP READING PROCESS
Follow this sequence every time for a perfect reading.
🎯 How to Get an Accurate Instant-Read
The 5-Step Foolproof Method
- Identify the “Cold Zone”: Visually find the thickest part of the meat. Imagine where the very center is. This is your target.
- Approach from the Side: For steaks and chops, insert the probe through the side to get to the true center. Stabbing from the top often doesn’t reach the center on thinner cuts.
- Go Deep Enough: The entire sensing area (usually the last 1/2 inch of the tip) needs to be in the center of the meat. Push it all the way through and pull back slightly if needed.
- Wait for the Beep (or Stabilization): Hold it steady! Don’t move it around. Wait for the number to stop climbing and hold steady. This takes 2-5 seconds with a good thermometer.
- Interpret the Number: Read the number. Is it your target temp? Refer to our full Meat Temperature Chart. Remember carryover cooking—pull the meat 5°F below your target.
🚨 TROUBLESHOOTING: FIXING COMMON READING ERRORS
Why your reading might be lying to you, and how to fix it.
❌ Common Mistakes
What Goes Wrong
- The Bone Touch: Hitting bone gives a false high reading because bone heats faster than meat.
- The Fat Pocket: Fat renders and gets very hot, giving a misleadingly high temperature.
- The Shallow Poke: Not getting the probe deep enough into the center, reading a hotter outer layer.
- The “Grill Grate” Reading: Accidentally touching the hot grill grate or pan with the probe tip.
✅ The Pro Fix
How to Get it Right
- Feel for Resistance: If you hit hard resistance, you’ve hit bone. Pull back and re-insert.
- Aim for Muscle: Visually avoid large, solid fat caps. You want the textured muscle fiber.
- Check Depth: Insert the probe, then look to see if the sensing area is truly centered.
- Be Mindful: Keep the probe in the meat, not touching cooking surfaces. Take multiple readings in different spots if unsure.
📋 THE THERMOMETER MASTERY TIMELINE
Your Path from Novice to Ninja
Step 1: The First Read
Practice on a single, thick chicken breast or steak. Focus on finding the center. Don’t worry about the cook, just the probe.
Step 2: Cook to Temp
Cook a burger, checking the temp early and often. Watch it climb from 100°F to your target of 160°F. See the progression.
Step 3: Master Carryover
Cook a steak. Pull it at 130°F (for medium-rare). Let it rest and check the temp again. See it rise to 135°F+.
Step 4: Total Confidence
You now instinctively know where to probe and what the number means for any cut of meat. You are in control.
🚨 THERMOMETER TROUBLESHOOTING: READING THE READINGS
🎯 What Your Thermometer is Trying to Tell You
| Symptom | What’s Happening | The Solution |
|---|---|---|
| Reading is WAY too high, way too fast | You’re touching bone, fat, or the cooking surface. | Reposition the probe into pure muscle tissue, away from hard or greasy spots. |
| Temperature is stuck or rising very slowly | The “stall” on large cuts, or your grill/oven temp is too low. | Be patient. On brisket/pork shoulder, this is normal. Otherwise, check your cooking temperature. |
| Different spots show different temperatures | Normal! The meat cooks unevenly. The coldest spot is your guide. | Take multiple readings. The lowest valid reading (in the center) is the one that matters. |
| Display is blank or showing an error | Low battery, damaged probe, or it’s reached end of life. | Replace batteries. If that fails, it’s time for a new, reliable thermometer. |
🏁 YOU ARE NOW A THERMOMETER MASTER
You have just acquired the single most valuable skill in all of meat cooking. That little device is no longer a mystery; it’s your guide, your teacher, and your guarantee of perfect results every single time. The anxiety of “is it done?” is gone, replaced by the quiet confidence of knowing the exact state of your food.
Remember the three keys: find the center, avoid bone and fat, and trust the number. Now go forth and cook with certainty.
Download your free, comprehensive temperature chart for every cut of meat

Your Essential Next Reads: Deepen your temperature mastery with these guides.